
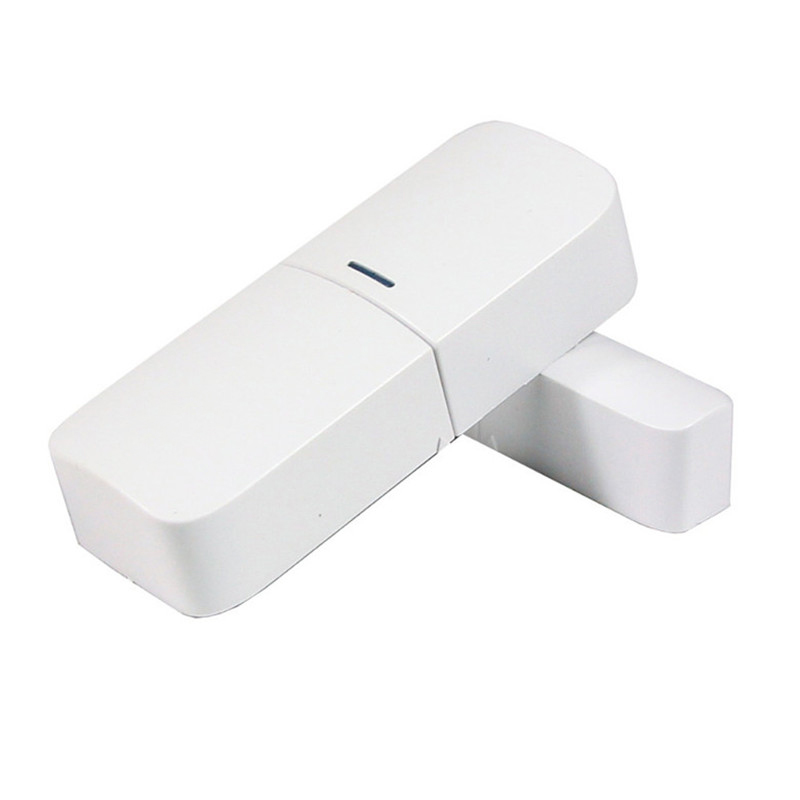
I was looking for sensors that allow to monitor the status of a door. Typically those are magnet triggered switches that send some sort of signal when the magnet moves away and comes back. I wanted something based on Z-Wave. I’ve already light switch relays that are running on Z-Wave and am very happy with them. Z-Wave is on the pricier end of RF-devices. 433Mhz switches would be much cheaper, but Z-Wave offers nicer handling and hopefully more reliability.
Many of these sensors come in at around 40€. That is quite pricy so I opted for the cheap chinese solution at around 13.5€ per piece. You just have to be patient: 4+ weeks delivery time.
Setup into Home Assistant was straight forward. Add the device to the Z-Wave network via the web interface, rename it to mydoor… but then… How does the device report ‘door open’? The binary sensor that showed up, did nothing.
After some fiddling and searching I found that the sensor.mydoor_access_control changes it’s state rather unspectacularly from 23 to 22. It’s so inconspicuous that I didn’t notice the change the first few times I kept looking for changes.
Perfect! there is something we can use to integrate it to Home Assistant for automation and other stuff. Luckily there are templates that allow us to turn this into a binary sensor which is more useful in automations.
Add this to your configuration.yml:
1 2 3 4 5 6 7 8 9 10 11 12 | binary_sensor: platform: template sensors: door1: device_class: opening friendly_name: 'Haustür' value_template: >- {%- if is_state("sensor.mydoor_access_control", "22") -%} True {%- else -%} False {%- endif -%} |
this can then be integrated into an automation like this:
1 2 3 4 5 6 7 8 9 10 11 12 13 14 15 | automation: alias: "coming home" hide_entity: False trigger: platform: state entity_id: binary_sensor.door1 from: 'off' to: 'on' condition: condition: sun after: sunset action: - service: homeassistant.turn_on entity_id: - switch.main_light |
that’s it. hope this helps.
thanks to @Tinkerer from the Home Assistant chat group for the help.
6 replies on “cheap Chinese Z-Wave Sensors and Home Assistant…”
What about the sensor after having it used for some time now? Are they still working? Are they reliable?
They are still working, and quite reliable. The only downside is the massive energy consumption. They go through the batteries quite quickly.
Battery usage is due to polling to frequently. Read this article https://drzwave.blog/2017/01/20/seven-habits-of-highly-effective-z-wave-networks-for-consumers/
It will explain this in great detail.
Hello again,
I’ve just read your post about hacking the Ikea smoke detector.
Couldn’t you use exactly the same technique here?
Door switch is installed so that it is held open when the door is closed. Door opens, switch closes and applies power to ESP8266 (no fancy power control needed). ESP screams ‘Door open! Door open!’ over MQTT until door is closed again.
Advantages:
Simple.
Can use big batteries.
Zero power consumption when door is closed.
Disadvantages:
Won’t work if door is opened briefly (although you could get around that).
Can’t interrogate door state when closed.
No difference between ‘door closed’ and ‘no battery’, you have to assume door is closed when there is no report.
Consumes a lot of power if the door is open for a while.
Hmm. Looks like a lot of disadvantages, but… it’s simple.
Interesting read, how are they preforming?
Lnkiy is a free link shortener tool, it helps you to
short your long links of any size into smaller
links. These short links are easily shareable and memorable for the users.
Using Lnkiy free link shortener you can track your short link and analyze the user behaviour on your
link. Which helps you to increase your business growth and
provides you with the right way to proceed depending on the user activities.