Categories
Hacking

cheap Chinese Z-Wave Sensors and Home Assistant…

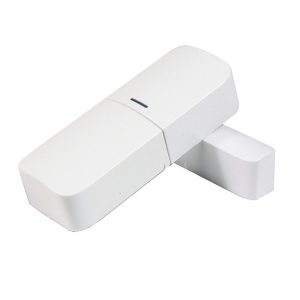
cheap z-wave door sensor

I was looking for sensors that allow to monitor the status of a door. Typically those are magnet triggered switches that send some sort of signal when the magnet moves away and comes back. I wanted something based on Z-Wave. I’ve already light switch relays that are running on Z-Wave and am very happy with them. Z-Wave is on the pricier end of RF-devices. 433Mhz switches would be much cheaper, but Z-Wave offers nicer handling and hopefully more reliability.

Many of these sensors come in at around 40€. That is quite pricy so I opted for the cheap chinese solution at around 13.5€ per piece. You just have to be patient: 4+ weeks delivery time.

Setup into Home Assistant was straight forward. Add the device to the Z-Wave network via the web interface, rename it to mydoor… but then… How does the device report ‘door open’? The binary sensor that showed up, did nothing.

After some fiddling and searching I found that the sensor.mydoor_access_control changes it’s state rather unspectacularly from 23 to 22. It’s so inconspicuous that I didn’t notice the change the first few times I kept looking for changes.

Perfect! there is something we can use to integrate it to Home Assistant for automation and other stuff. Luckily there are templates that allow us to turn this into a binary sensor which is more useful in automations.
Add this to your configuration.yml:

1
2
3
4
5
6
7
8
9
10
11
12
binary_sensor:
platform
: template
sensors
:
door1
:
device_class
: opening
friendly_name
: 'Haustür'
value_template
: >-
{%- if is_state("sensor.mydoor_access_control", "22") -%}
True
{%- else -%}
False
{%- endif -%}

this can then be integrated into an automation like this:

1
2
3
4
5
6
7
8
9
10
11
12
13
14
15
automation:
alias
: "coming home"
hide_entity
: False
trigger
:
platform
: state
entity_id
: binary_sensor.door1
from
: 'off'
to
: 'on'
condition
:
condition
: sun
after
: sunset
action
:
- service
: homeassistant.turn_on
entity_id
:
- switch.main_light

that’s it. hope this helps.

thanks to @Tinkerer from the Home Assistant chat group for the help.

Categories
Hacking Hardware Gadgets

Home Automation with Python…

I gave a talk at Grazer Linuxtage 2017. It’s about Home Automation and how you can use Python to realize it.

The talk covers a simple example of a DIY sensor that runs MicroPython. Finally I give a short introduction to Home Assistant, a Python Home Automation Hub, that allows you to integrate with hundreds of devices. Home Assistant offers integrations to light switches, smart lights (Hue, Trådfri, Lightify,…), door sensors, heat control units, and many others.

There is a video of my talk on my Youtube channel:

Categories
Hacking Hardware Gadgets

DIY MQTT smart plug with MicroPython…

I’ve been playing around with MicroPython and Home Assistant. MicroPython is a ‘bare-metal’-Python flavor that you can use to program ICs. Home Assistant is a home automation and home control software written in Python 3. It can be hosted on a Raspberry Pi. It enables you to connect a vast amount of different devices: lights, switches, sensors, locks etc.

This is a raw guide on how to make your own smart plug and connecting it to MQTT which is then connected to Home Assistant.

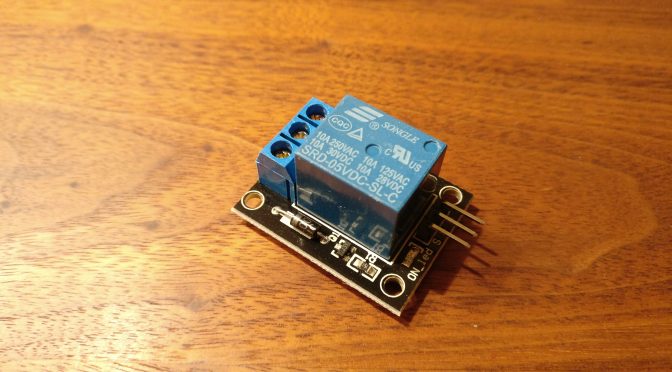
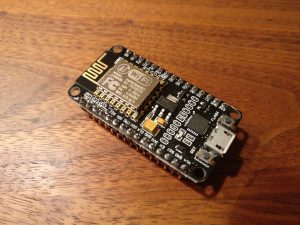
You will need a relay board (single relay), a NodeMCU board, a power adapter for 5V, a case, a button, some wire and a 1k resistor.

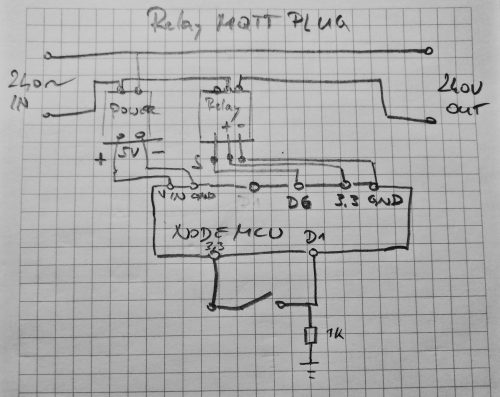
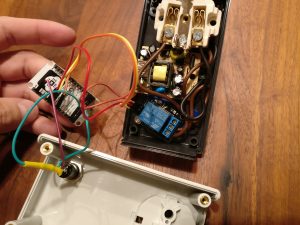
Connect the devices according to this schema (WARNING: Don’t do this if you’re not comfortable handling mains power!). Don’t forget earthing (it’s not on the diagram):
circuit diagram

Flash the MicroPython firmware to the NodeMCU board. Put the ‘relay_mqtt.py‘ file on it as main.py. That way it will be run when the device boots up. Adjust the code to connect to your network and MQTT server first.

You can download the code here.

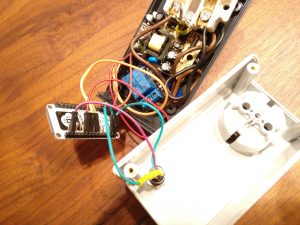
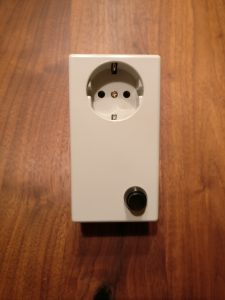
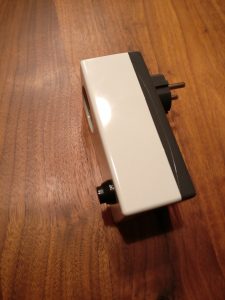
My device looks like this:

See the Home Assistant documentation for how to integrate the MQTT part with Home Assistant.

The nice thing is: you can press the button to switch the device. The status of the device will update via MQTT and Home Assistant gets a correct status update. You can of course switch the device from within Home Assistant as well.

Happy hacking!