Categories
Hacking Hardware Gadgets

Ikea DIY Smart Smoke Detector…

Recently I confirmed that a smoke detector can be useful. I forgot a sauce on the stove and it burnt. I left the flat and luckily heard the smoke alarm from outside!

So, to be safer in the future I wanted to make a network-connected smoke detector that reports to my home-assistant instance. From there it can notify me via SMS or flash lights or sound an alarm.

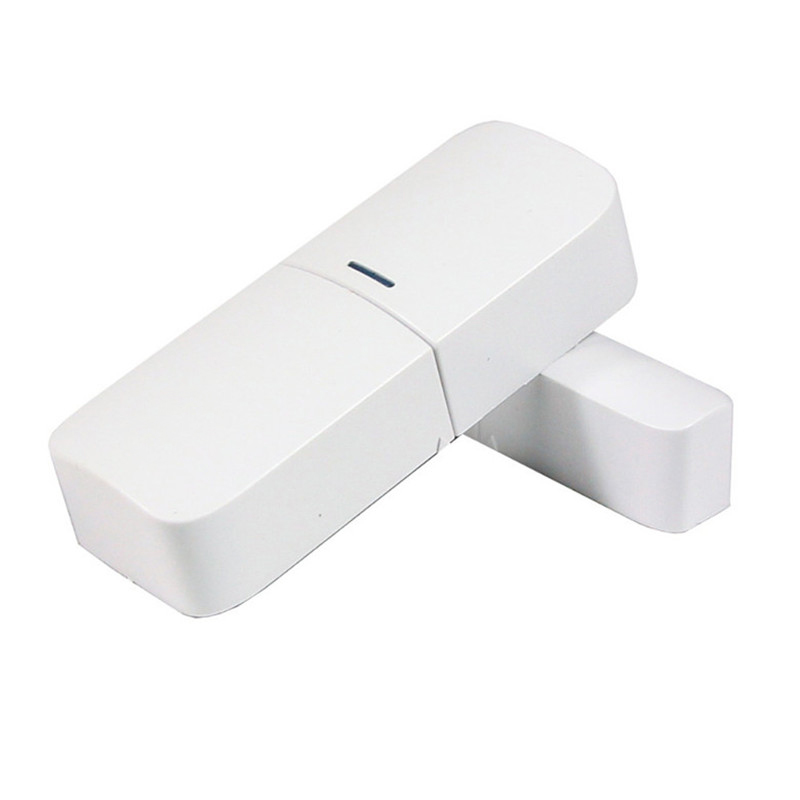
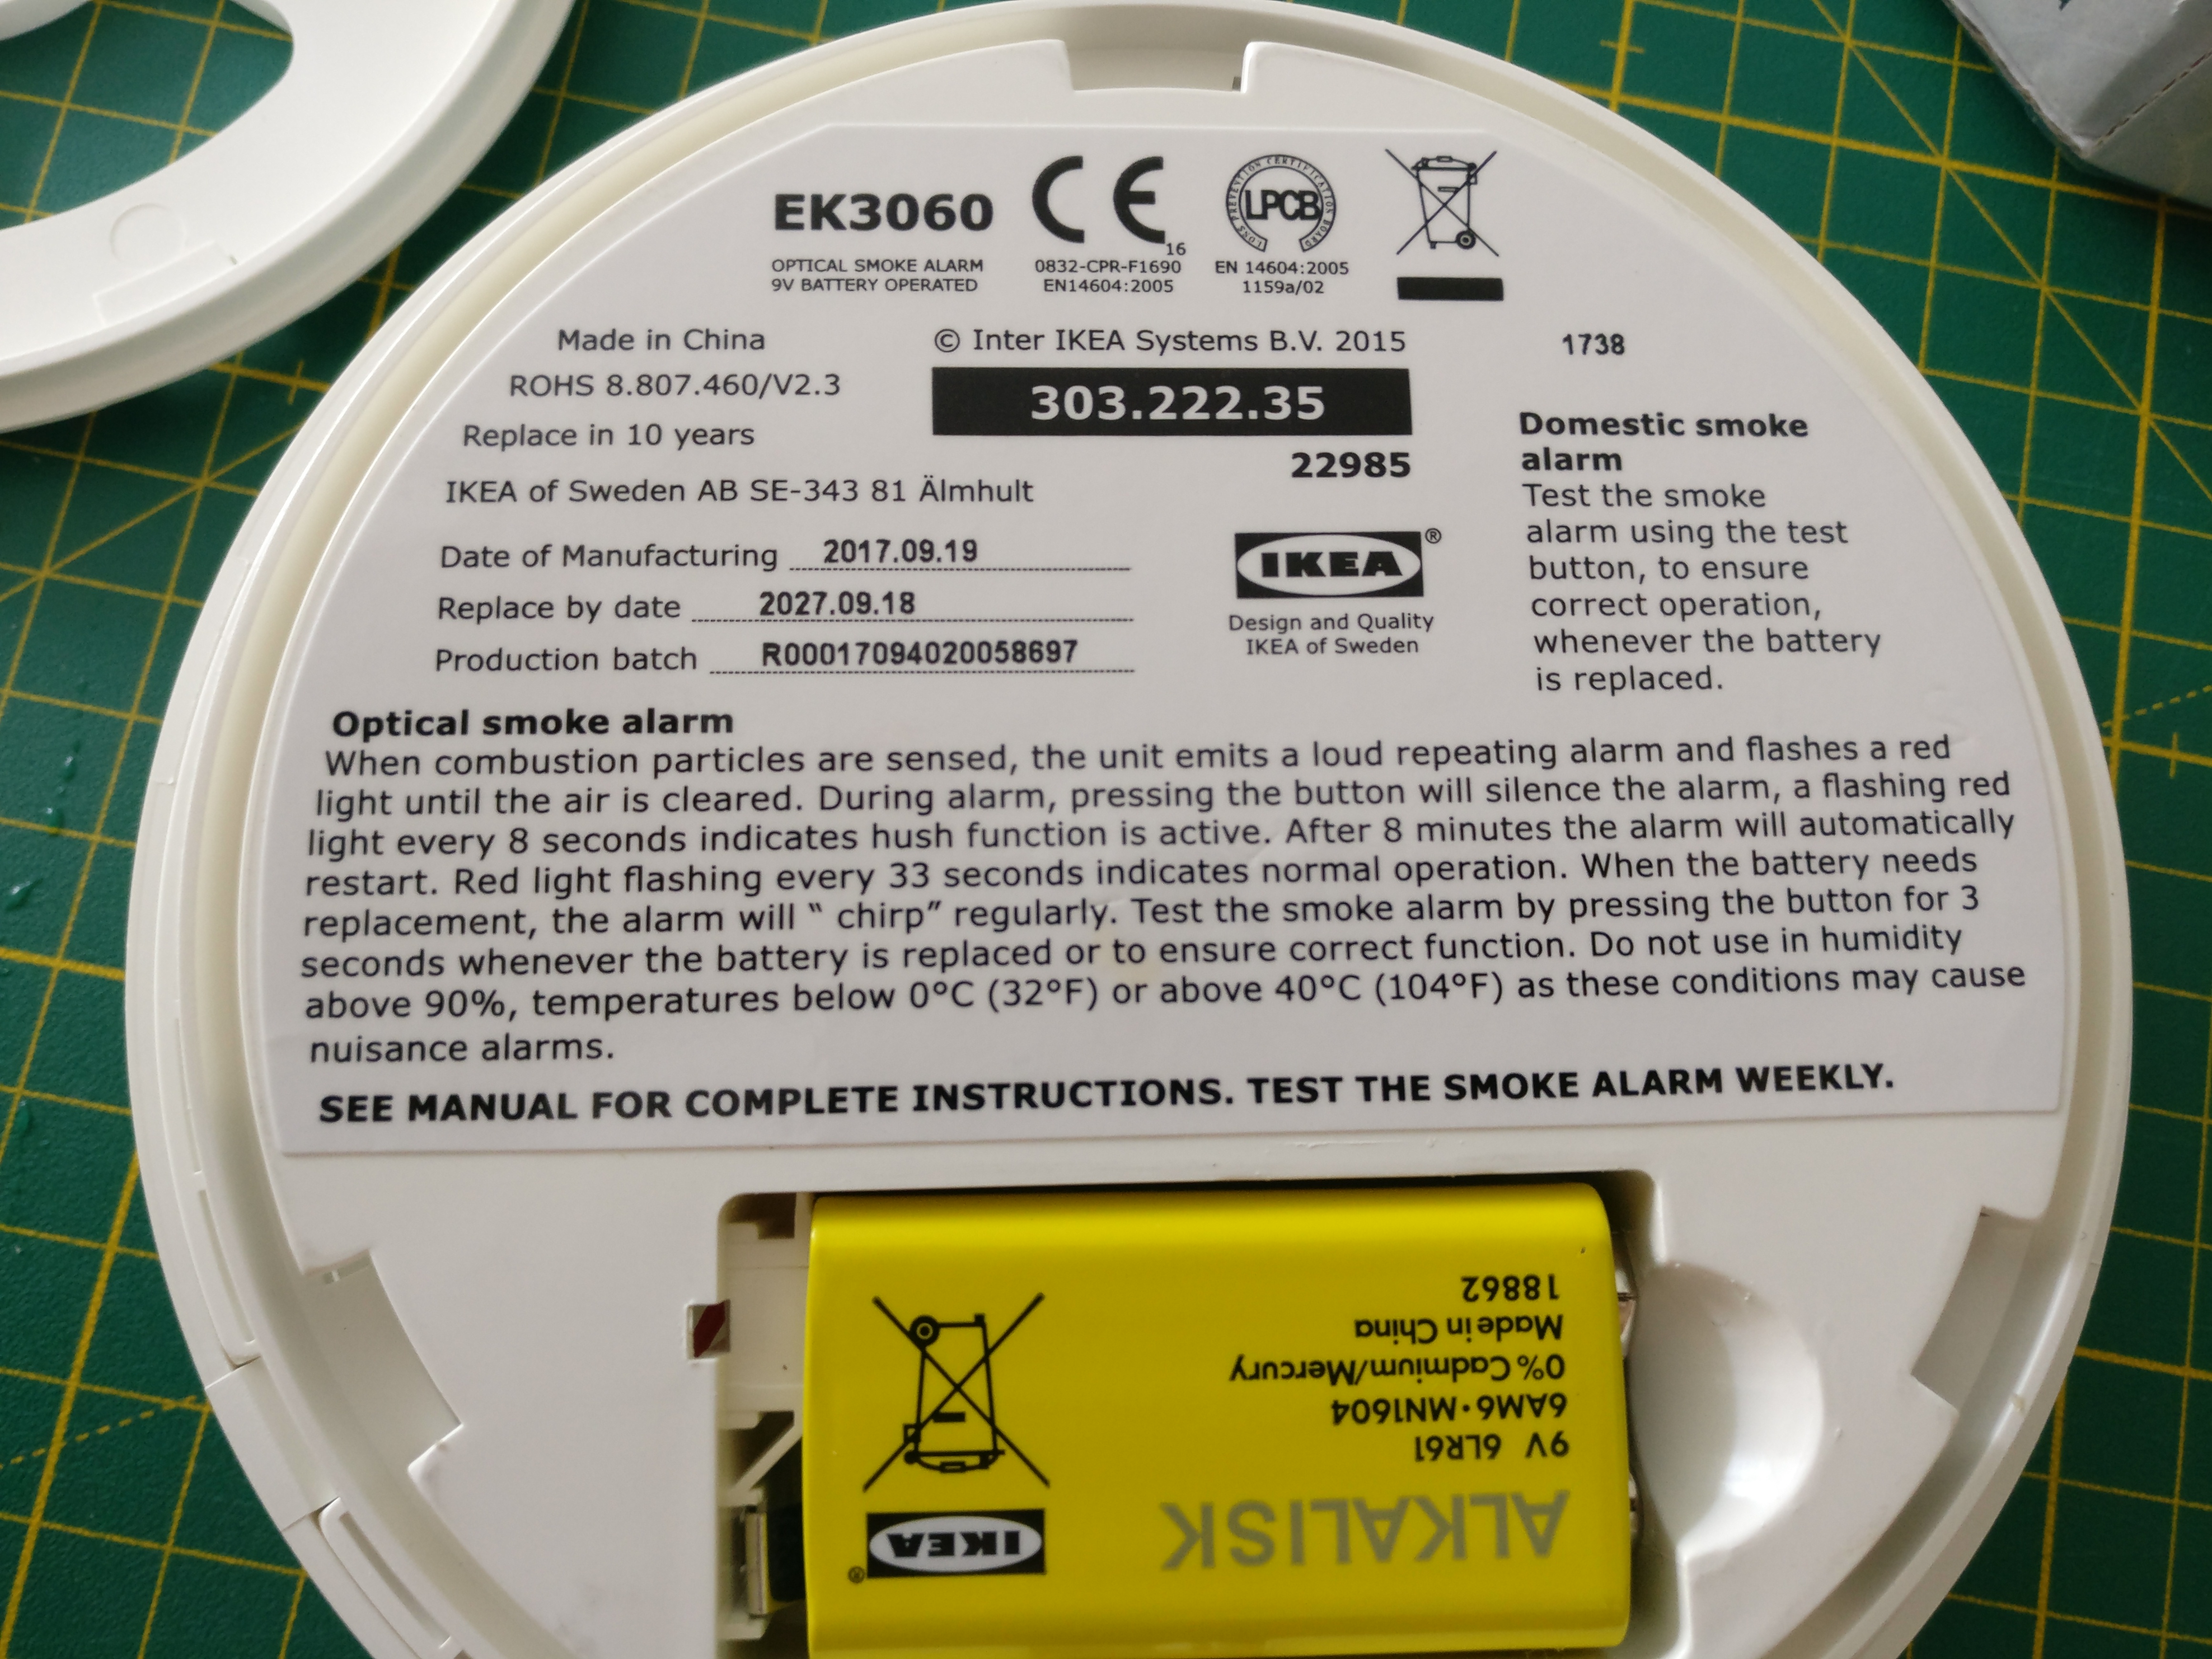
By chance I found a smoke detector at IKEA. I needed to see if it can be hacked.

Ikea Smoke Detector
Test pin 4 can be used to solder the trigger to.

Good news! It can! 🙂
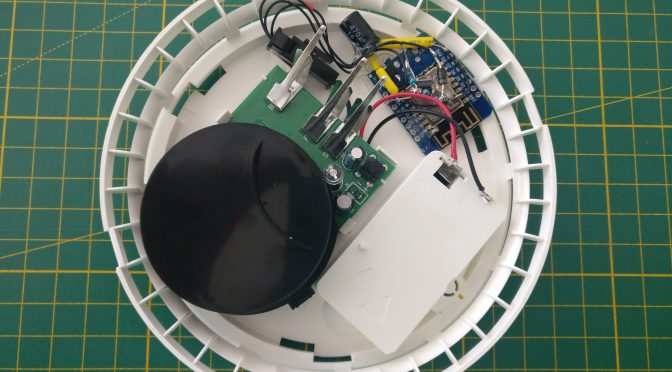
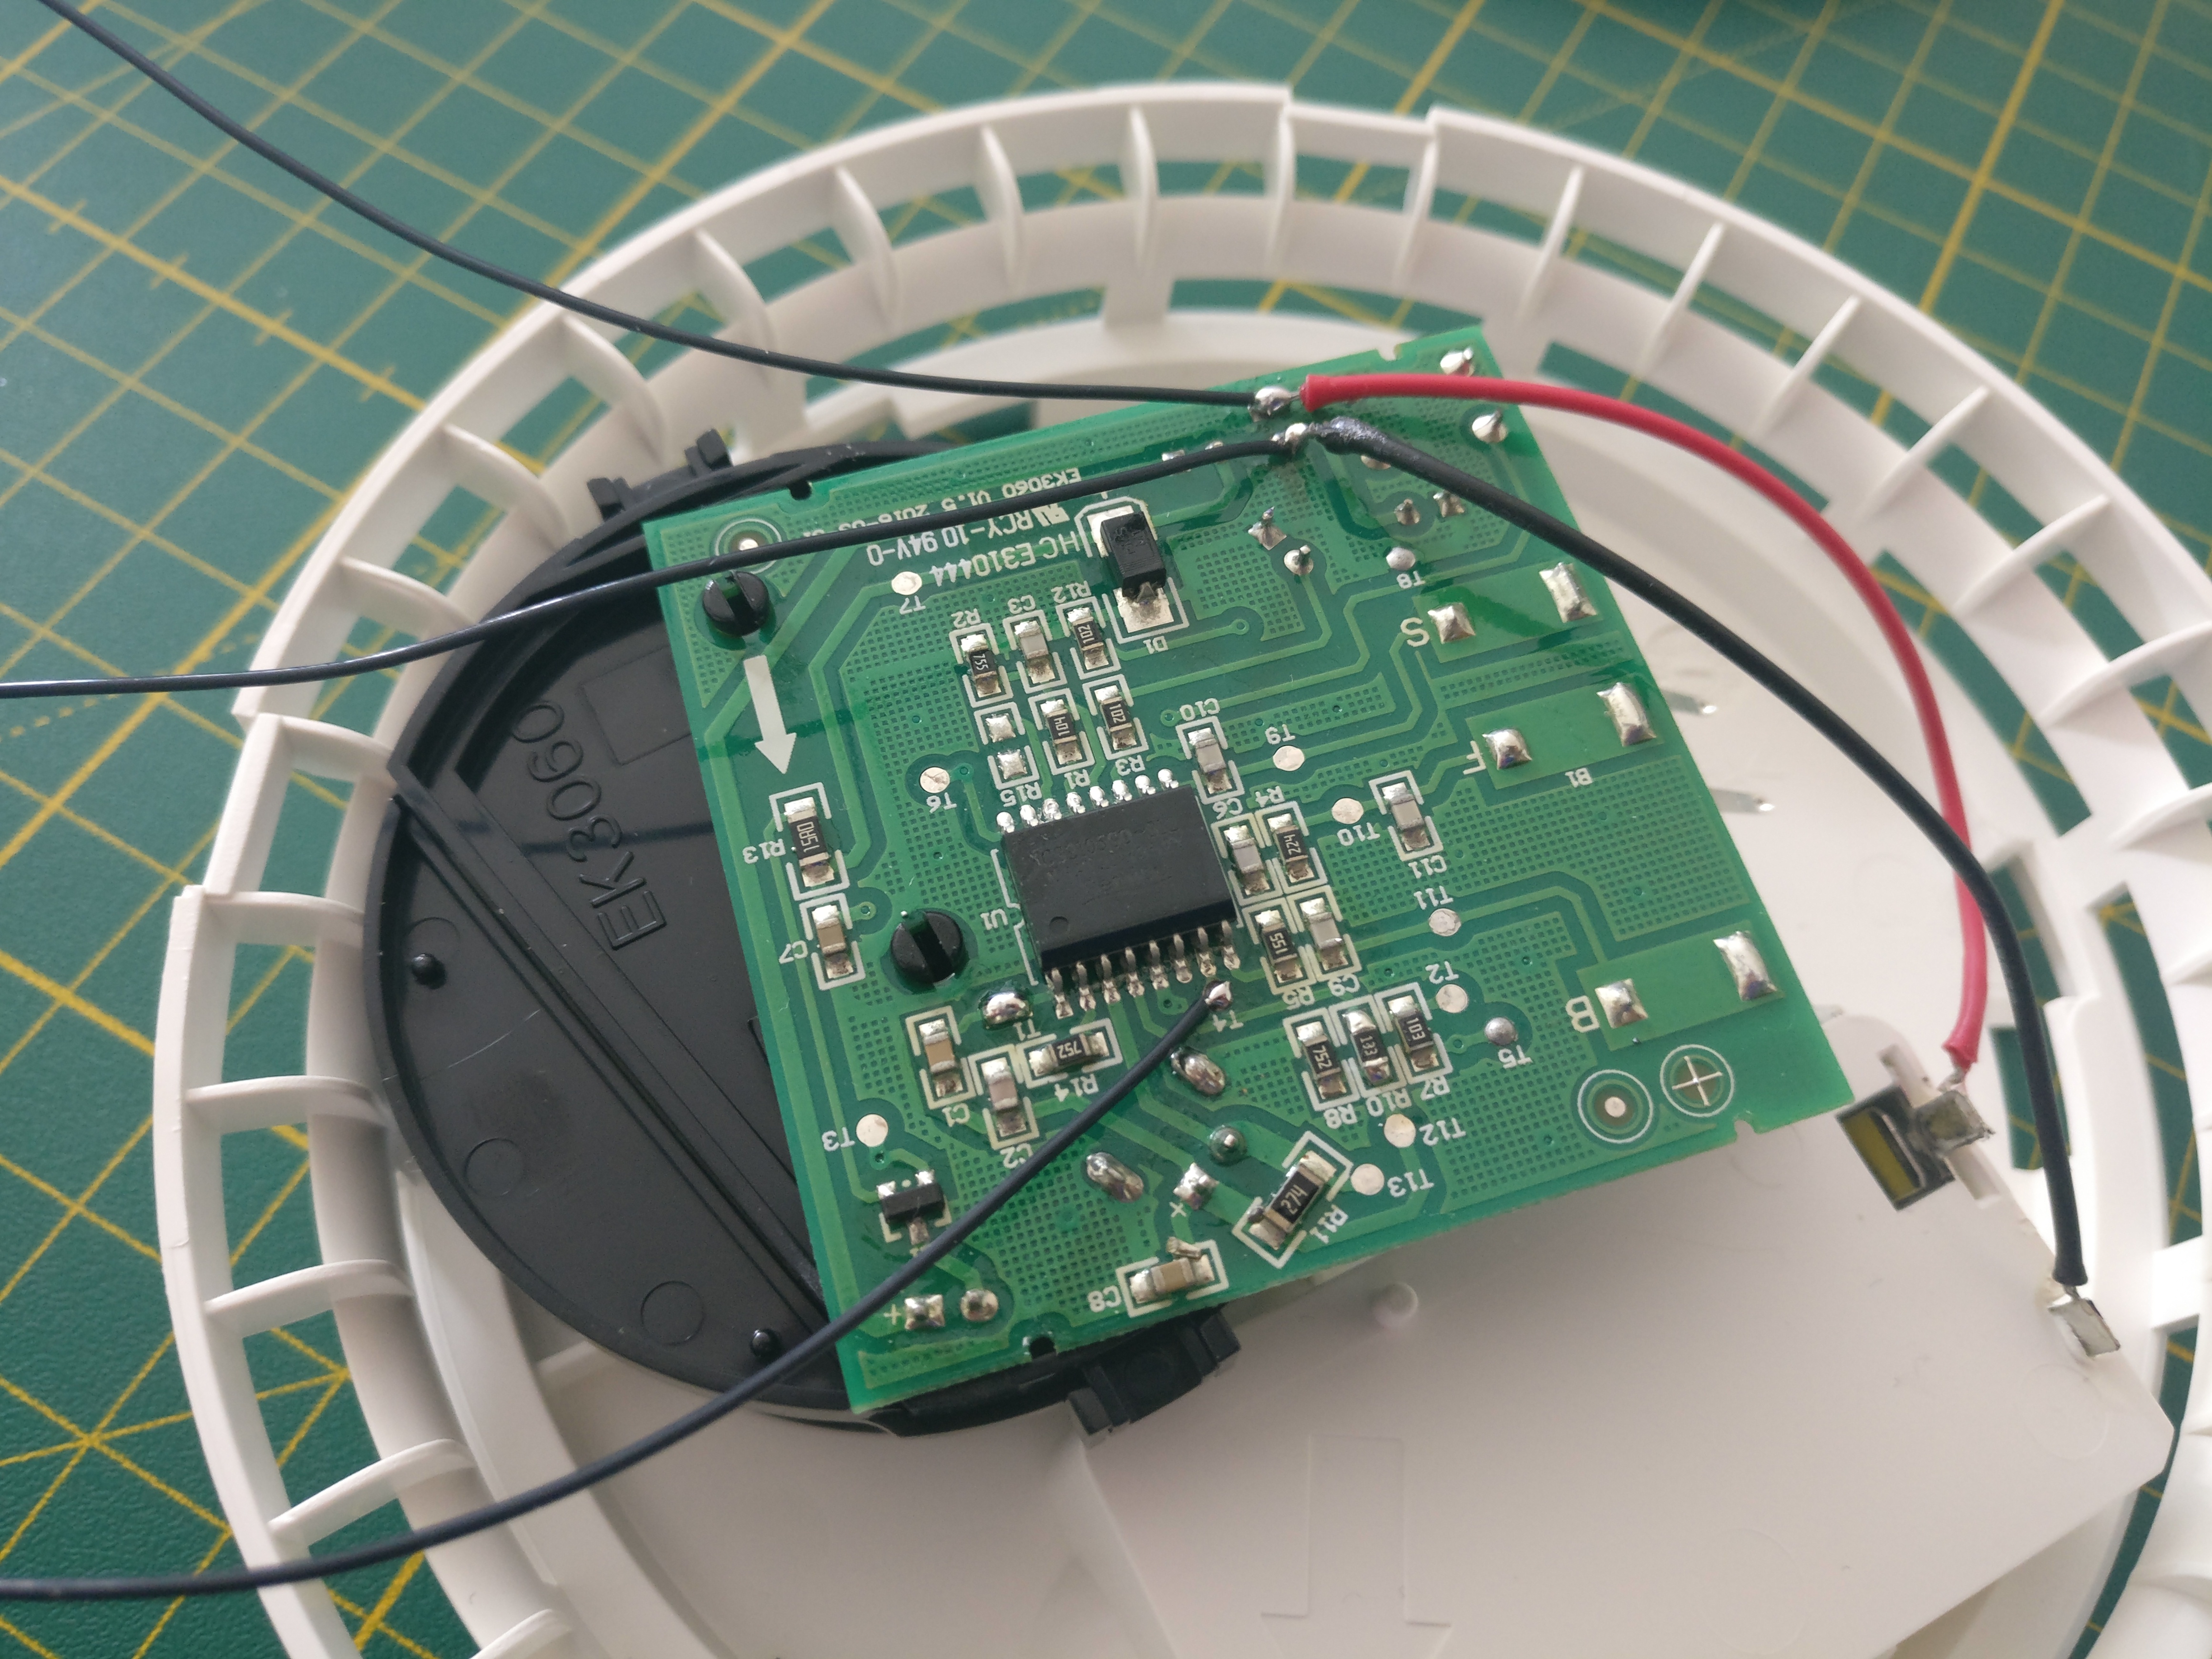
It turns out the micro controller that is used (CS2105G0-S12) offers a nice pin (Pin 7 – I/O) to be used for external electronics. Conveniently the PCB has a test pad (T4) that one can solder to.

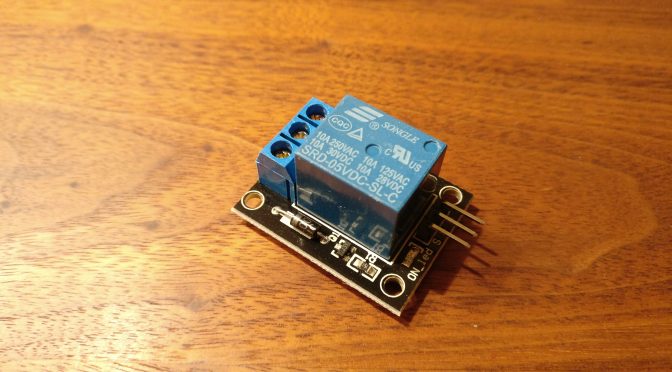
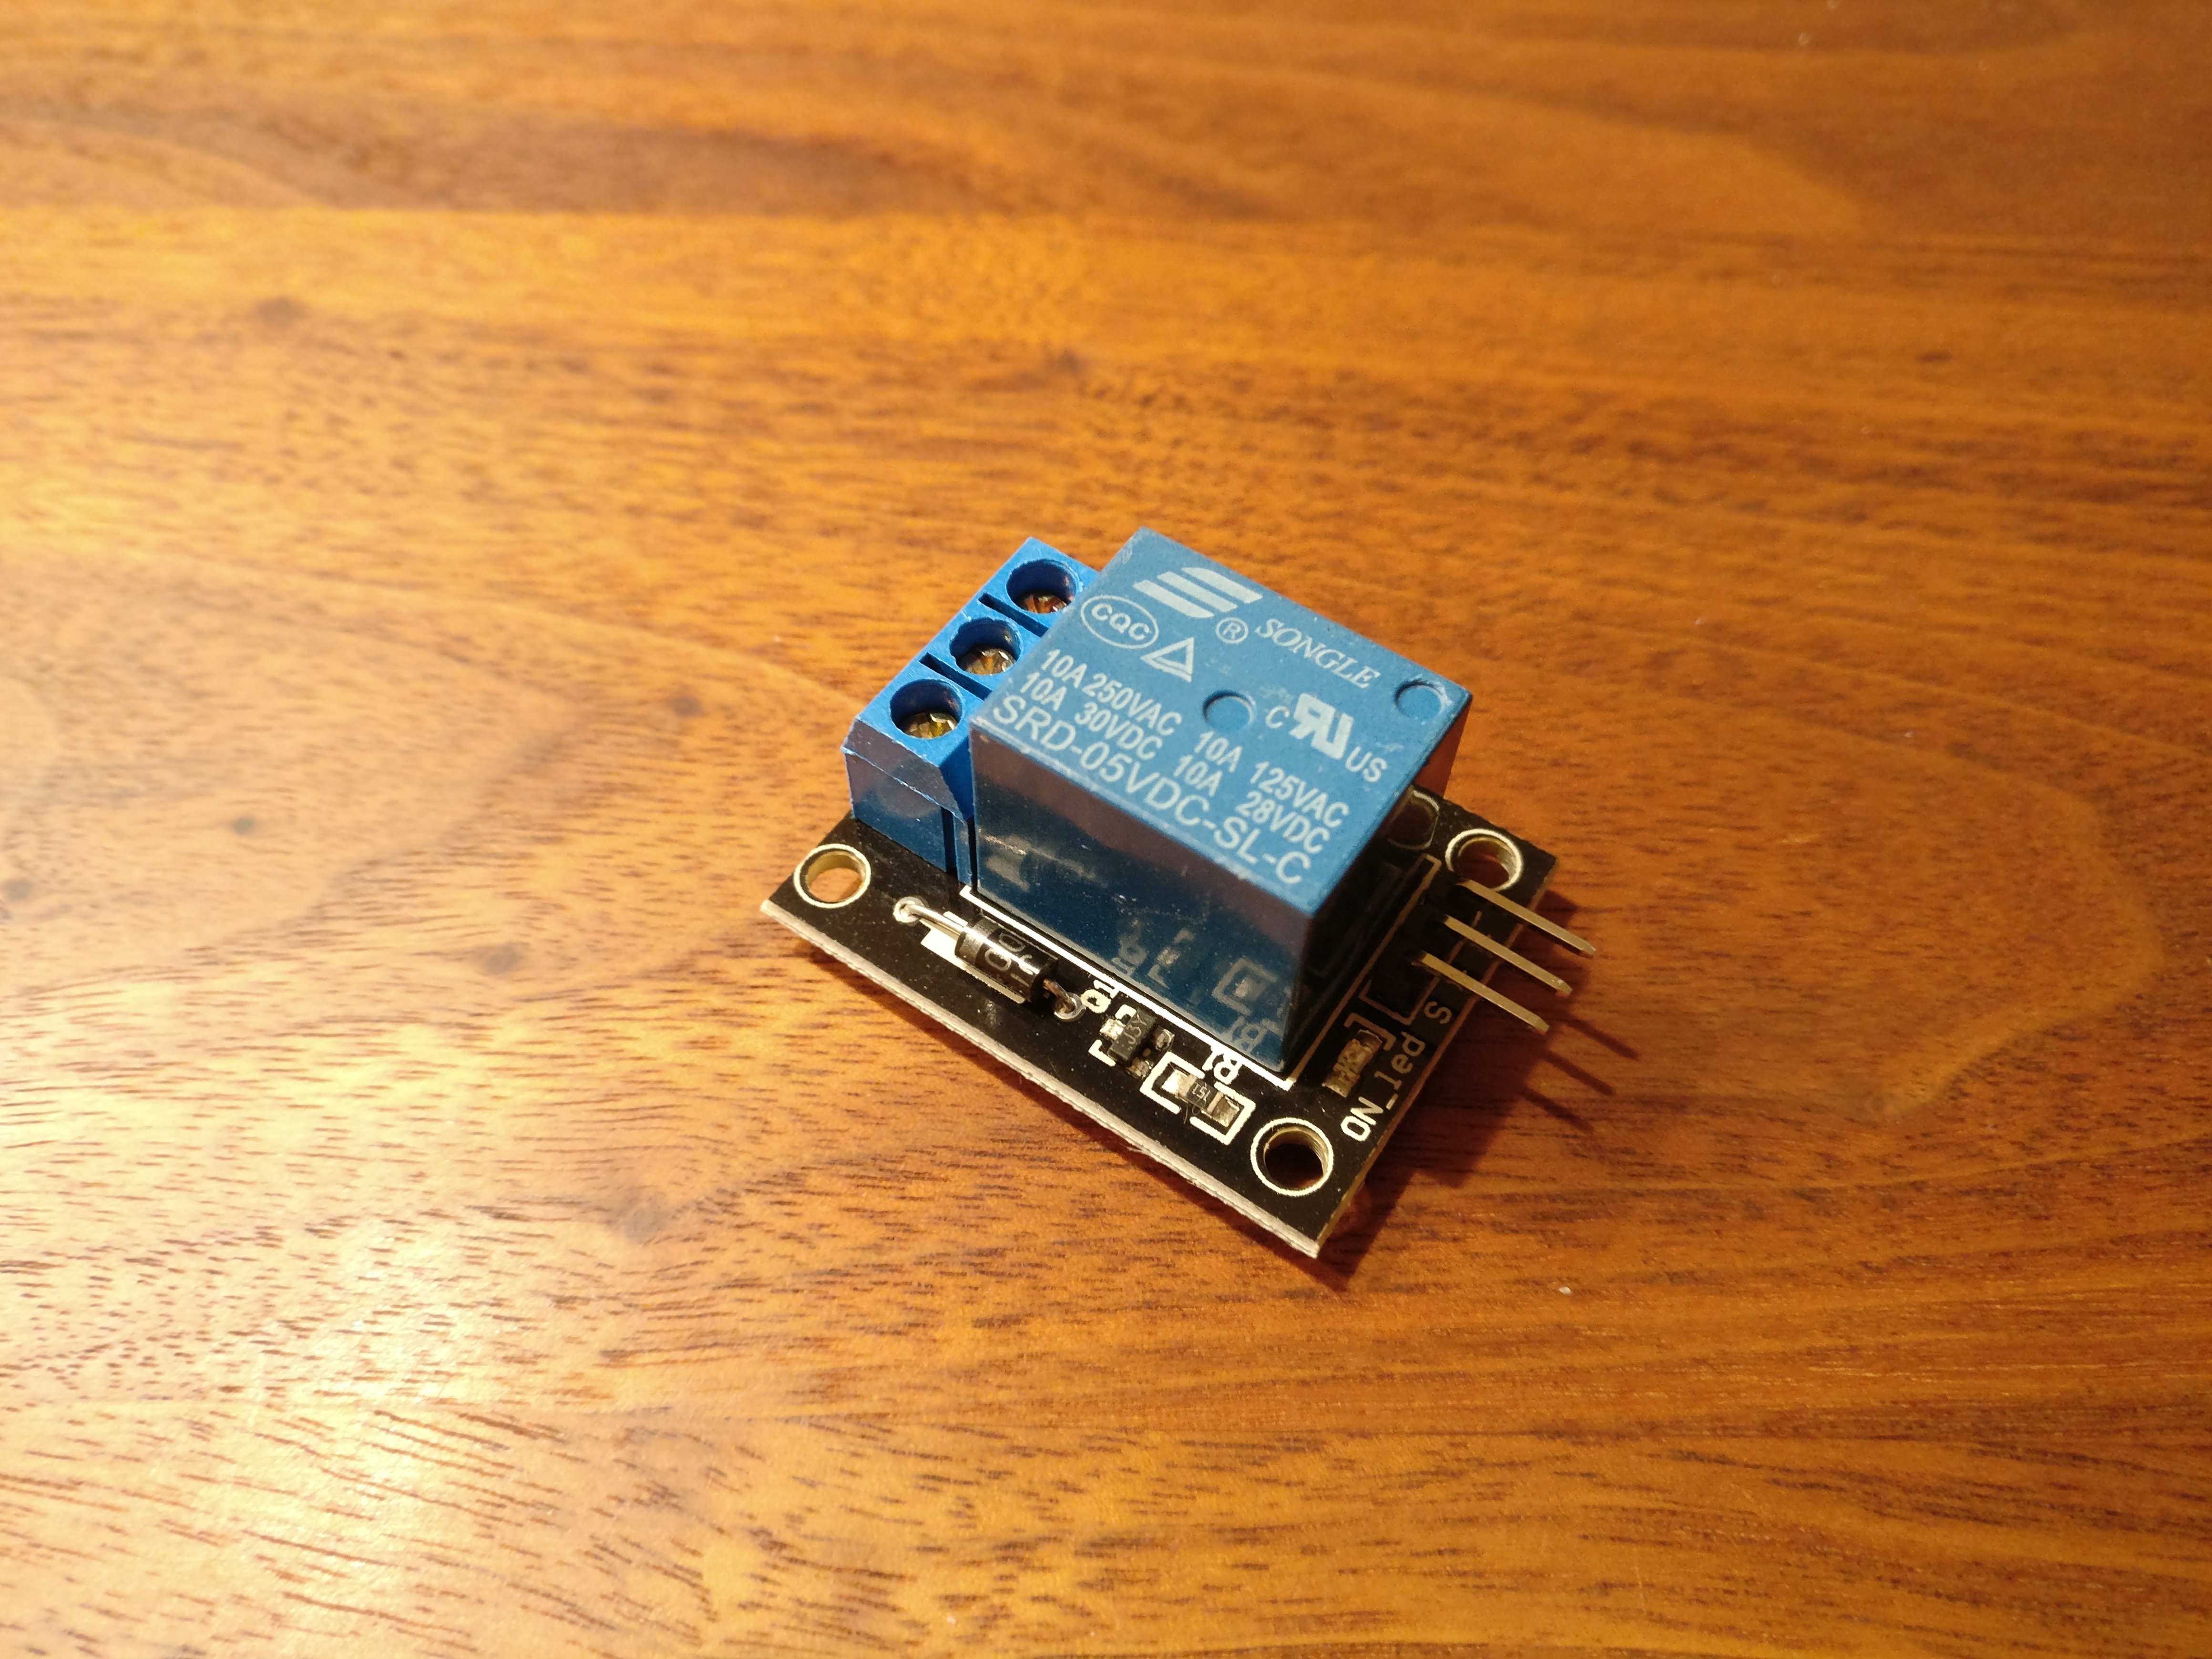
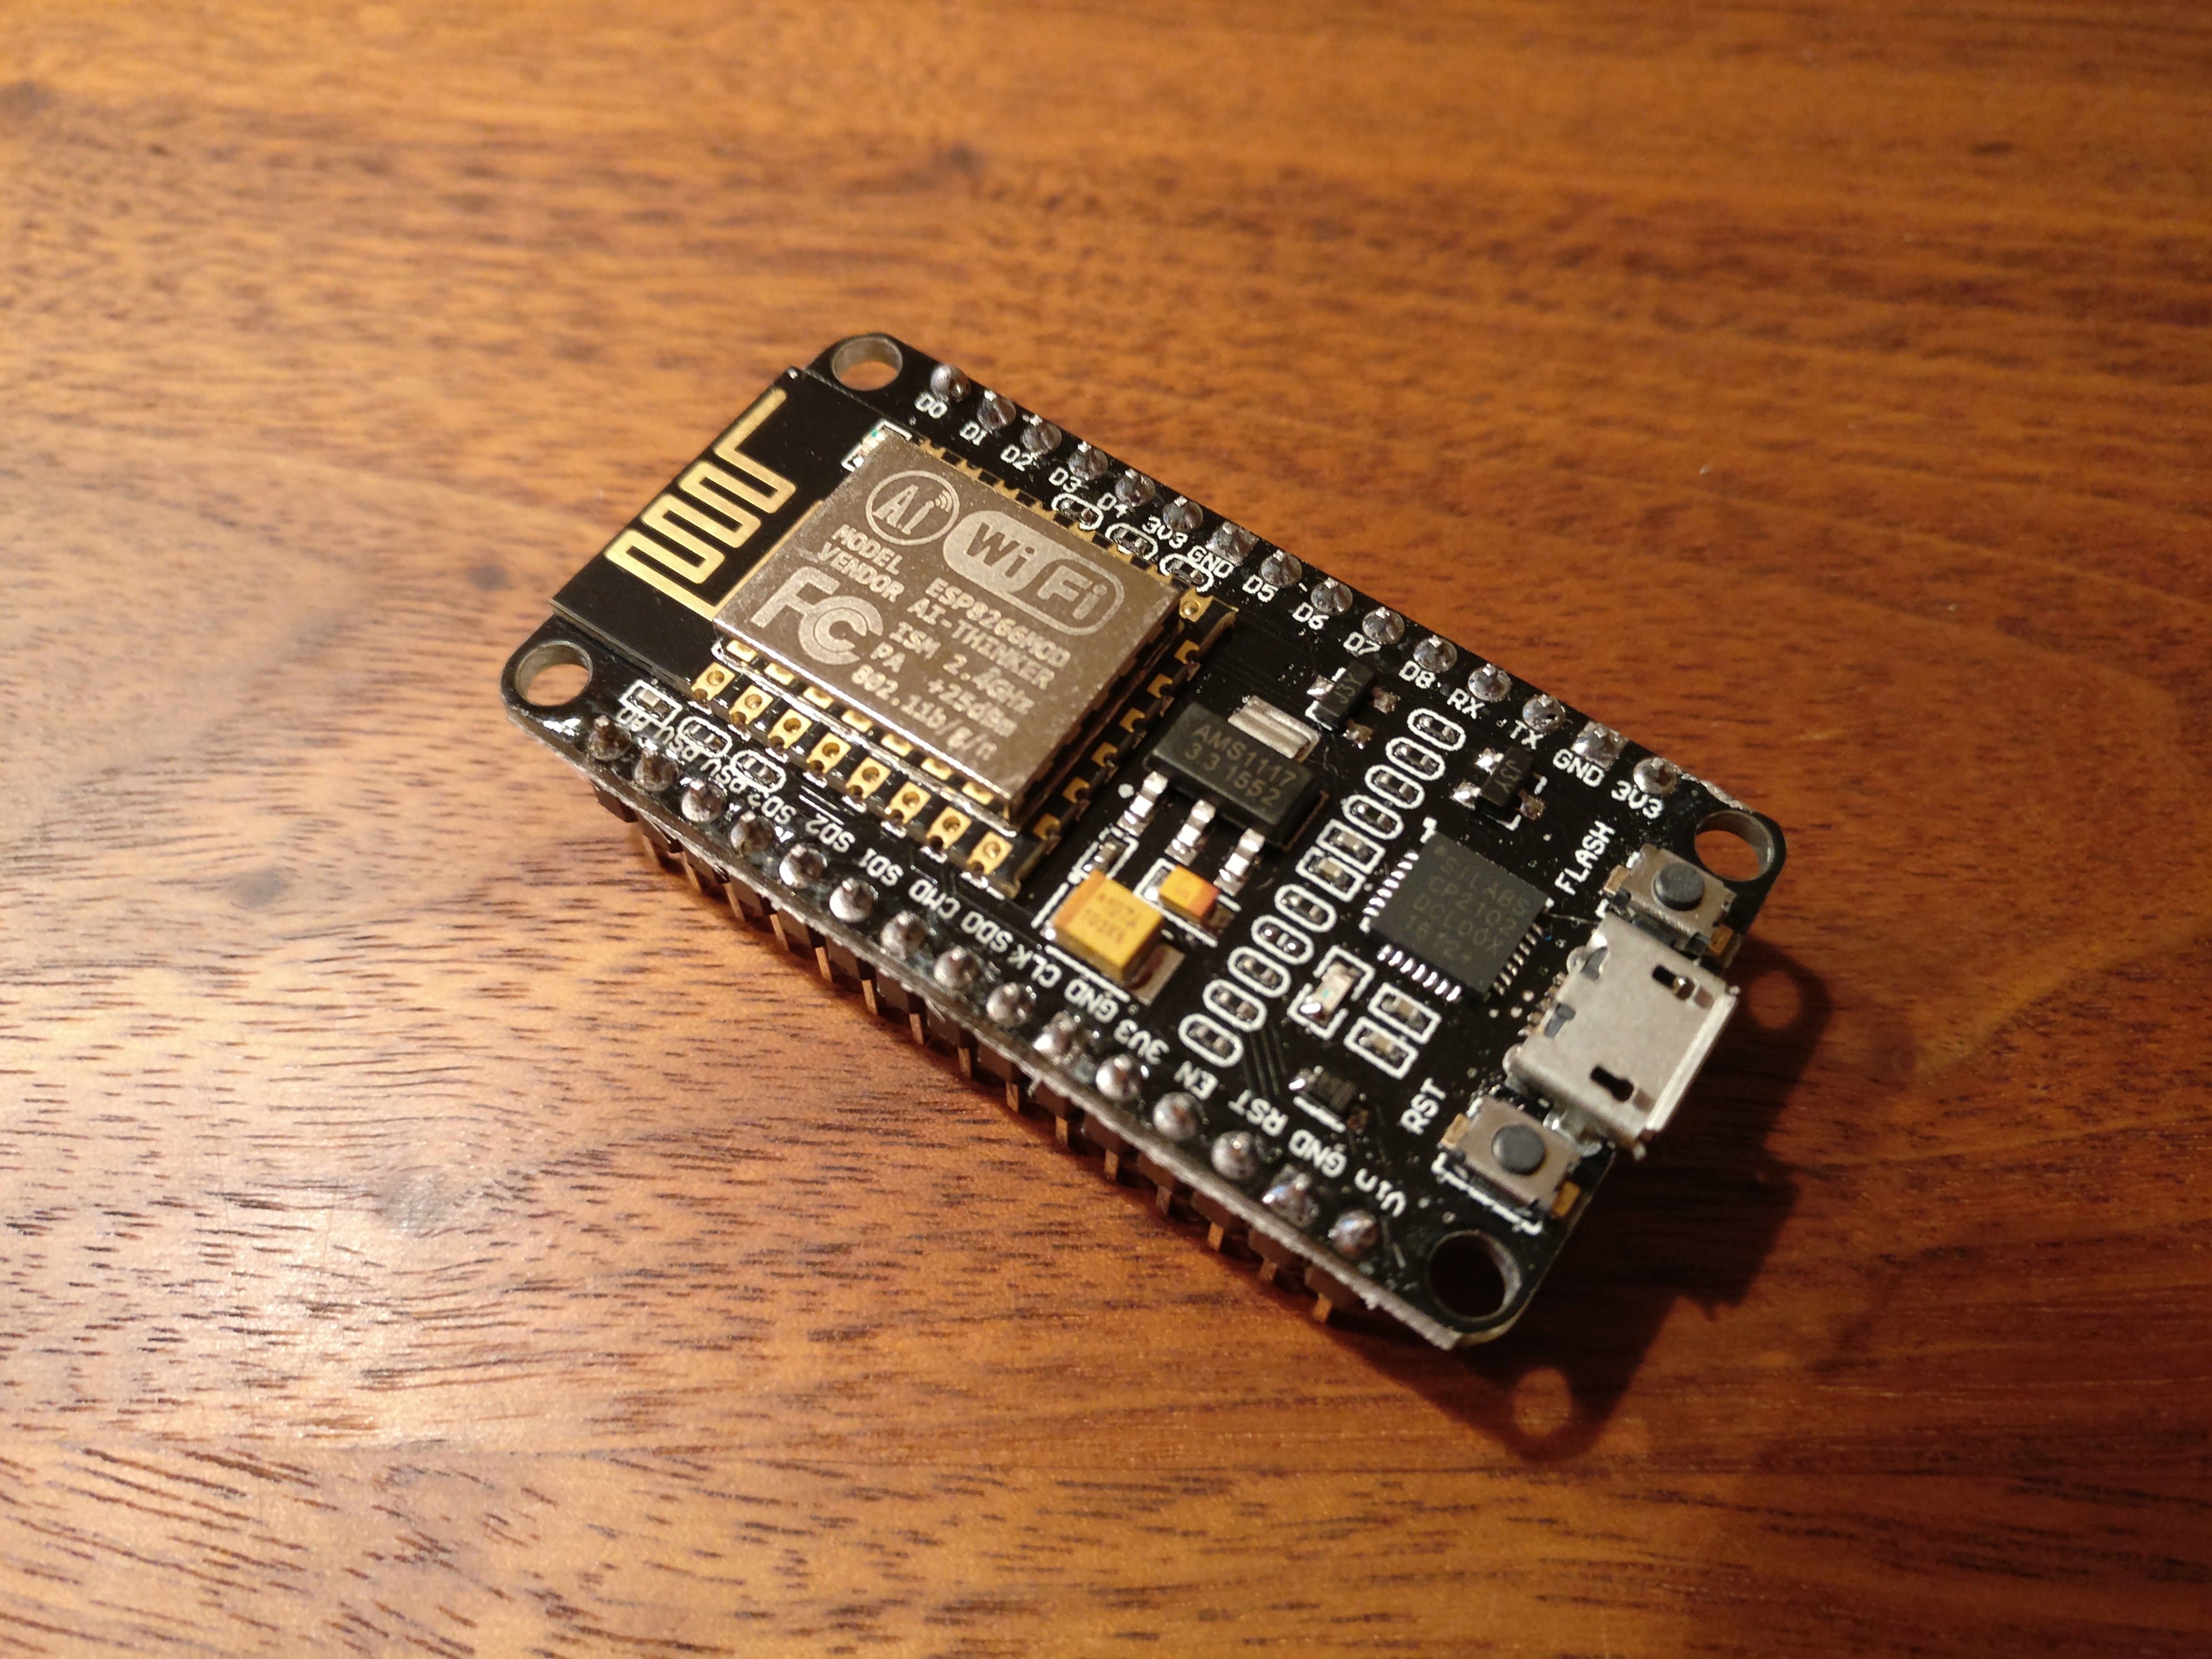
On the interwebs™ I found a design that uses the internal battery of a smoke detector to power an ESP8266. I modified the layout to work for a Wemos D1 mini. Switching the transistor to a Mosfet, allowing more current to pass, was the fix.

The layout shows how the Wemos D1 mini is powered. It runs MicroPython, only when the alarm goes off. An alarm must be active for about 20-30 15 seconds for a message to go through. The wifi module connects to a local wifi network and sends a MQTT message to a pre-defined channel.

circuit design

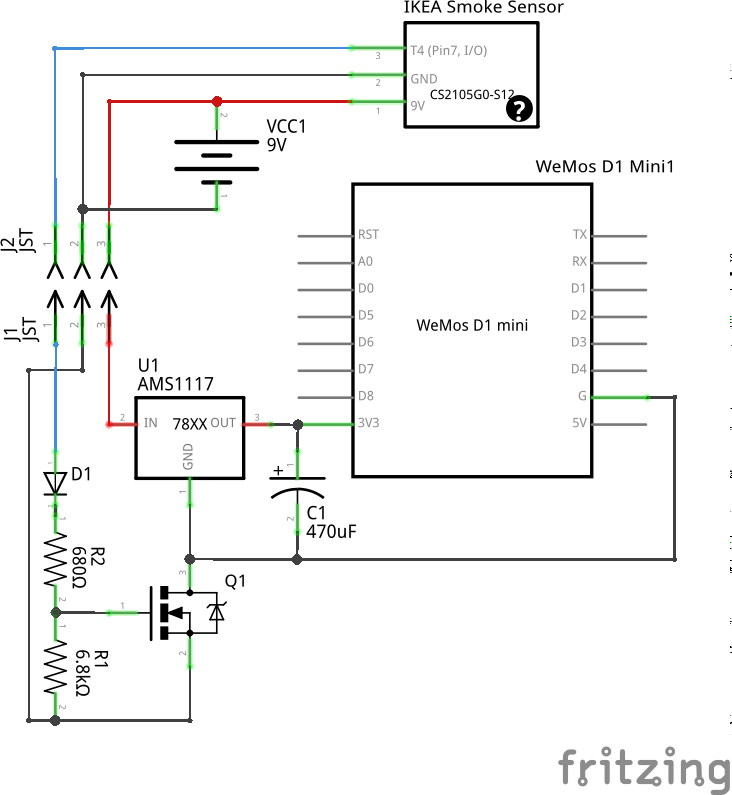
The I/O-Pin 7 of the smoke detector is high at 9V when smoke is detected. The Mosfet will be switched on and the battery now powers the D1 mini as well, allowing notifications via network. The ESP8266 on the board is flashed with MicroPython. The script connects to the local wifi and notifies home-assistant via MQTT that smoke is detected. Home-Assistant does the rest.

The source of the script can be found here on gitlab or on github.

Battery update: Since November last year to beginning of October this year, the battery level dropped from 8.8V to 8.2V. Considering that the level is probably good until a level of about 7 Volts this should give the sensor a run time of a little less than 3 years. I did test the sensor several times in this time span, so this could be another factor for more battery drain.

The battery life time should be one year according to IKEA.

Categories
Hacking

cheap Chinese Z-Wave Sensors and Home Assistant…

cheap z-wave door sensor

I was looking for sensors that allow to monitor the status of a door. Typically those are magnet triggered switches that send some sort of signal when the magnet moves away and comes back. I wanted something based on Z-Wave. I’ve already light switch relays that are running on Z-Wave and am very happy with them. Z-Wave is on the pricier end of RF-devices. 433Mhz switches would be much cheaper, but Z-Wave offers nicer handling and hopefully more reliability.

Many of these sensors come in at around 40€. That is quite pricy so I opted for the cheap chinese solution at around 13.5€ per piece. You just have to be patient: 4+ weeks delivery time.

Setup into Home Assistant was straight forward. Add the device to the Z-Wave network via the web interface, rename it to mydoor… but then… How does the device report ‘door open’? The binary sensor that showed up, did nothing.

After some fiddling and searching I found that the sensor.mydoor_access_control changes it’s state rather unspectacularly from 23 to 22. It’s so inconspicuous that I didn’t notice the change the first few times I kept looking for changes.

Perfect! there is something we can use to integrate it to Home Assistant for automation and other stuff. Luckily there are templates that allow us to turn this into a binary sensor which is more useful in automations.
Add this to your configuration.yml:

1
2
3
4
5
6
7
8
9
10
11
12
binary_sensor:
platform
: template
sensors
:
door1
:
device_class
: opening
friendly_name
: 'Haustür'
value_template
: >-
{%- if is_state("sensor.mydoor_access_control", "22") -%}
True
{%- else -%}
False
{%- endif -%}

this can then be integrated into an automation like this:

1
2
3
4
5
6
7
8
9
10
11
12
13
14
15
automation:
alias
: "coming home"
hide_entity
: False
trigger
:
platform
: state
entity_id
: binary_sensor.door1
from
: 'off'
to
: 'on'
condition
:
condition
: sun
after
: sunset
action
:
- service
: homeassistant.turn_on
entity_id
:
- switch.main_light

that’s it. hope this helps.

thanks to @Tinkerer from the Home Assistant chat group for the help.

Categories
Hacking Hardware Gadgets

Home Automation with Python…

I gave a talk at Grazer Linuxtage 2017. It’s about Home Automation and how you can use Python to realize it.

The talk covers a simple example of a DIY sensor that runs MicroPython. Finally I give a short introduction to Home Assistant, a Python Home Automation Hub, that allows you to integrate with hundreds of devices. Home Assistant offers integrations to light switches, smart lights (Hue, Trådfri, Lightify,…), door sensors, heat control units, and many others.

There is a video of my talk on my Youtube channel:

Categories
Hacking Hardware Gadgets

DIY MQTT smart plug with MicroPython…

I’ve been playing around with MicroPython and Home Assistant. MicroPython is a ‘bare-metal’-Python flavor that you can use to program ICs. Home Assistant is a home automation and home control software written in Python 3. It can be hosted on a Raspberry Pi. It enables you to connect a vast amount of different devices: lights, switches, sensors, locks etc.

This is a raw guide on how to make your own smart plug and connecting it to MQTT which is then connected to Home Assistant.

You will need a relay board (single relay), a NodeMCU board, a power adapter for 5V, a case, a button, some wire and a 1k resistor.

Connect the devices according to this schema (WARNING: Don’t do this if you’re not comfortable handling mains power!). Don’t forget earthing (it’s not on the diagram):
circuit diagram

Flash the MicroPython firmware to the NodeMCU board. Put the ‘relay_mqtt.py‘ file on it as main.py. That way it will be run when the device boots up. Adjust the code to connect to your network and MQTT server first.

You can download the code here.

My device looks like this:

See the Home Assistant documentation for how to integrate the MQTT part with Home Assistant.

The nice thing is: you can press the button to switch the device. The status of the device will update via MQTT and Home Assistant gets a correct status update. You can of course switch the device from within Home Assistant as well.

Happy hacking!

Categories
Hacking Hardware Gadgets

Fixing brushes of the iRobot…

I’ve been using the same old brushes for more than a year now on our “Profimaster Robot Model 2712”. They are a little misdesigned, as the brushes go under the wheels of the robot, which makes them tare.

Categories
english Hacking Hardware Gadgets

Bitcoin Paper Wallet Treasure Chest…

The Bitcoin Paper Wallet Treasure Chest
One of the challenges with bitcoin is to store them securely. There have been several well known incidents where Bitcoins have been stolen. It is no mystery. Bitcoin IS money! It’s the same with Euros or Dollars, when you have it lying around it will eventually be missing.

There is a twist with bitcoin to regular money. With Bitcoin one single piece of information is enough for the thief to steal your Bitcoins: Your private key. With Bitcoin it’s about keeping this piece of information secret.

Categories
data english Hacking

Open Street Map RL Wallpaper…

The final result
The final result

We wanted to paint one wall in our vestibule to add a little more color to the room. As we could not settle on a specific color, I thought of wallpaper. And is there any better theme than OpenStreetMap Data¹?

 
The theme was settled. It had to be a map, but which tiles? I thought of the beautiful pencil drawn MapBox tiles I saw some time ago:

OpenStreetMap Pencil Tiles by MapBox

We wanted some redish color so I had to convert the image with ImageMagick:

1
2
$ ./colorize.sh 25 file_in.png file_out.png
$ cat colorize.sh
#!/bin/bash
# I found this script in the imagemagick formus:
# http://www.imagemagick.org/discourse-server/viewtopic.php?t=17460#p91820
# It does about the same as gimp with the colorize option.
test -z $1 && exit -1

hue=$1
sat=50
light=0
hue=`convert xc: -format "%[fx:100*$hue/360]" info:`
sat=`convert xc: -format "%[fx:2*$sat]" info:`
test=`convert xc: -format "%[fx:$light<0?0:1]" info:`
light=`convert xc: -format "%[fx:abs($light)]" info:`
if [ $test -eq 0 ]; then
fillcolor="black"
else
fillcolor="white"
fi

convert \
$2 -set colorspace RGB -colorspace gray -set colorspace sRGB \
-fill "hsl($hue%,100%,50%)" -tint 40% \
-modulate 100,$sat,100 \
-fill $fillcolor -colorize $light% $3

the result is something like this: