I’ve been playing around with MicroPython and Home Assistant. MicroPython is a ‘bare-metal’-Python flavor that you can use to program ICs. Home Assistant is a home automation and home control software written in Python 3. It can be hosted on a Raspberry Pi. It enables you to connect a vast amount of different devices: lights, switches, sensors, locks etc.
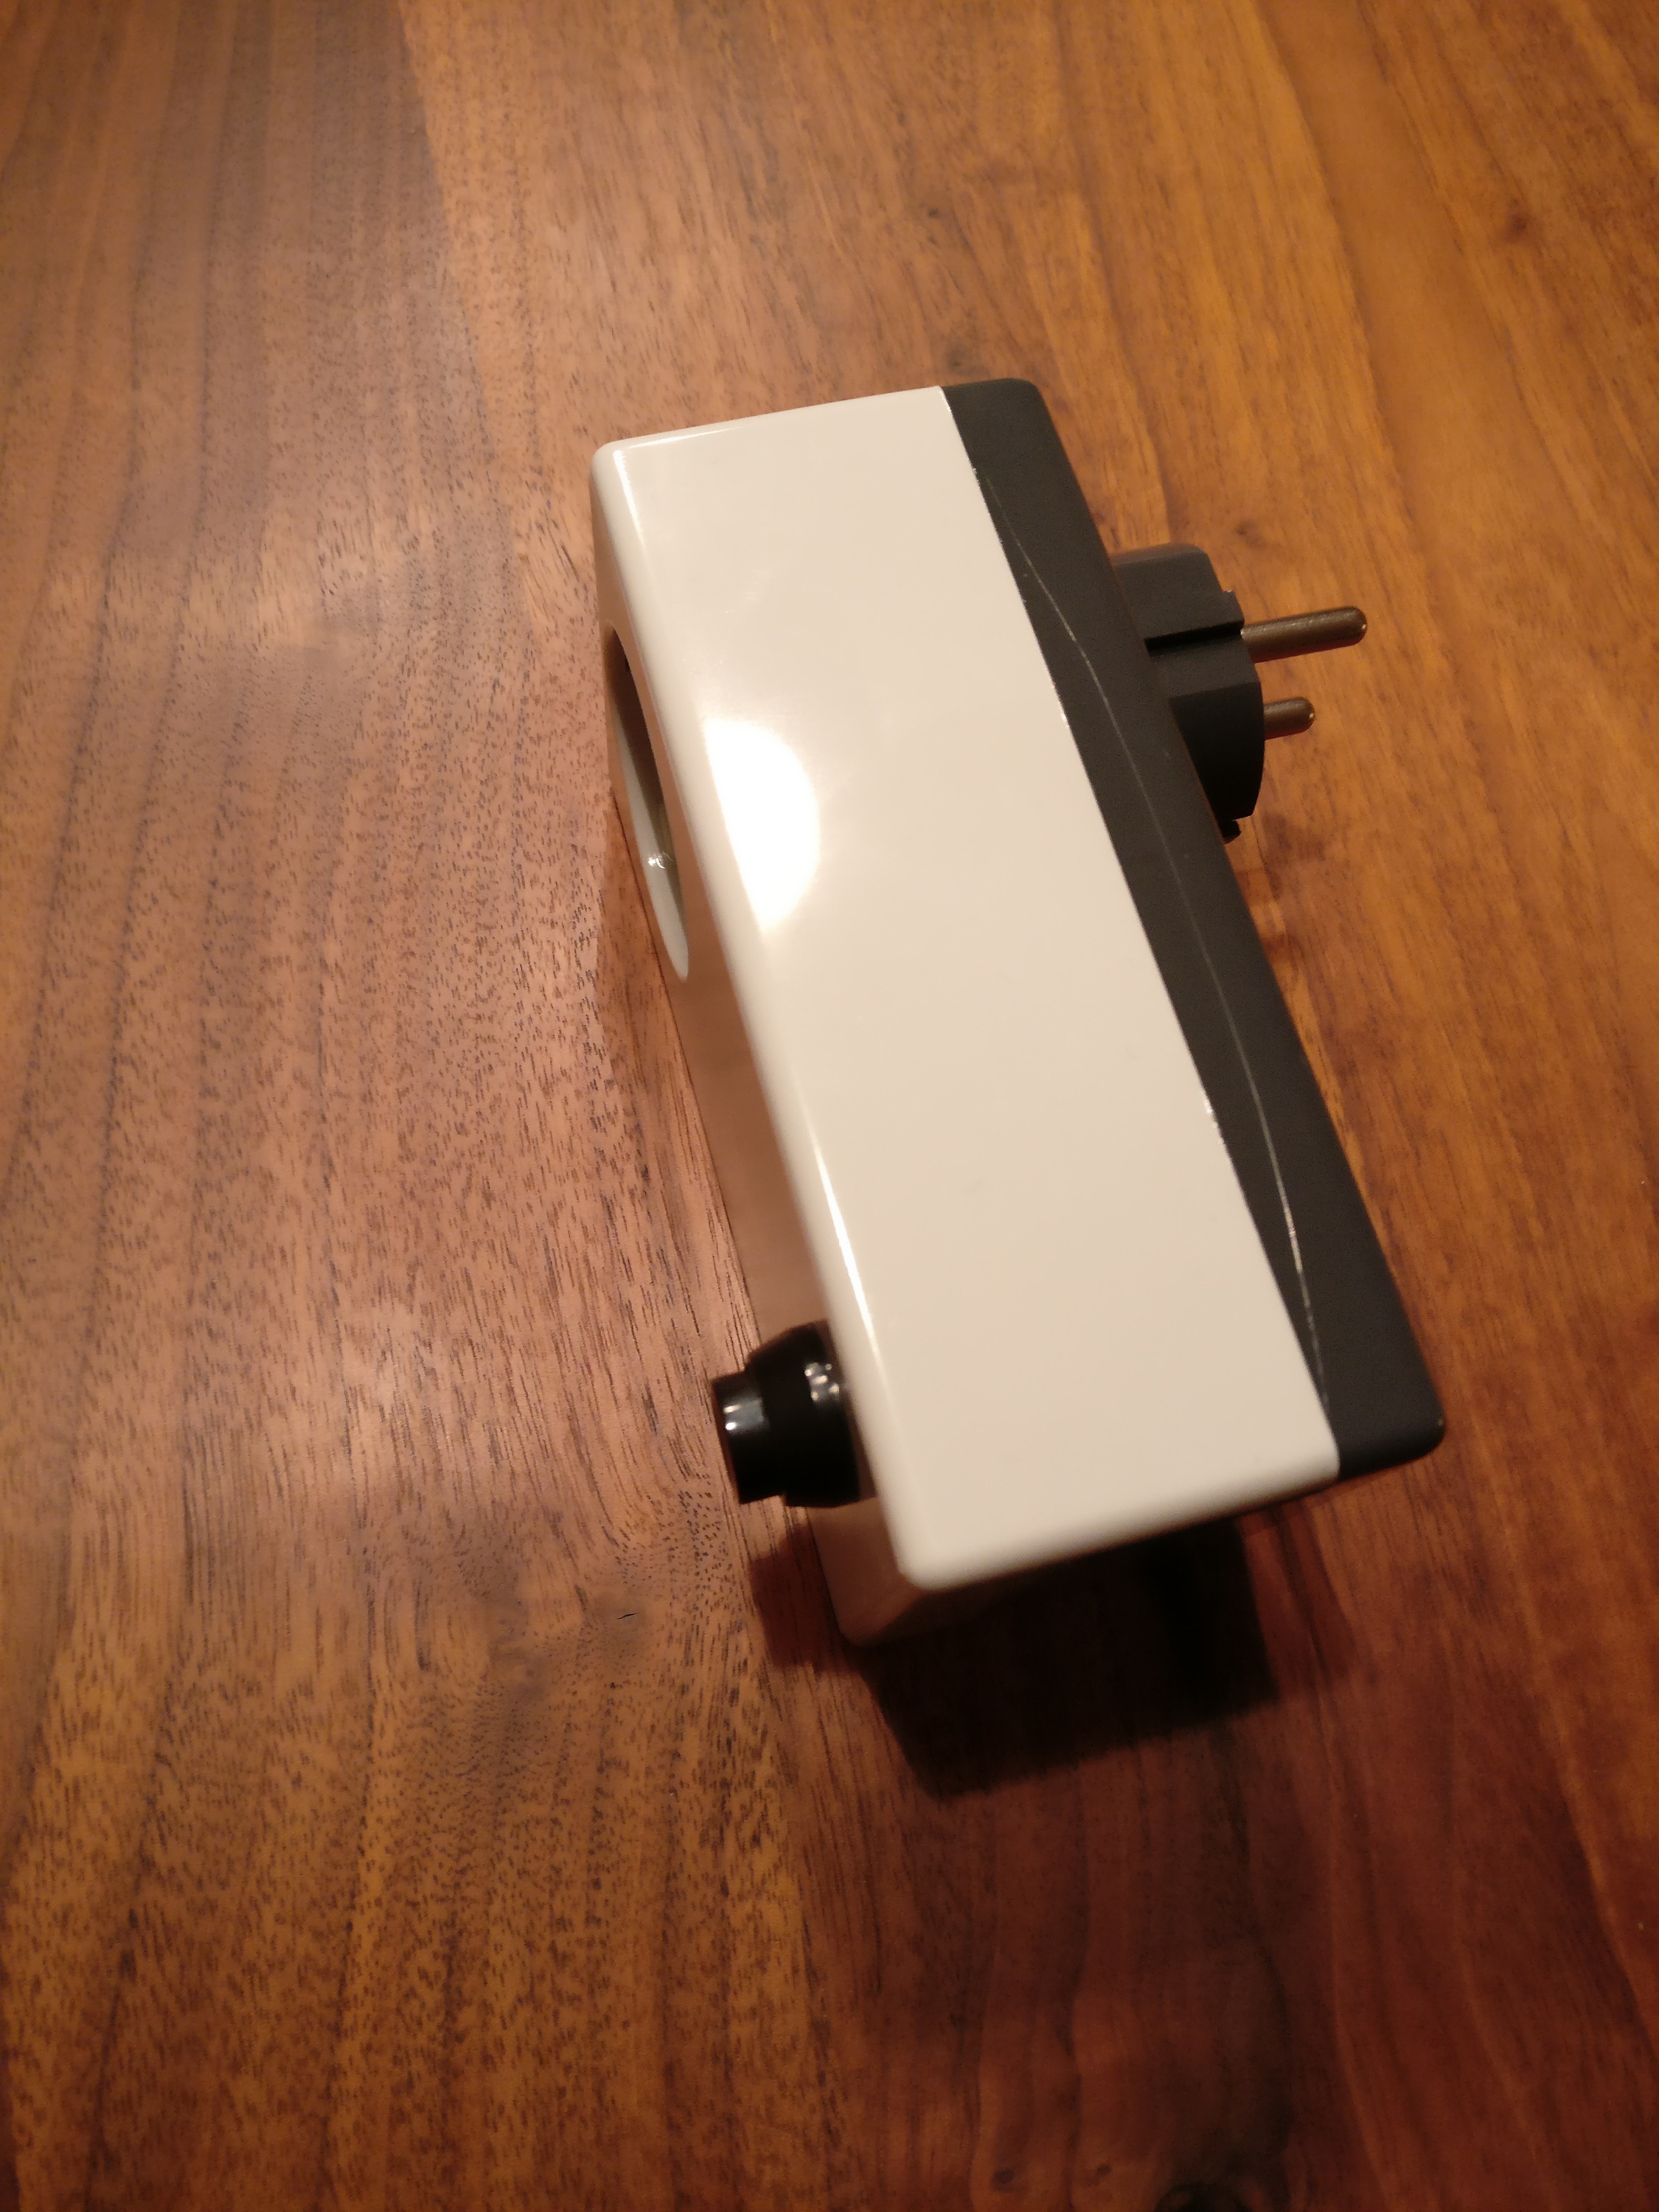
This is a raw guide on how to make your own smart plug and connecting it to MQTT which is then connected to Home Assistant.
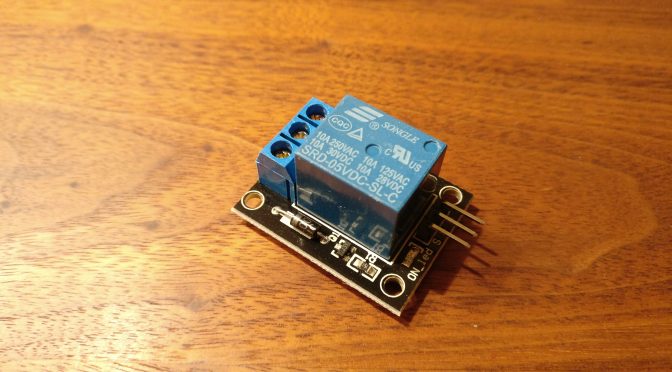
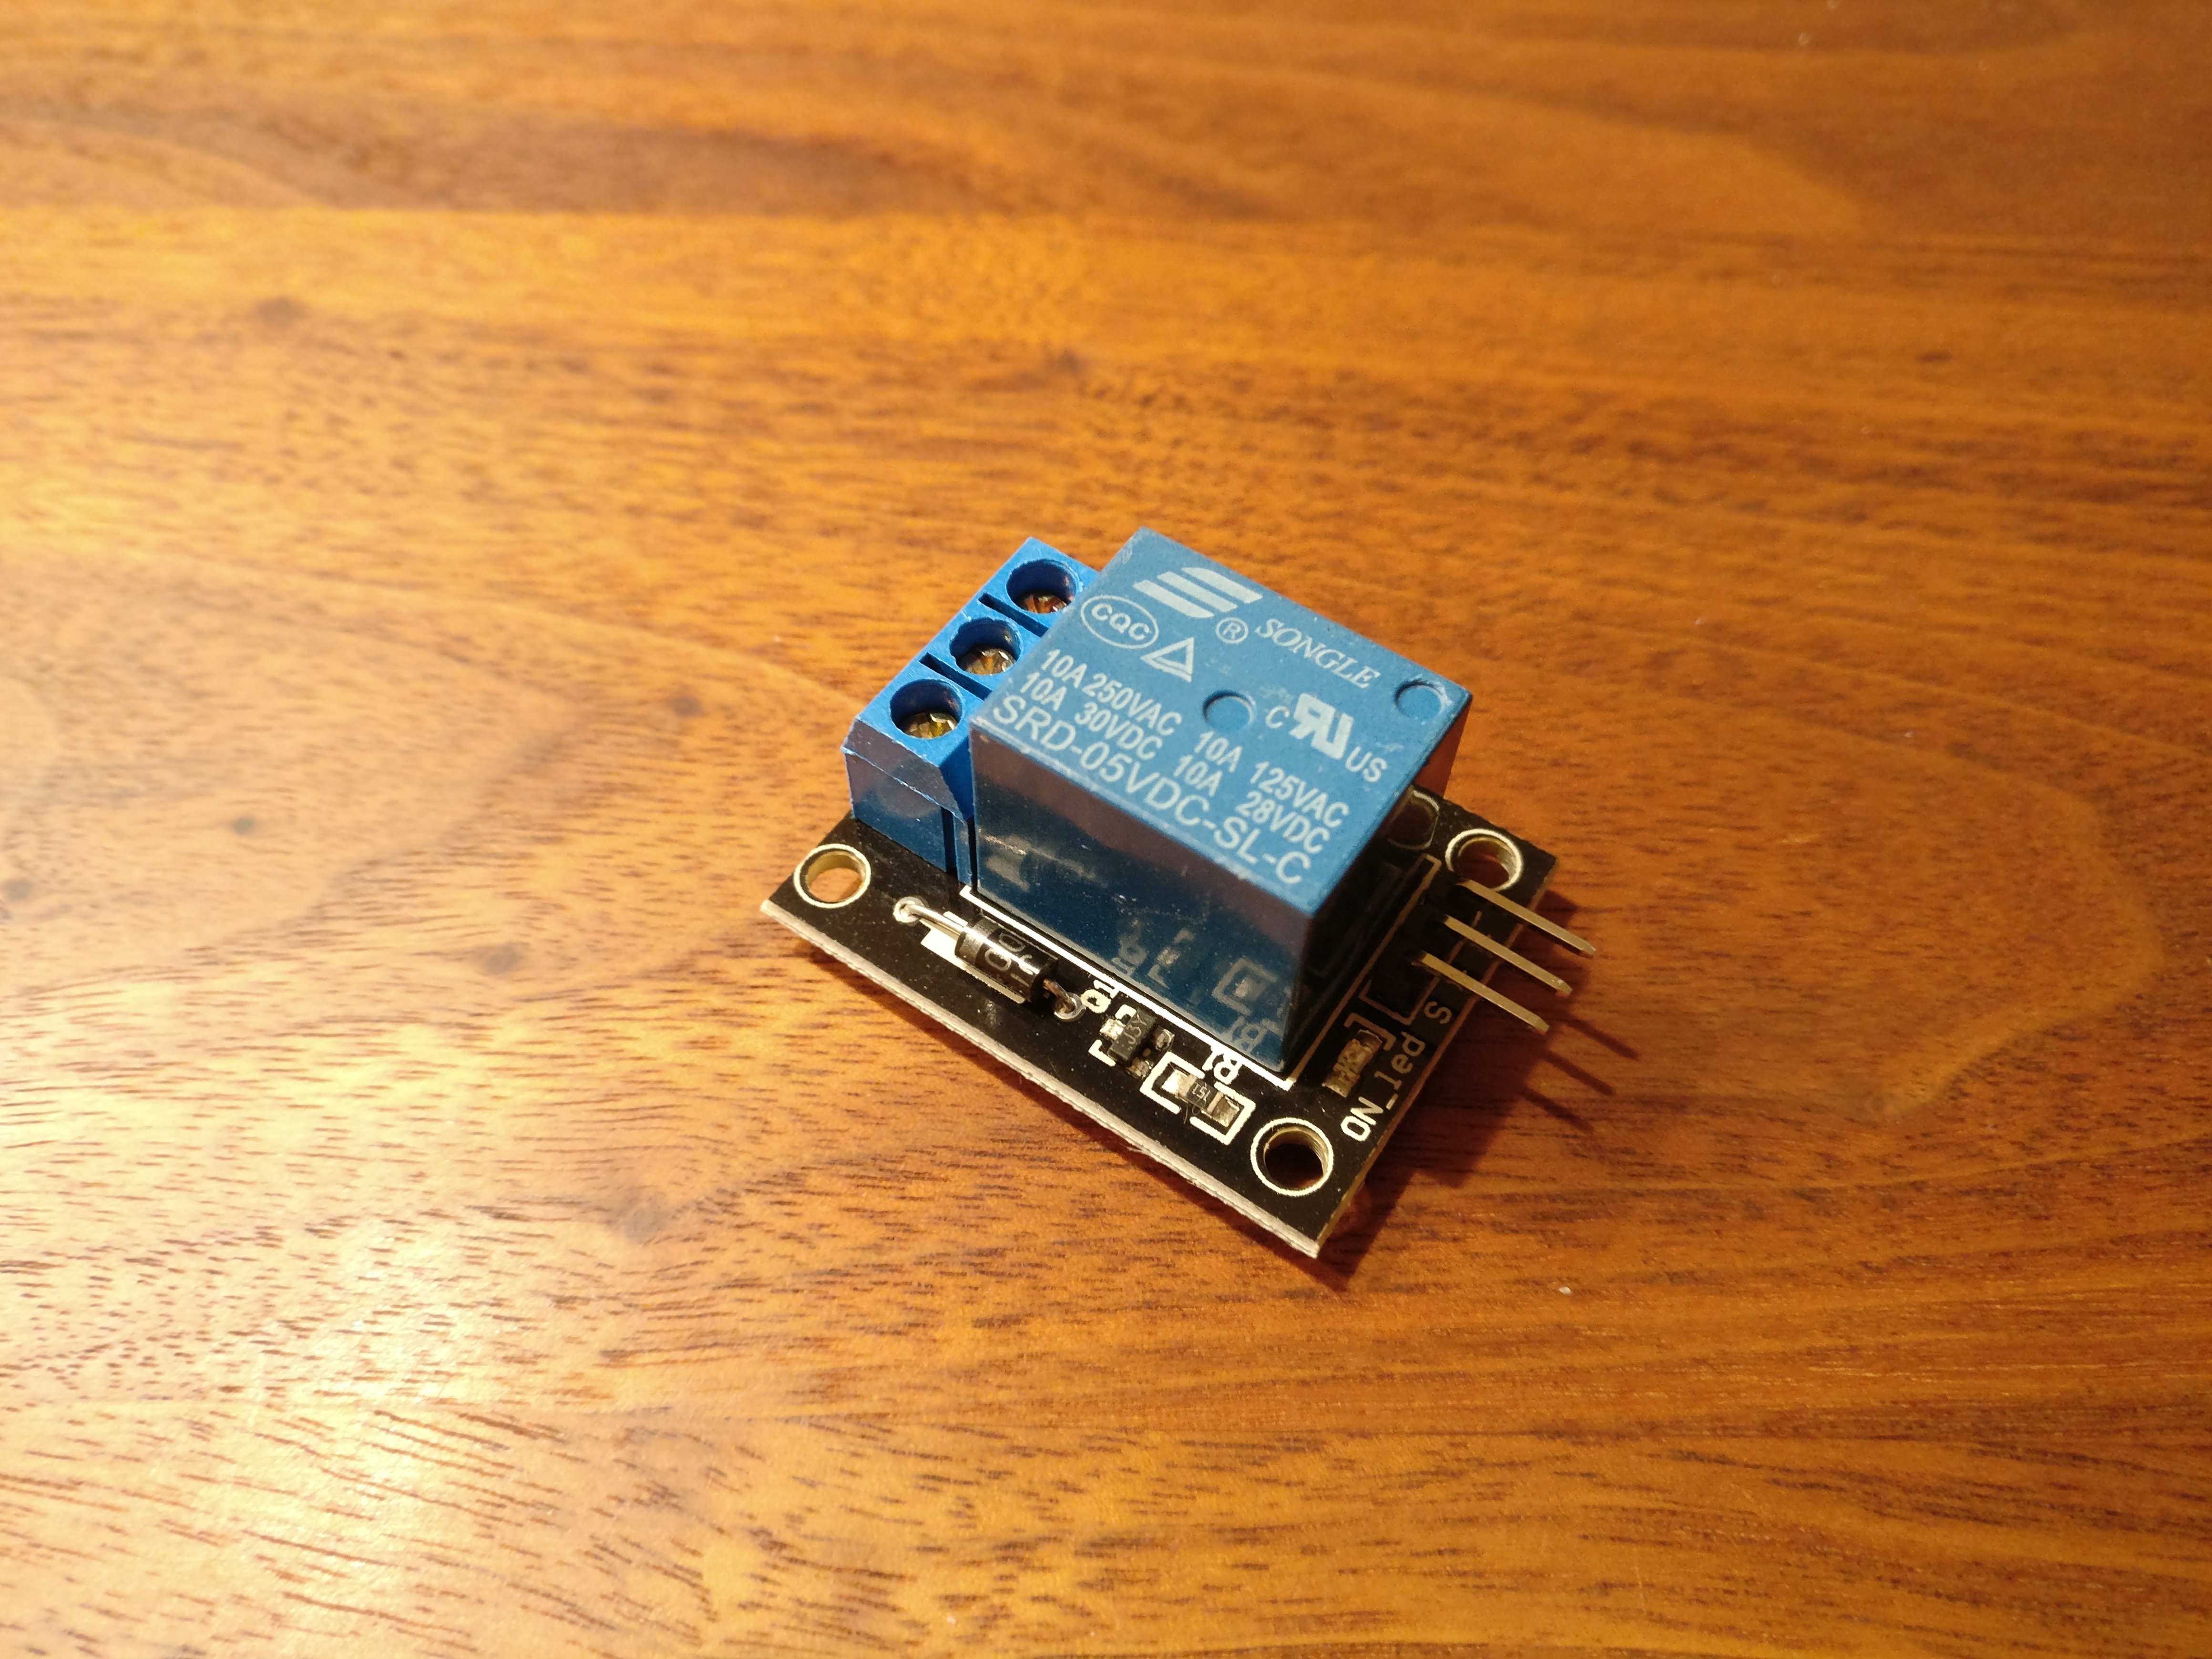
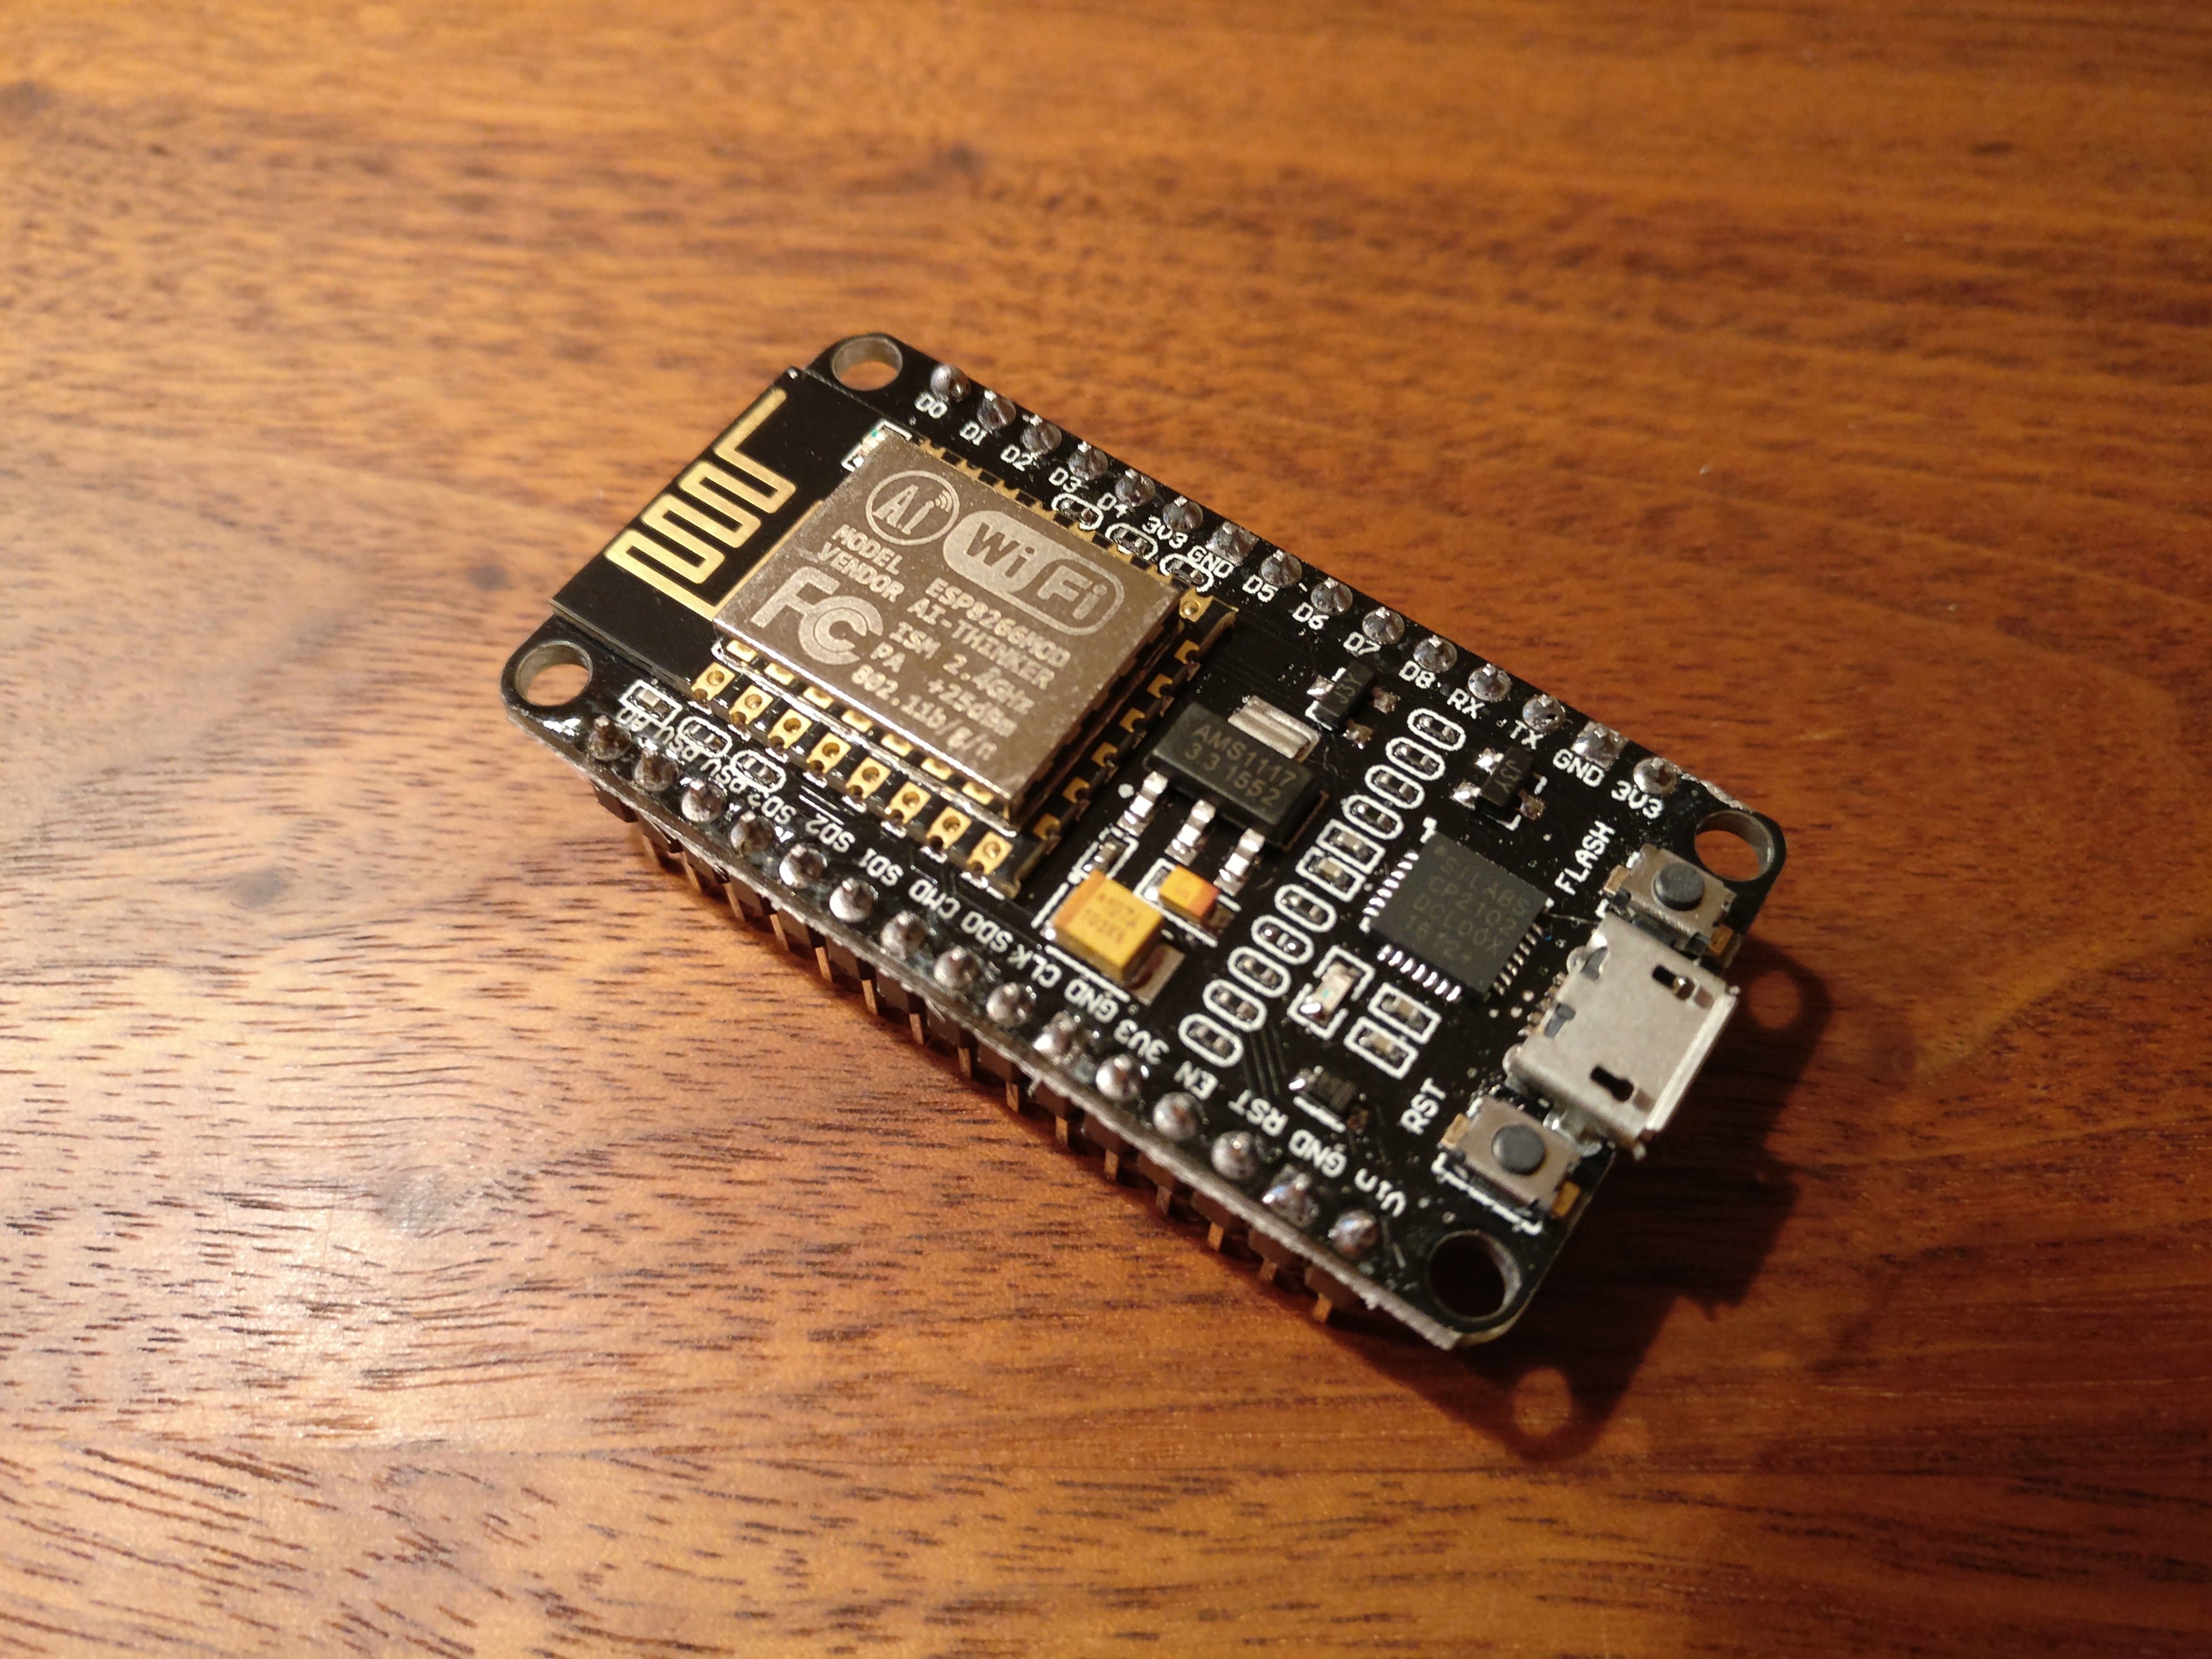
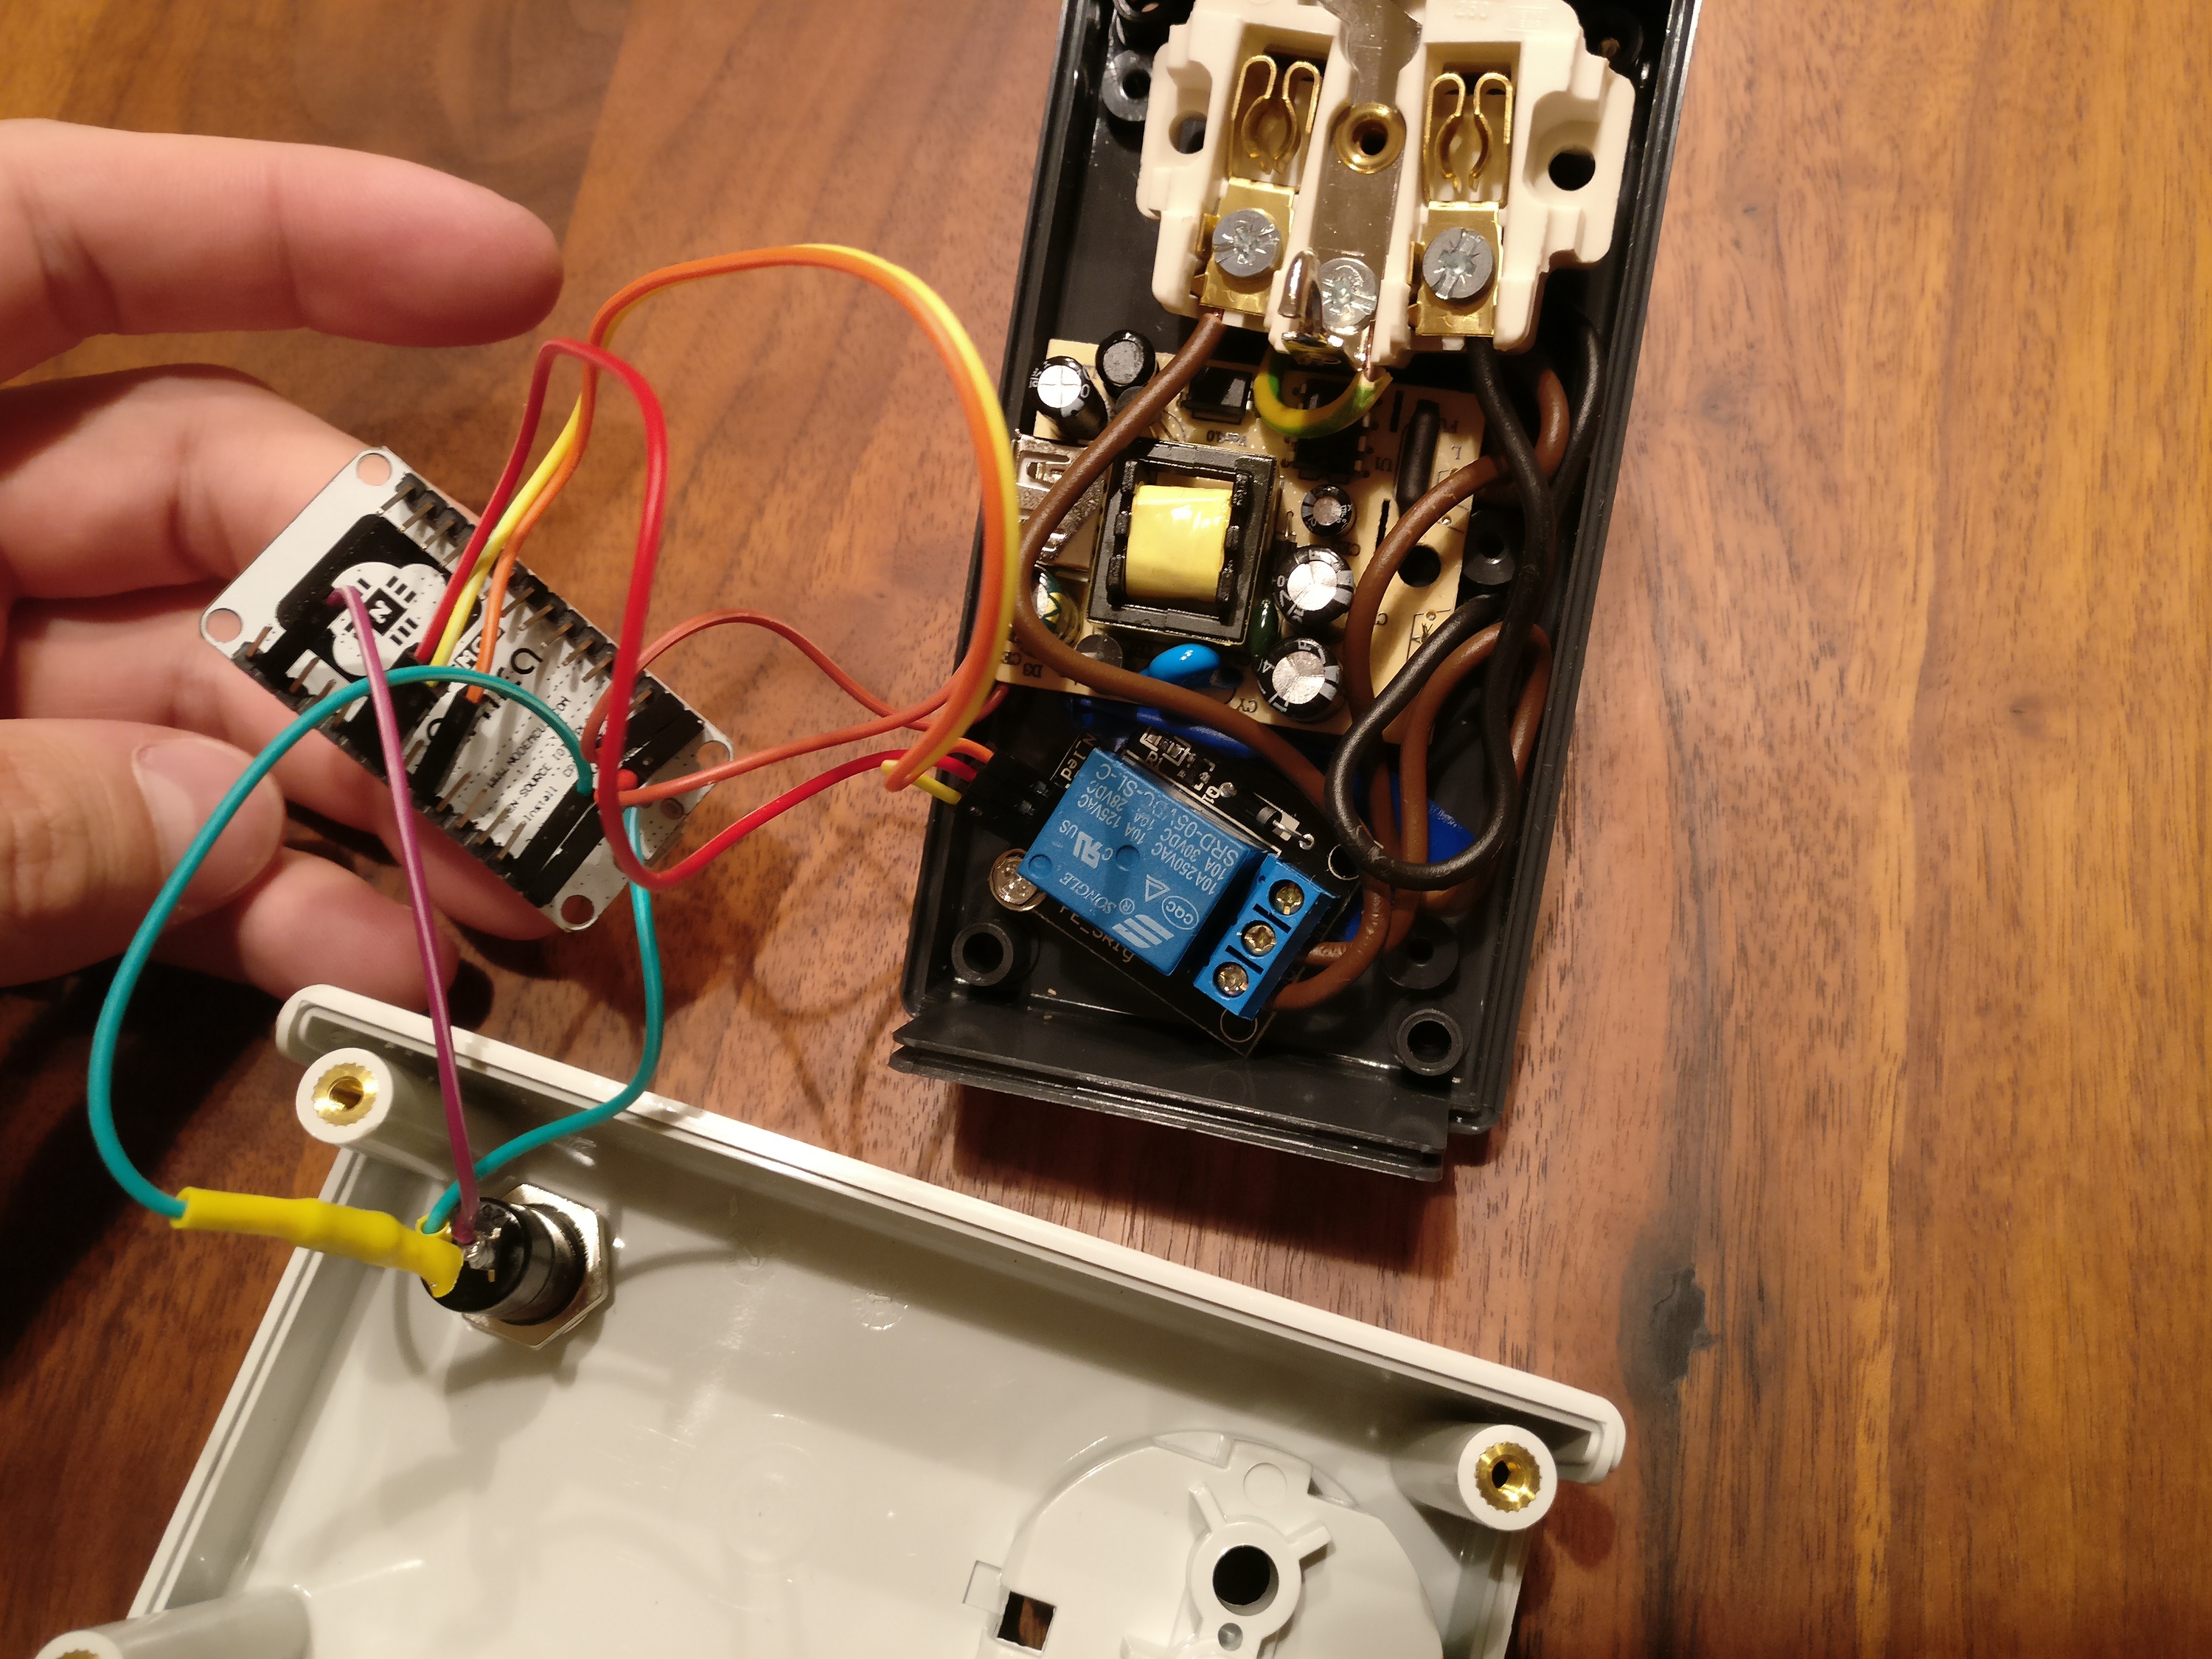
You will need a relay board (single relay), a NodeMCU board, a power adapter for 5V, a case, a button, some wire and a 1k resistor.
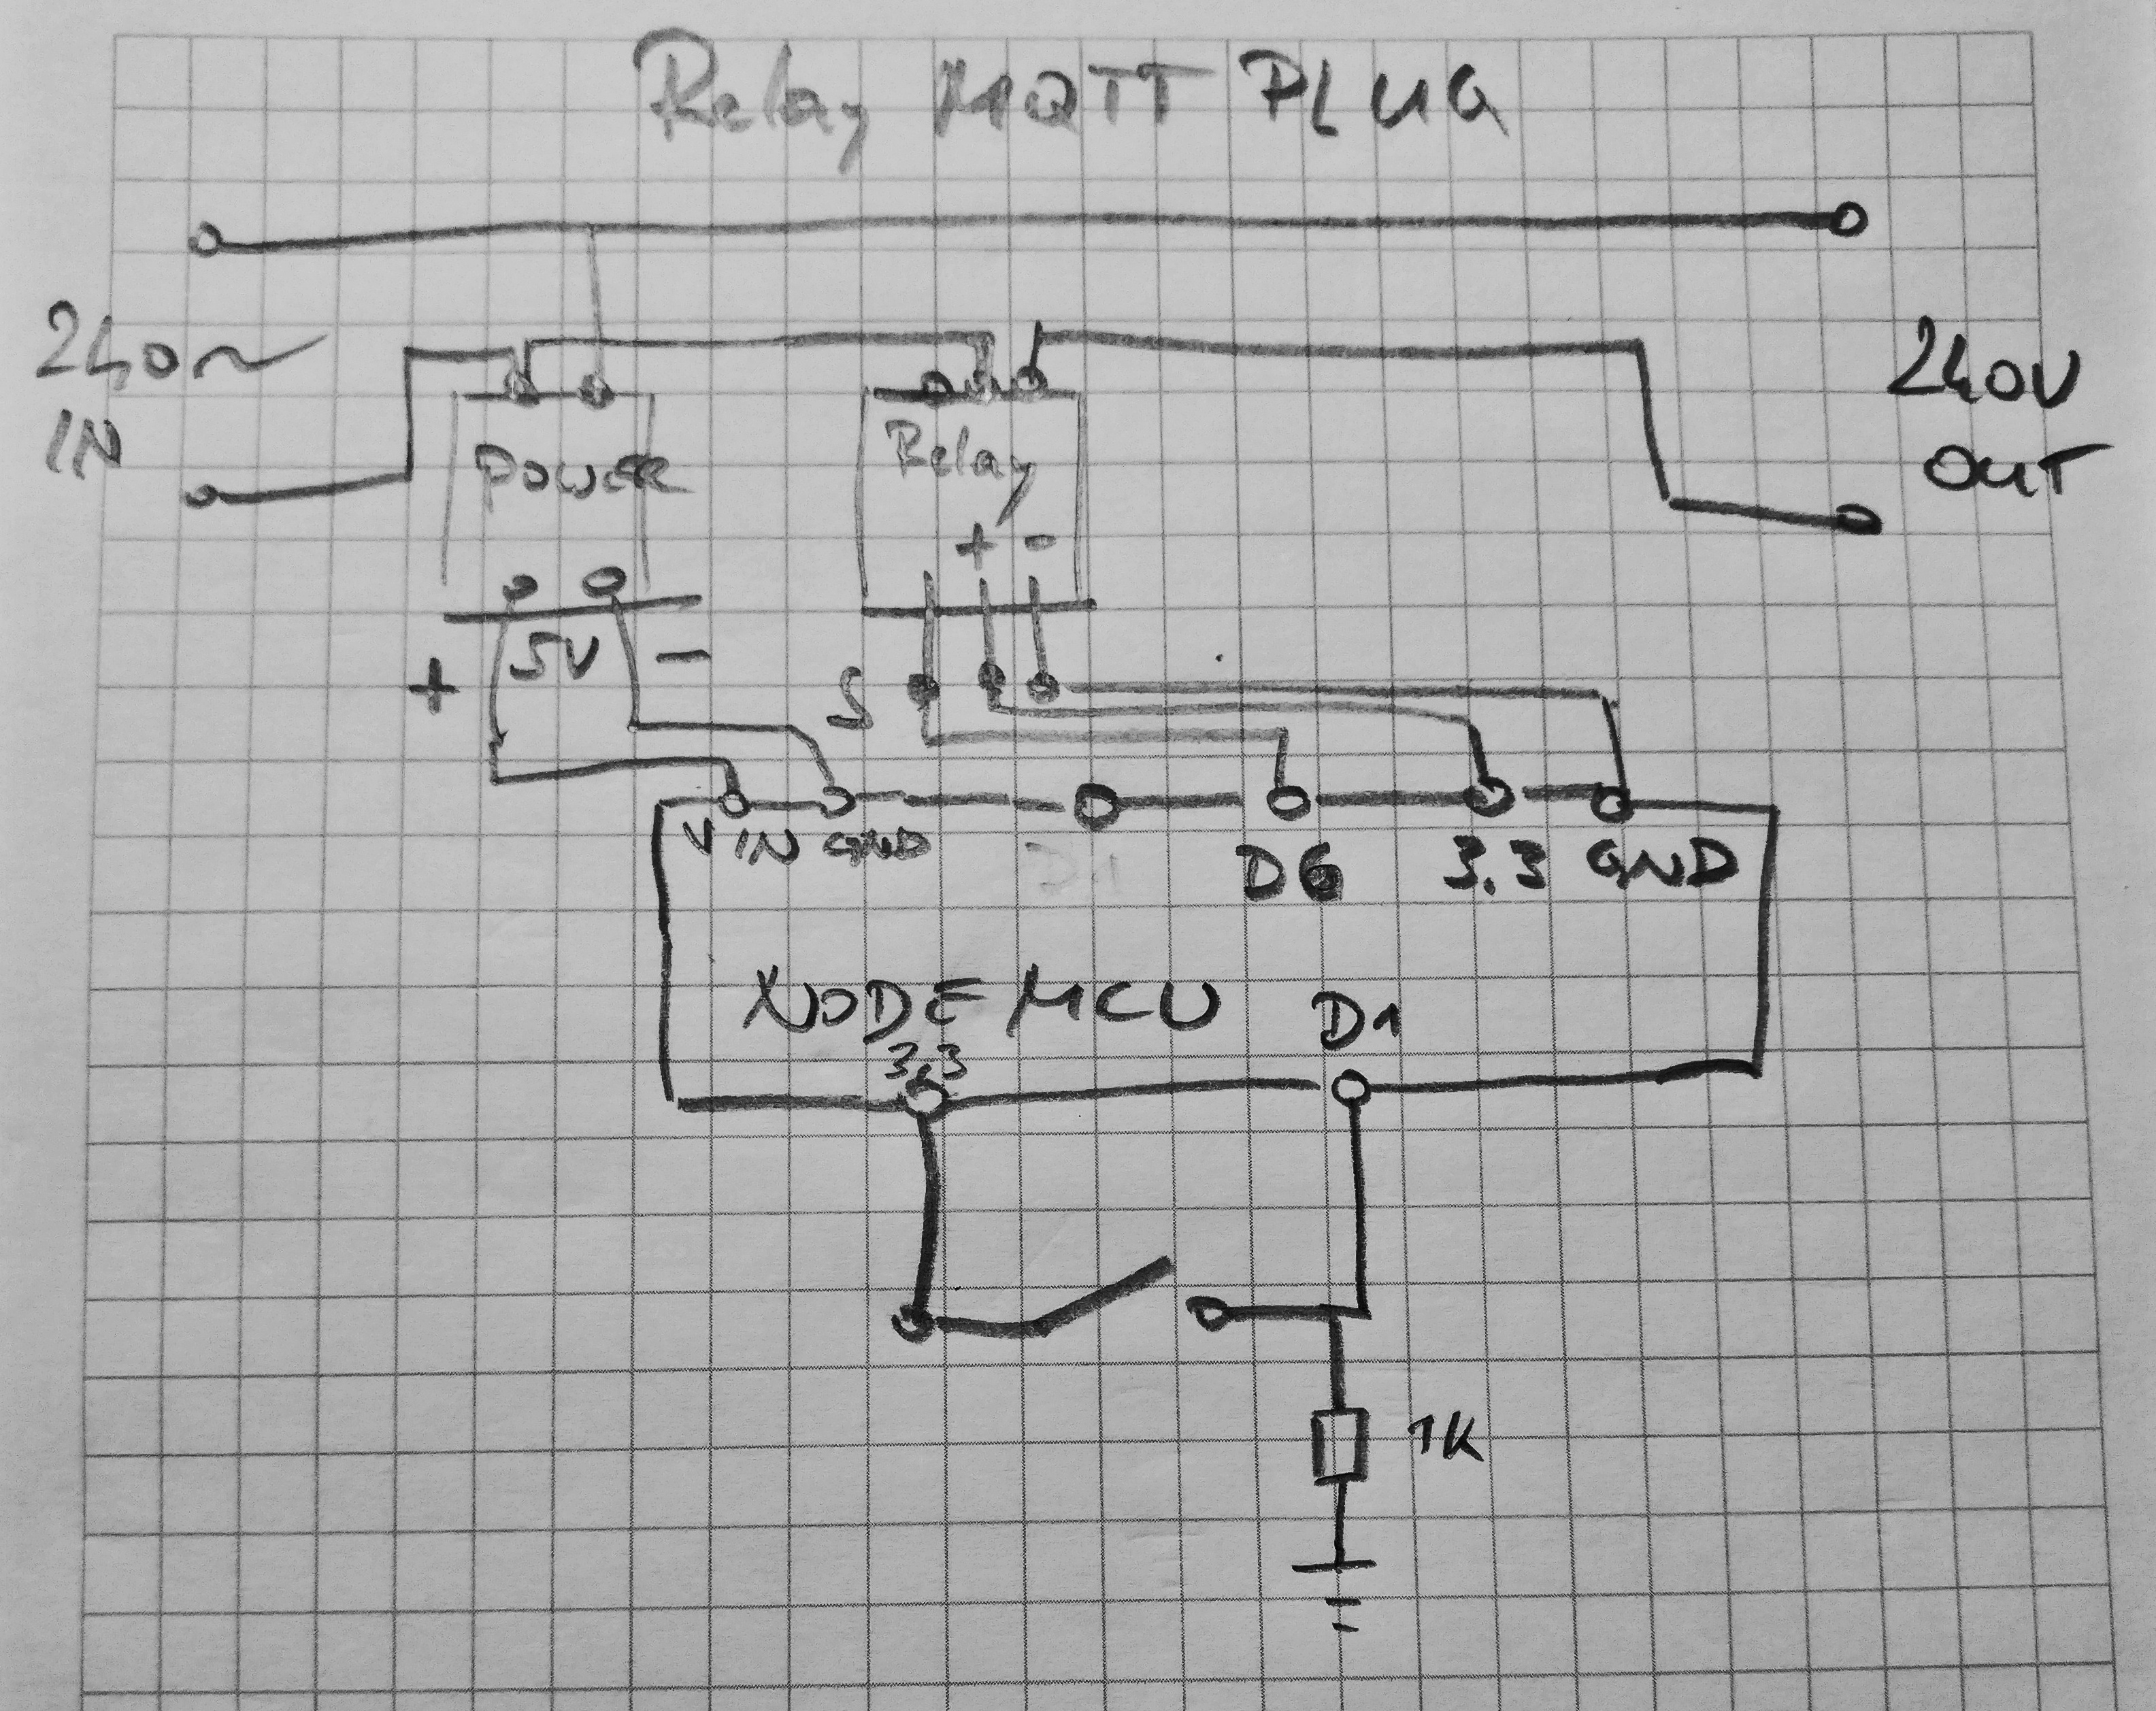
Connect the devices according to this schema (WARNING: Don’t do this if you’re not comfortable handling mains power!). Don’t forget earthing (it’s not on the diagram):
Flash the MicroPython firmware to the NodeMCU board. Put the ‘relay_mqtt.py‘ file on it as main.py. That way it will be run when the device boots up. Adjust the code to connect to your network and MQTT server first.
See the Home Assistant documentation for how to integrate the MQTT part with Home Assistant.
The nice thing is: you can press the button to switch the device. The status of the device will update via MQTT and Home Assistant gets a correct status update. You can of course switch the device from within Home Assistant as well.
wer zuhause bier braut benötigt neben viel zeit und geduld auch die nötige ausrüstung. etwas mehr der letzteren wenn man direkt mit malz arbeitet.
hier fällt der arbeitsschritt des maischens an.
fürs maischen und würze kochen habe ich mir einen severin einkochautomat (3653) besorgt. das gerät kostet 70 euro und hat die richtige grösse. mit 29 litern fassungsvermögen geht sich ein 20 liter sud gut aus.
es gibt nur ein kleines problem, den überhitzungsschutz. dieser verhindert dass dickflüssige flüssigkeiten im einkochautomat erhitzt werden. er löst aus und das heizelement lässt sich für ein paar stunden nicht zum arbeiten überreden. um maische gut verarbeiten zu können muss man den überhitzungsschutz deaktivieren.
die gebrauchsanweisung zitiert:
“Überhitzungsschutz:
Das Gerät ist durch einen speziellen Übertemperaturbegrenzer vor Überhitzung geschützt. Sollte der Überhitzungsschutz das Gerät abschalten, ziehen Sie den Netzstecker und lassen Sie das Gerät abkühlen. Anschließend ist das Gerät wieder funktionsbereit. Achtung: Der Einkochautomat ist nur zur Erwärmung von Flüssigkeiten ausgelegt. Dickflüssige Speisen dürfen nicht erhitzt werden, da durch die ungleichmäßige Wärmeabnahme der Überhitzungsschutz das Gerät abschalten kann. Reklamationen aus diesem Grund können daher verständlicherweise nicht anerkannt werden.
das habe ich gelesen, nachdem mir der erste einkochautomat beim maischen den dienst quittiert hat und ich diesen beim händler gegen einen neuen ausgetauscht hatte.
nachdem ich wieder dasselbe gerät hatte, musste ich einen weg um den überhitzungsschutz finden. der stand im weg zwischen mir und meinem bier – das geht nicht. ergo überhitzungsschutz deaktivieren…
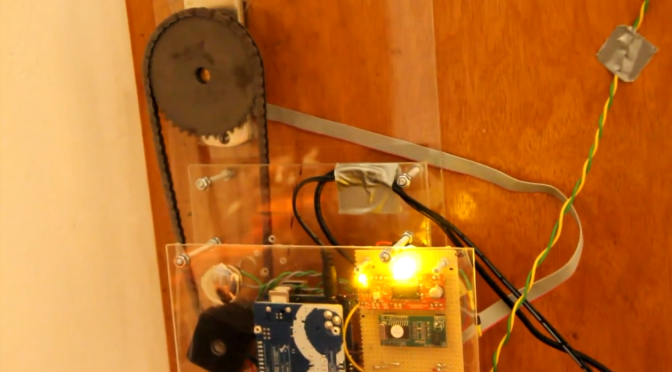
recently i finished my latest project: a RFID Door Opener.
besides the fun while hacking it, it improves the security of the door. since it’s not an outside door but the door to the garage, it’s construction does not allow to mount a more secure lock. so locking it from the outside when leaving is a bit bothersome.
the new auto-lock feature, which allows the door to auto-lock itself, saves some time and works around the lazy user, who wouldn’t have locked it.
additionally it is now easy to add or remove the right of access by adding or deleting the RFID’s unique number from the system. revoking someone’s right of access is far more difficult with a normal key.
below you can see the schematics of the setup. the ends marked with Ard X go to a port of the arduino, which is the brain of the lock: Schematics for the build
edit: since i’ve been asked what transistors i used for this build i’ll tell you:
as PNP transistor i’m using a ‘mje2955T‘, as NPN i’m using a ‘bc547‘.
it’s important to have the two different transistor types NPN and PNP.
NPN is the one closer to ‘Ard6’ and the PNP is the one switching the 12V power supply for the easydriver. the most important part is that the second transistor, switching the easy driver, will only work if you’re using a PNP transistor. these transistors switch when they get pulled to ground.
/**
 * door lock application (c) 2011 Florian Klien
 * some code parts are borrowed from different authors ;) thx
 */

#include <NewSoftSerial.h>

#define rxPin 2
#define txPin 3

// door defs

#define DOOR_SENS  3 // analog
#define DRIVER_SWITCH 6
#define DOOR_SW 2 // analog

// motor defs
#define DIR_PIN 7
#define STEP_PIN 8
#define ledIN 5
#define ledOUT 11

NewSoftSerial rfid = NewSoftSerial( rxPin, txPin );

// The tag database consists of two parts. The first part is an array of
// tag values with each tag taking up 5 bytes. The second is a list of
// names with one name for each tag (ie: group of 5 bytes).
char* allowedTags[] = {
  "AABBCCDDEE",         // Tag 1
  "AABBCCDDEE",         // Tag 2
};

// List of names to associate with the matching tag IDs
char* tagName[] = {
  "User1",         // Tag 1
  "User2",         // Tag 2
};

// software version number:
char* software_version = "1.1";

// Check the number of tags defined
int numberOfTags = sizeof(allowedTags)/sizeof(allowedTags[0]);

int incomingByte = 0;    // To store incoming serial data

boolean locked = true;
int door_open = 0; // pseudo digital
boolean prev_status = false;
boolean auto_lock = true;
//unsigned long auto_lock_time = 0;
int auto_lock_delay = 5; // in seconds
int auto_lock_switch_time = 2; // in seconds
int status_led = 0;
unsigned long status_led_time = millis();
boolean status_led_on = false;

unsigned long status_breathe_time = millis();
int breathe_delay = 10;
boolean breathe_up = true;
int breathe_i = 15;

unsigned long last_successful_rfid_read = 0;
int rfid_success_timeout = 5000; // millis

float lock_speed = 1;

/**
 * Setup
 */
unsigned long time_door = millis();
unsigned long time_switch = millis();
long debounce = 500;

void setup() {
  pinMode(ledIN, OUTPUT);
  pinMode(ledOUT, OUTPUT);
  digitalWrite(ledIN, HIGH);
  digitalWrite(ledOUT, HIGH);
  delay(300);
  digitalWrite(ledIN, LOW);
  digitalWrite(ledOUT, LOW);

  pinMode(DRIVER_SWITCH, OUTPUT);
  digitalWrite(DRIVER_SWITCH, LOW);
  pinMode(DIR_PIN, OUTPUT);
  digitalWrite(DIR_PIN, LOW);
  pinMode(STEP_PIN, OUTPUT);
  digitalWrite(STEP_PIN, LOW);
  pinMode(DOOR_SENS,INPUT);
  pinMode(DOOR_SW,INPUT);

  Serial.begin(9600);   // Serial port for connection to host
  rfid.begin(9600);      // Serial port for connection to RFID module

  Serial.println("RFID reader starting up");
  delay(1000);
  Serial.println("done");
  Serial.print("Software Version no: ");
  Serial.println(software_version);
  Serial.print("door locked: ");
  Serial.print(locked, DEC);
  Serial.print("\n");
  Serial.print("door closed: ");
  Serial.print(!door_open, DEC);
  Serial.print("\n");
}

/**
 * Loop
 * non-blocking version of each function!
 */
void loop() {
  readRFID();
  doorSensor();
  doorSwitch();
  statusLed();
}

void doorSensor(){
  // pseudo digital
  door_open = analogRead(DOOR_SENS);
  if(millis() - time_door > debounce){
    if (door_open <= 500 && prev_status == false){
      Serial.println("Door: opened");
      prev_status = true;
      locked = false;
    }else  if(door_open > 500 && prev_status == true){
      Serial.println("Door: closed");
      prev_status = false;
      if(auto_lock){
        Serial.println("locking door automatically...");
        delay(auto_lock_delay*1000);
        lock();
        locked = true;
      }
    }
    time_door = millis();
  }
}

void doorSwitch(){
  int dstimer = 0;
  int door_switch = analogRead(DOOR_SW); // pseudo digital
  if(millis() - time_switch > debounce && door_switch >= 300){
    while (analogRead(DOOR_SW) >= 300) {
      delay(100);
      dstimer++;
    }
    Serial.println(door_switch,DEC);
    Serial.println(dstimer,DEC);
    if (dstimer < auto_lock_switch_time*10) { //button has been pressed less than 2 seconds = 1000/100
        if (locked == false){
          Serial.println("door locked");
          locked = true;
          lock();
        }else if(locked == true){
          Serial.println("door unlocked");
          locked = false;
          unlock();
      }
    }else {
      // auto_unlock off/on
      if(auto_lock == true){
        Serial.println("auto_lock off");
        auto_lock = false;
      }else{
        Serial.println("auto_lock on");
        auto_lock = true;
      }
      analogWrite(ledIN, 0); // resetting output

    }
    time_switch = millis();
  }
}

// breathing status led on the inside
void statusBreathe(){
  if( (status_breathe_time + breathe_delay) < millis() ){
    analogWrite(ledIN, breathe_i/1.5);
    status_breathe_time = millis();
    if (breathe_up == true){
      if (breathe_i > 150) {
        breathe_delay = 4;
      }
      if ((breathe_i > 125) && (breathe_i < 151)) {
        breathe_delay = 5;
      }
      if (( breathe_i > 100) && (breathe_i < 126)) {
        breathe_delay = 7;
      }
      if (( breathe_i > 75) && (breathe_i < 101)) {
        breathe_delay = 10;
      }
      if (( breathe_i > 50) && (breathe_i < 76)) {
        breathe_delay = 14;
      }
      if (( breathe_i > 25) && (breathe_i < 51)) {
        breathe_delay = 18;
      }
      if (( breathe_i > 1) && (breathe_i < 26)) {
        breathe_delay = 19;
      }
      breathe_i += 1;
      if( breathe_i >= 255 ){
        breathe_up = false;
      }
    }else{
      if (breathe_i > 150) {
        breathe_delay = 4;
      }
      if ((breathe_i > 125) && (breathe_i < 151)) {
        breathe_delay = 5;
      }
      if (( breathe_i > 100) && (breathe_i < 126)) {
        breathe_delay = 7;
      }
      if (( breathe_i > 75) && (breathe_i < 101)) {
        breathe_delay = 10;
      }
      if (( breathe_i > 50) && (breathe_i < 76)) {
        breathe_delay = 14;
      }
      if (( breathe_i > 25) && (breathe_i < 51)) {
        breathe_delay = 18;
      }
      if (( breathe_i > 1) && (breathe_i < 26)) {
        breathe_delay = 19;
      }
      breathe_i -= 1;
      if( breathe_i <= 15 ){
        breathe_up = true;
        breathe_delay = 970/2;
      }
    }
  }
}

void statusLed(){
  if(auto_lock == false){
    status_led = 150;
  }else{
    // set this to > 0 if you want the status led to blink in default mode
    status_led = 0;
    if(status_led == 0){
      statusBreathe();
    }
  }
  if(millis() - status_led_time >= status_led && status_led != 0){
    status_led_on = !status_led_on;
    digitalWrite(ledIN,status_led_on);
    status_led_time = millis();
  }
}

void readRFID(){
  byte i         = 0;
  byte val       = 0;
  byte checksum  = 0;
  byte bytesRead = 0;
  byte tempByte  = 0;
  byte tagBytes[6];    // "Unique" tags are only 5 bytes but we need an extra byte for the checksum
  char tagValue[10];

  if(rfid.available()>0){
    if((val = rfid.read()) == 2) {        // Check for header
    bytesRead = 0;
    while (bytesRead < 12) {            // Read 10 digit code + 2 digit checksum
      val = rfid.read();
      Serial.print(val,BYTE);
      // Append the first 10 bytes (0 to 9) to the raw tag value
      if (bytesRead < 10)
      {
        tagValue[bytesRead] = val;
      }

      // Check if this is a header or stop byte before the 10 digit reading is complete
      if((val == 0x0D)||(val == 0x0A)||(val == 0x03)||(val == 0x02)) {
        break;                          // Stop reading
      }

      // Ascii/Hex conversion:
      if ((val >= '0') && (val <= '9')) {
        val = val - '0';
      }
      else if ((val >= 'A') && (val <= 'F')) {
        val = 10 + val - 'A';
      }

      // Every two hex-digits, add a byte to the code:
      if (bytesRead & 1 == 1) {
        // Make space for this hex-digit by shifting the previous digit 4 bits to the left
        tagBytes[bytesRead >> 1] = (val | (tempByte << 4));

        if (bytesRead >> 1 == 5) {                // If we're at the checksum byte,
          checksum ^= tagBytes[bytesRead >> 1];   // Calculate the checksum... (XOR)
        };
      } else {
        tempByte = val;                           // Store the first hex digit first
      };

      bytesRead++;                                // Ready to read next digit
    }


    // Send the result to the host connected via USB
    if (bytesRead == 12) {                        // 12 digit read is complete
      tagValue[10] = '\0';                        // Null-terminate the string

      Serial.print("Tag read: ");
      for (i=0; i<5; i++) {
        // Add a leading 0 to pad out values below 16
        if (tagBytes[i] < 16) {
          Serial.print("0");
        }
        Serial.print(tagBytes[i], HEX);
      }
      Serial.println();

      Serial.print("Checksum: ");
      Serial.print(tagBytes[5], HEX);
      Serial.println(tagBytes[5] == checksum ? " -- passed." : " -- error.");

      // Show the raw tag value
      //Serial.print("VALUE: ");
      //Serial.println(tagValue);
      Serial.print("door_open: ");
      Serial.println(door_open,DEC);
      // Search the tag database for this particular tag
      int tagId = findTag( tagValue );

      // Only fire the strike plate if this tag was found in the database
      if( tagId > 0 )
      {
        Serial.print("Authorized tag ID ");
        Serial.print(tagId);
        if(door_open > 500 && (last_successful_rfid_read + rfid_success_timeout) < millis() ){
          Serial.print(": unlocking for ");
          Serial.println(tagName[tagId - 1]);   // Get the name for this tag from the database
          unlock();
          last_successful_rfid_read = millis();
          delay(2000);
        }
      } else {
        Serial.println("Tag not authorized");
        //failSound();
        for (int i=0;i<7;i++){ // FIXXME nonblocking version?
          digitalWrite(ledOUT, HIGH);
          digitalWrite(ledIN, HIGH);
          delay(100);
          digitalWrite(ledOUT, LOW);
          digitalWrite(ledIN, LOW);
          delay(80);
        }
      }
      Serial.println();     // Blank separator line in output
    }

    bytesRead = 0;
  }
  }
}

/**
 * Fire the relay to activate the strike plate for the configured
 * number of seconds.
 */
void unlock() {
  digitalWrite(ledOUT, HIGH);
  digitalWrite(ledIN, HIGH);
  delay(100);
  // if your stepper is powerful enough you can use full speed
  rotateDeg(-800, 0.6);
  digitalWrite(ledIN, LOW);
  digitalWrite(ledOUT, LOW);
  locked = false;
}

void lock(){
  digitalWrite(ledOUT, HIGH);
  digitalWrite(ledIN, HIGH);
  delay(100);
  rotateDeg(800, 1);
  digitalWrite(ledIN, LOW);
  digitalWrite(ledOUT, LOW);
  locked = true;
}

void rotate(int steps, float speed){

  // power driver
  digitalWrite(DRIVER_SWITCH,HIGH);
  delay(200);
  //rotate a specific number of microsteps (8 microsteps per step) - (negitive for reverse movement)
  //speed is any number from .01 -> 1 with 1 being fastest - Slower is stronger
  int dir = (steps > 0)? HIGH:LOW;
  steps = abs(steps);

  digitalWrite(DIR_PIN,dir);

  float usDelay = (1/speed) * 250;

  for(int i=0; i < steps; i++){
    digitalWrite(STEP_PIN, HIGH);
    delayMicroseconds(usDelay);

    digitalWrite(STEP_PIN, LOW);
    delayMicroseconds(usDelay);
  }

  // unpower driver
  delay(200);
  digitalWrite(DRIVER_SWITCH,LOW);
}

void rotateDeg(float deg, float speed){
  // power driver
  digitalWrite(DRIVER_SWITCH,HIGH);
  delay(200);
  //rotate a specific number of degrees (negative for reverse movement)
  //speed is any number from .01 -> 1 with 1 being fastest - Slower is stronger
  int dir = (deg > 0)? HIGH:LOW;
  digitalWrite(DIR_PIN,dir);

  int steps = abs(deg)*(1/0.225);
  float usDelay = (1/speed) * 250;

  for(int i=0; i < steps; i++){
    digitalWrite(STEP_PIN, HIGH);
    delayMicroseconds(usDelay);

    digitalWrite(STEP_PIN, LOW);
    delayMicroseconds(usDelay);
  }
  // unpower driver
  delay(200);
  digitalWrite(DRIVER_SWITCH,LOW);
}

/**
 * Search for a specific tag in the database
 */
int findTag( char tagValue[10] ) {
  for (int thisCard = 0; thisCard < numberOfTags; thisCard++) {
    // Check if the tag value matches this row in the tag database
    if(strcmp(tagValue, allowedTags[thisCard]) == 0)
    {
      // The row in the database starts at 0, so add 1 to the result so
      // that the card ID starts from 1 instead (0 represents "no match")
      return(thisCard + 1);
    }
  }
  // If we don't find the tag return a tag ID of 0 to show there was no match
  return(0);
}
the original apple ear buds are not known for their comfort. so they are a good piece of old hardware to hack 🙂
i adapted them to have a shackle. this adds a lot of wearing pleasure and stability.
i took a wire to do the framing and some tape to fix the cable to it. then i coated the whole thing with sugru, apparently my new favorite working material.
as i blogged a few days ago, i got a nook (german). as this device only sells in the US it comes with a US power supply. lucky me that the supply supports 100-240 Volts out of the box. so the hack to adapt it to european power outlets was rather simple.
the nook power supply and the fixing part
i found myself an old device which didn’t need the jack anymore
my apple remote seemed a little flavorless and i kept confusing it with the one of my girlfriend or my sister’s. so i decided to paint it a little. (yes i know a sticker would have done the trick too)
mein kleiner url shortener aus diesem beitrag hat sich jetzt zu einem richtig grossen kleinen url shortener ausgewachsen. qr.cx. zur zeit bietet er urls mit einer länge von 16 zeichen.
weiters habe ich eine kleine api aufgesetzt die euch helfen soll dieses service in andere applikationen zu integrieren. gerne nehme ich anregungnen und wünsche unter shorty [AT] qr [dot] cx entgegen.
als spezielles gimmick liefert das service QR-codes zu jedem gekürzten link.