Categories
Hacking Hardware Gadgets

DIY MQTT smart plug with MicroPython…

I’ve been playing around with MicroPython and Home Assistant. MicroPython is a ‘bare-metal’-Python flavor that you can use to program ICs. Home Assistant is a home automation and home control software written in Python 3. It can be hosted on a Raspberry Pi. It enables you to connect a vast amount of different devices: lights, switches, sensors, locks etc.

This is a raw guide on how to make your own smart plug and connecting it to MQTT which is then connected to Home Assistant.

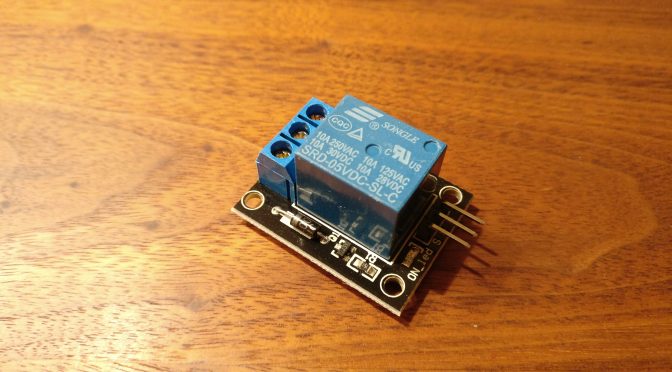
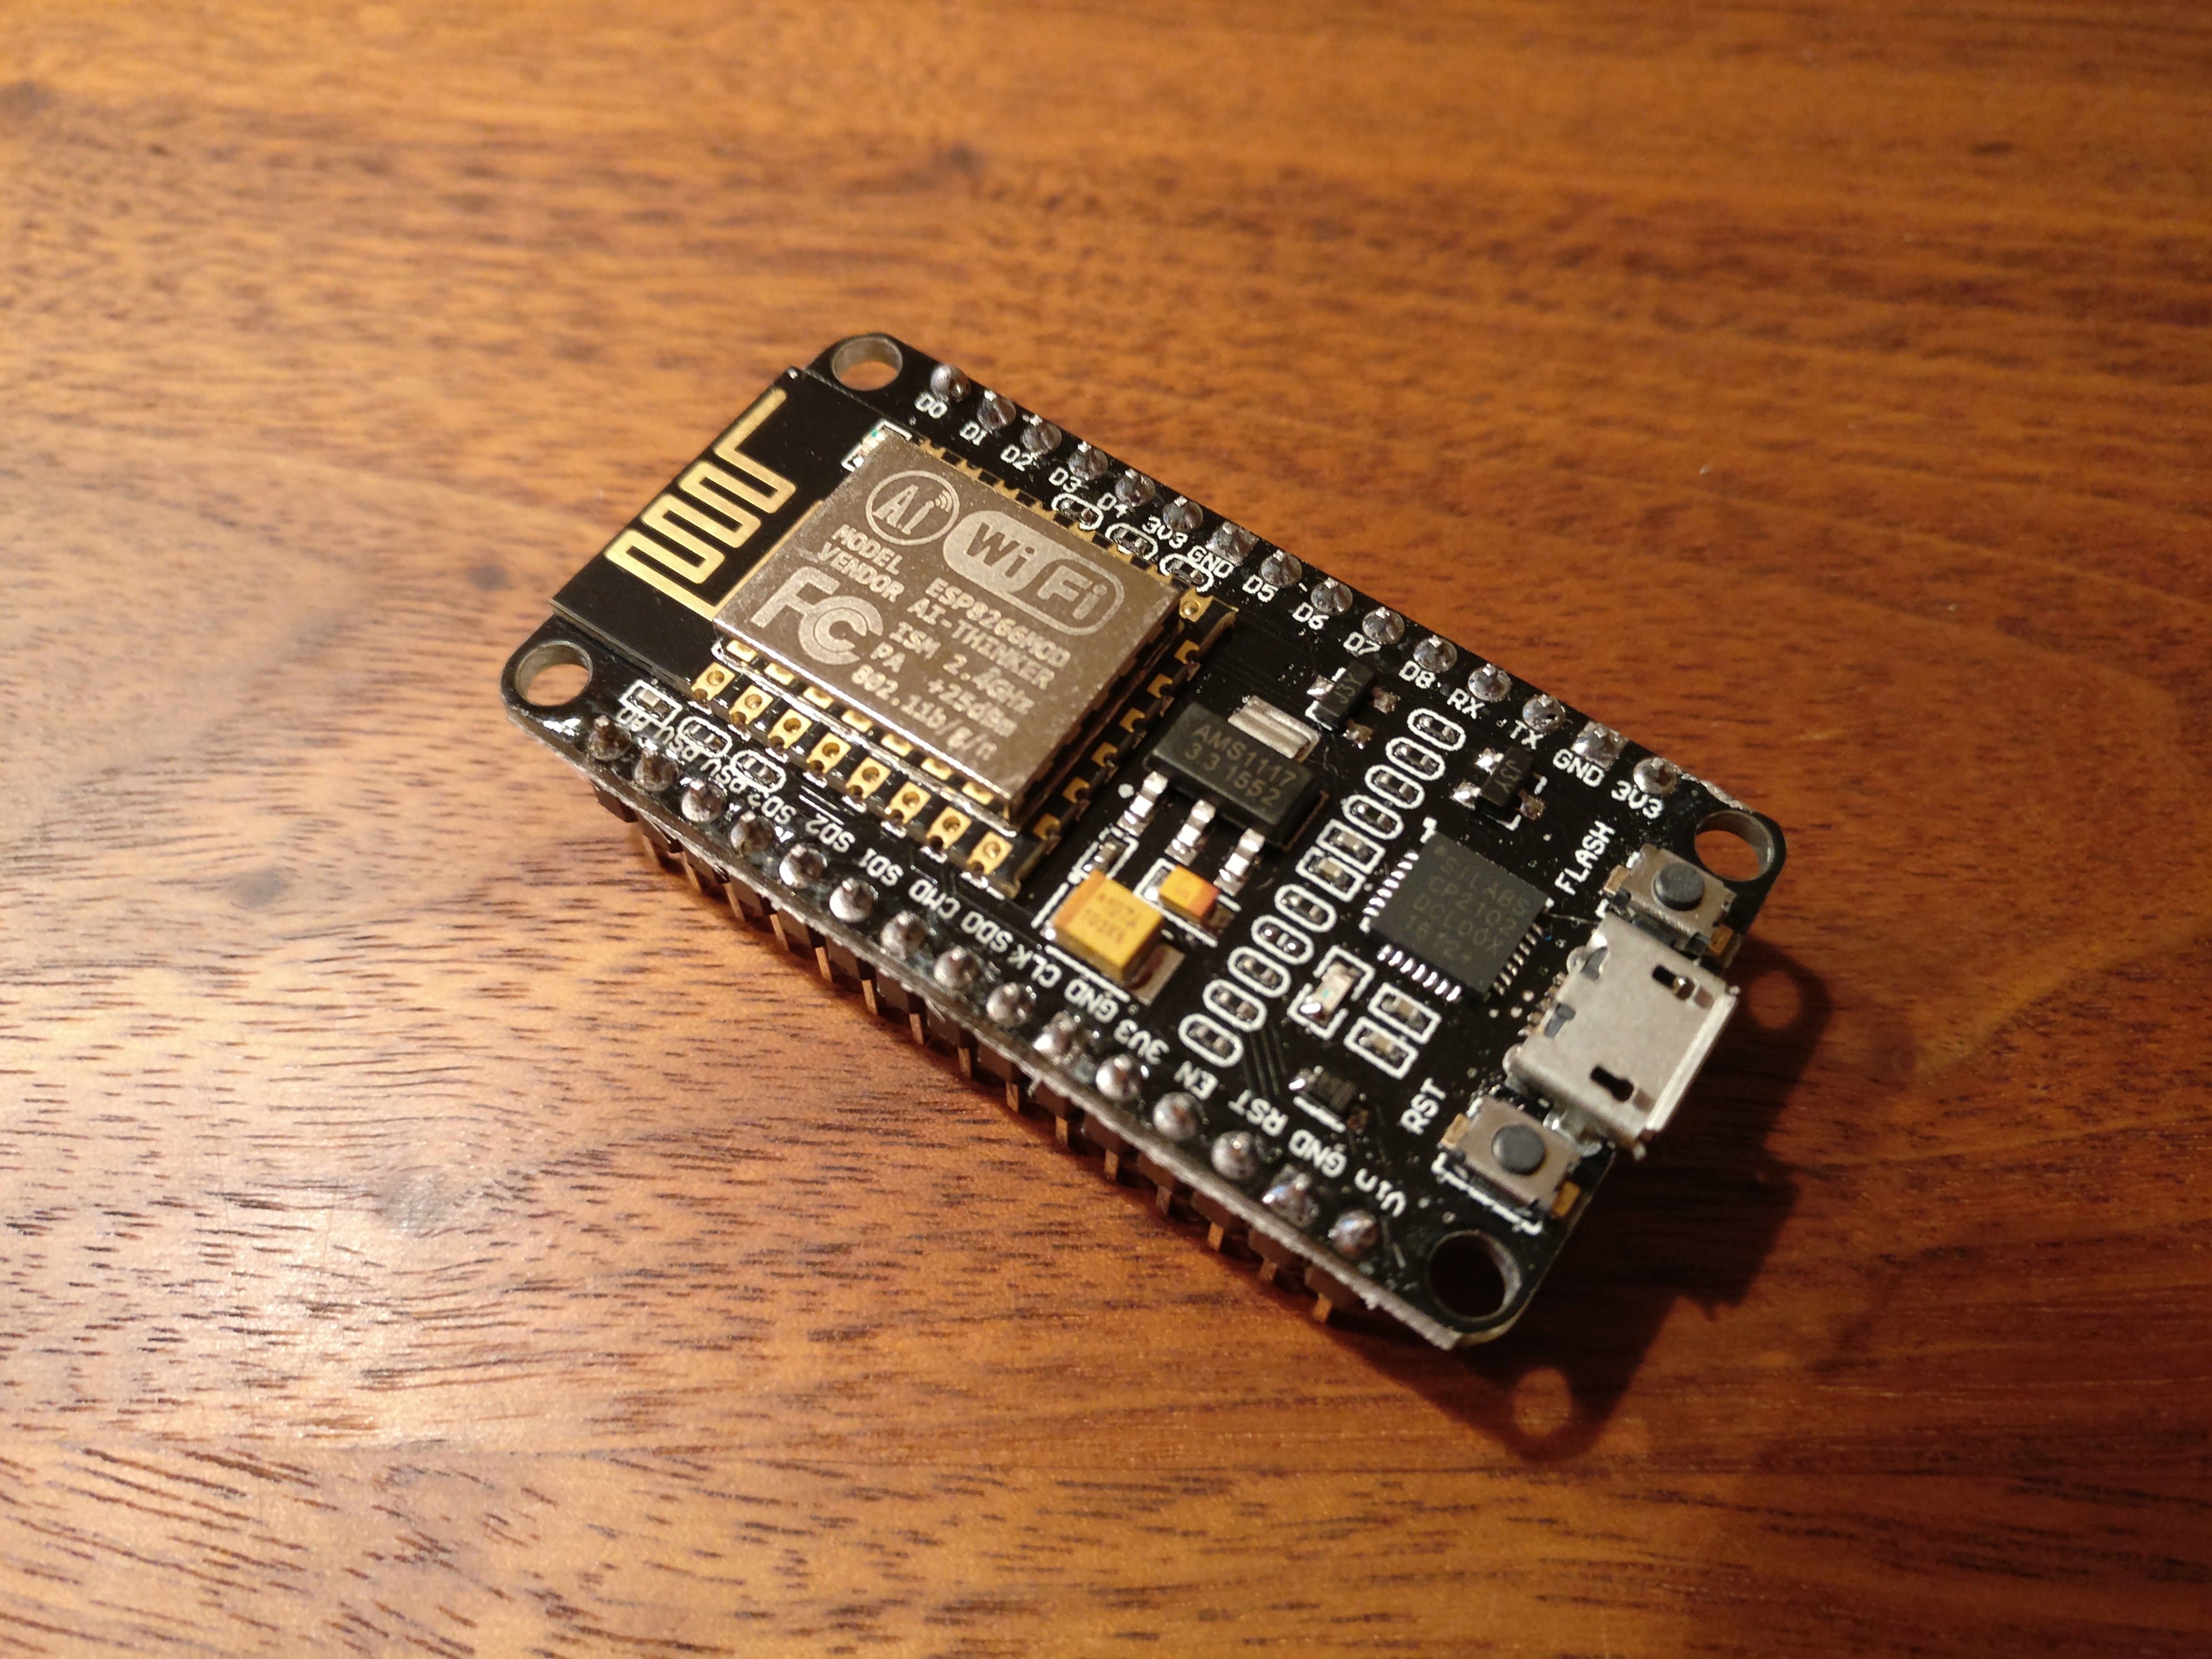
You will need a relay board (single relay), a NodeMCU board, a power adapter for 5V, a case, a button, some wire and a 1k resistor.

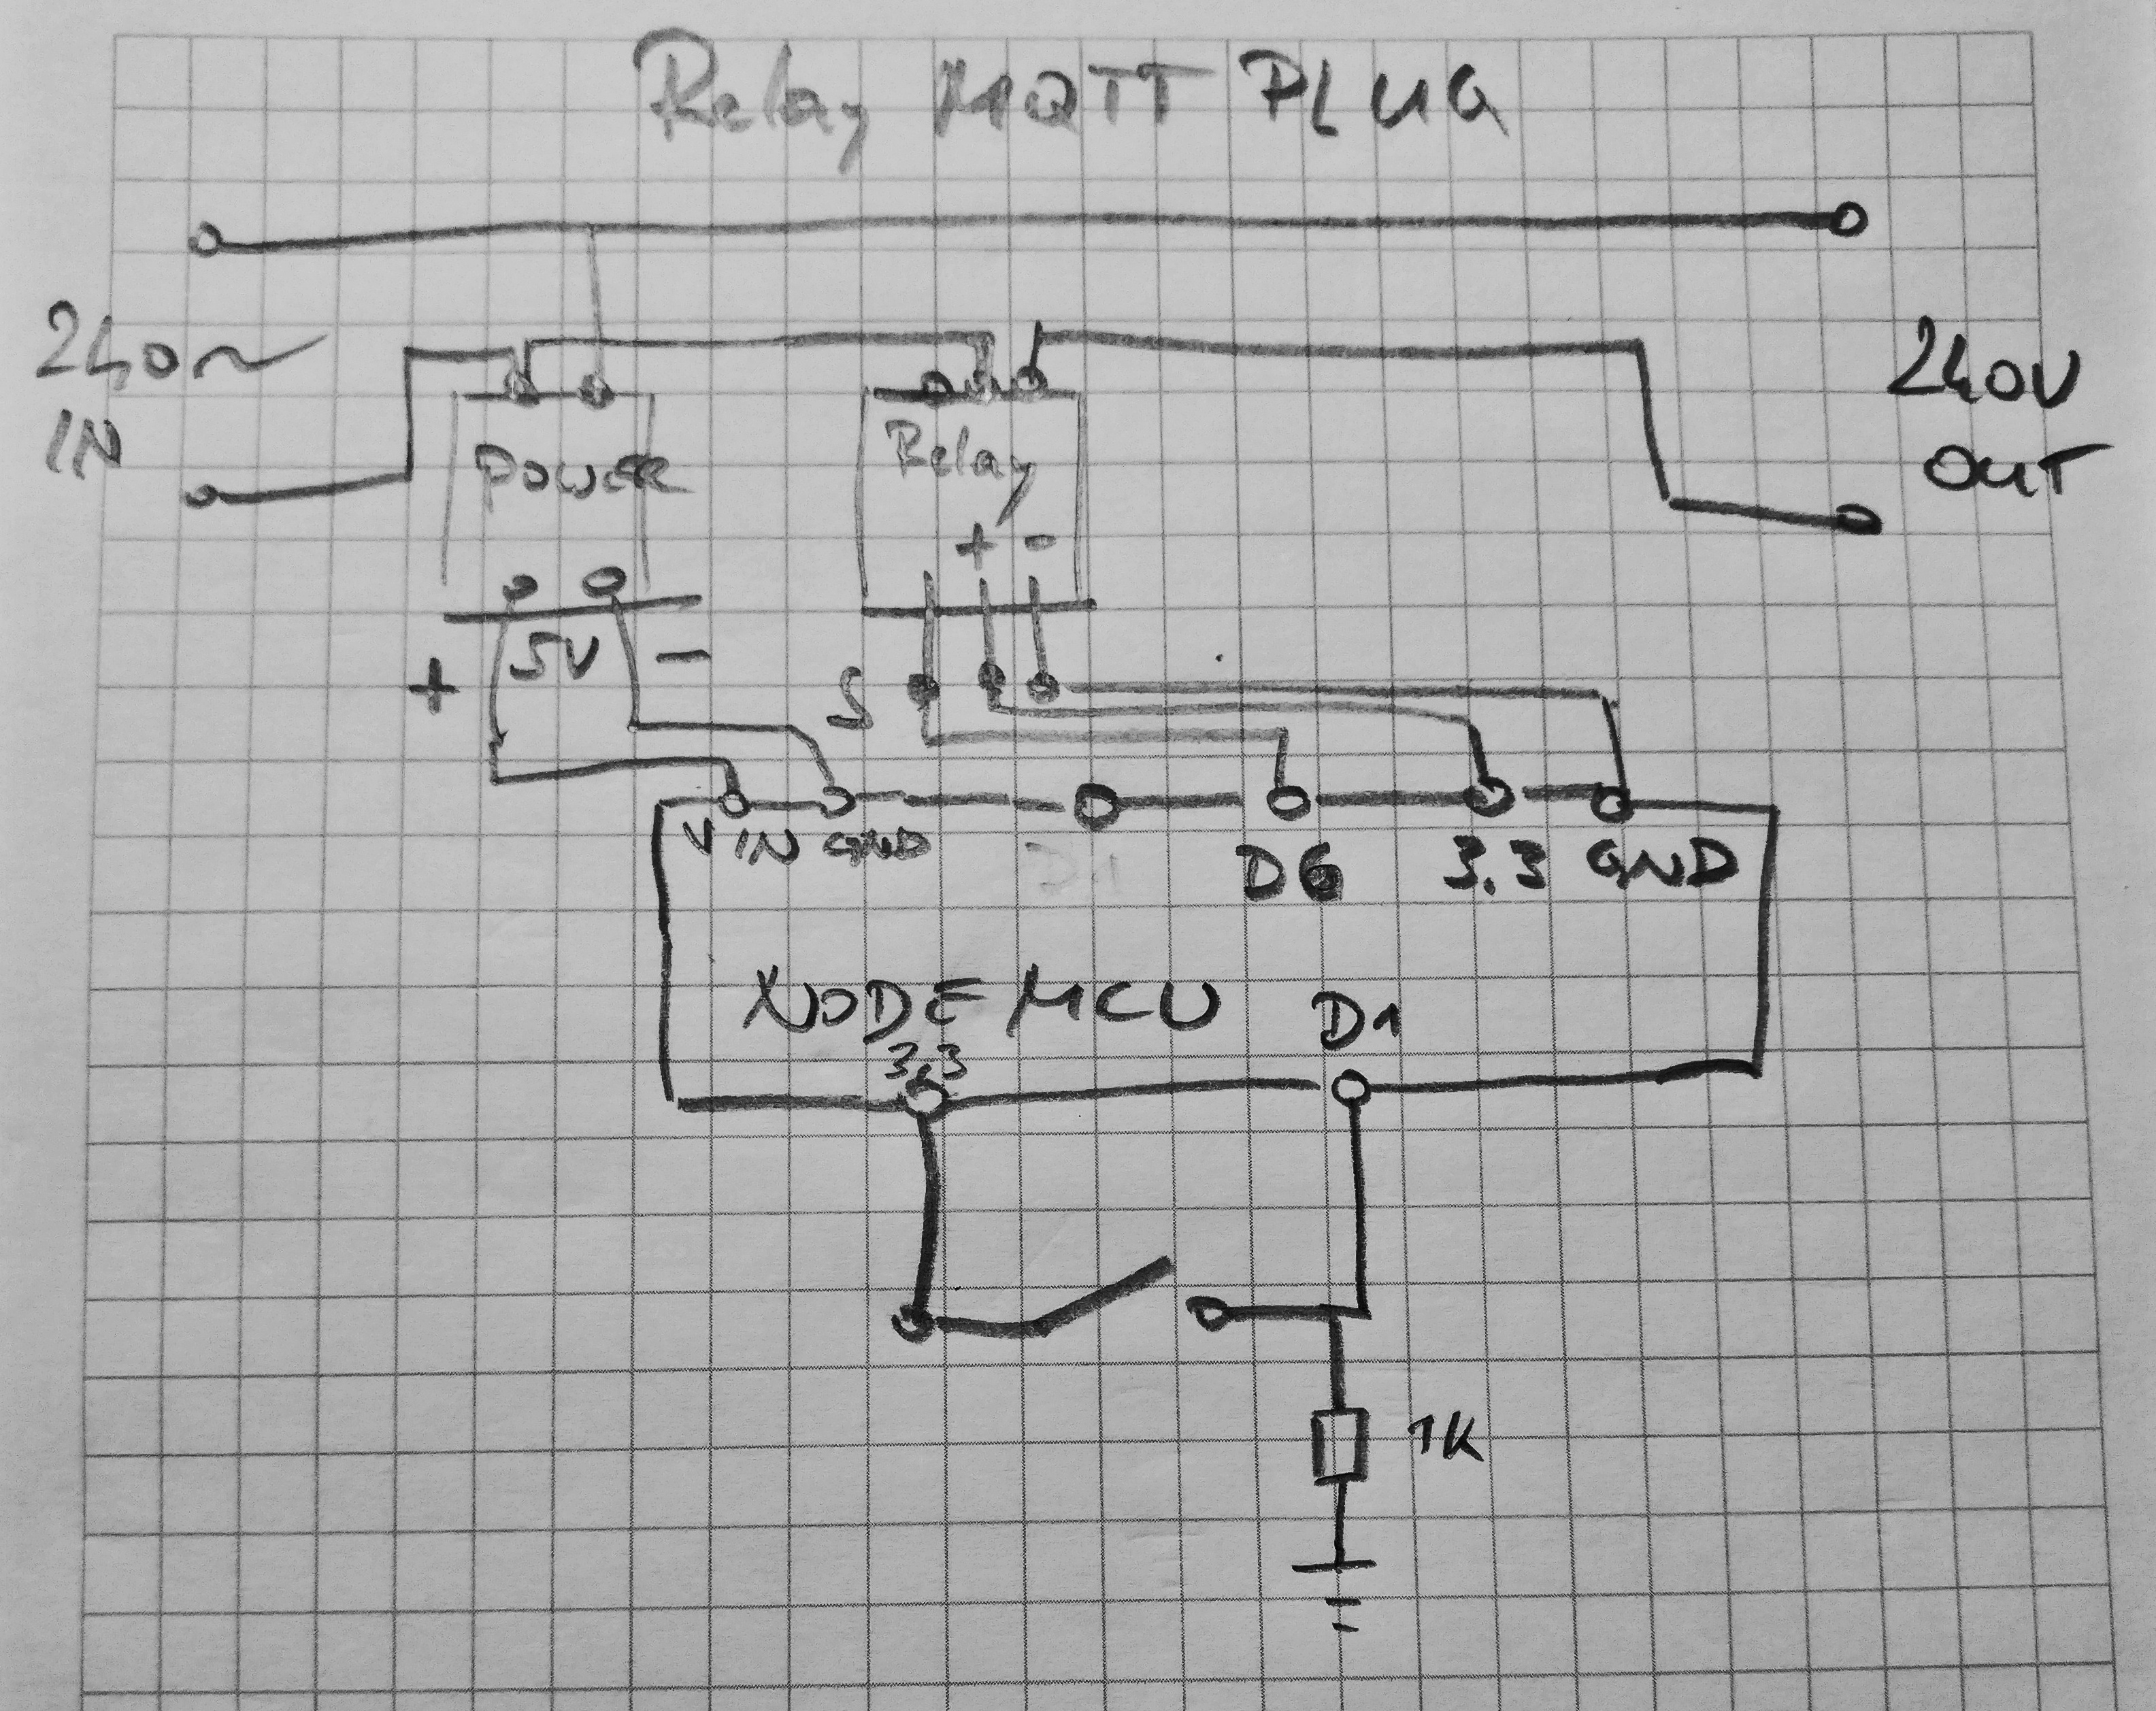
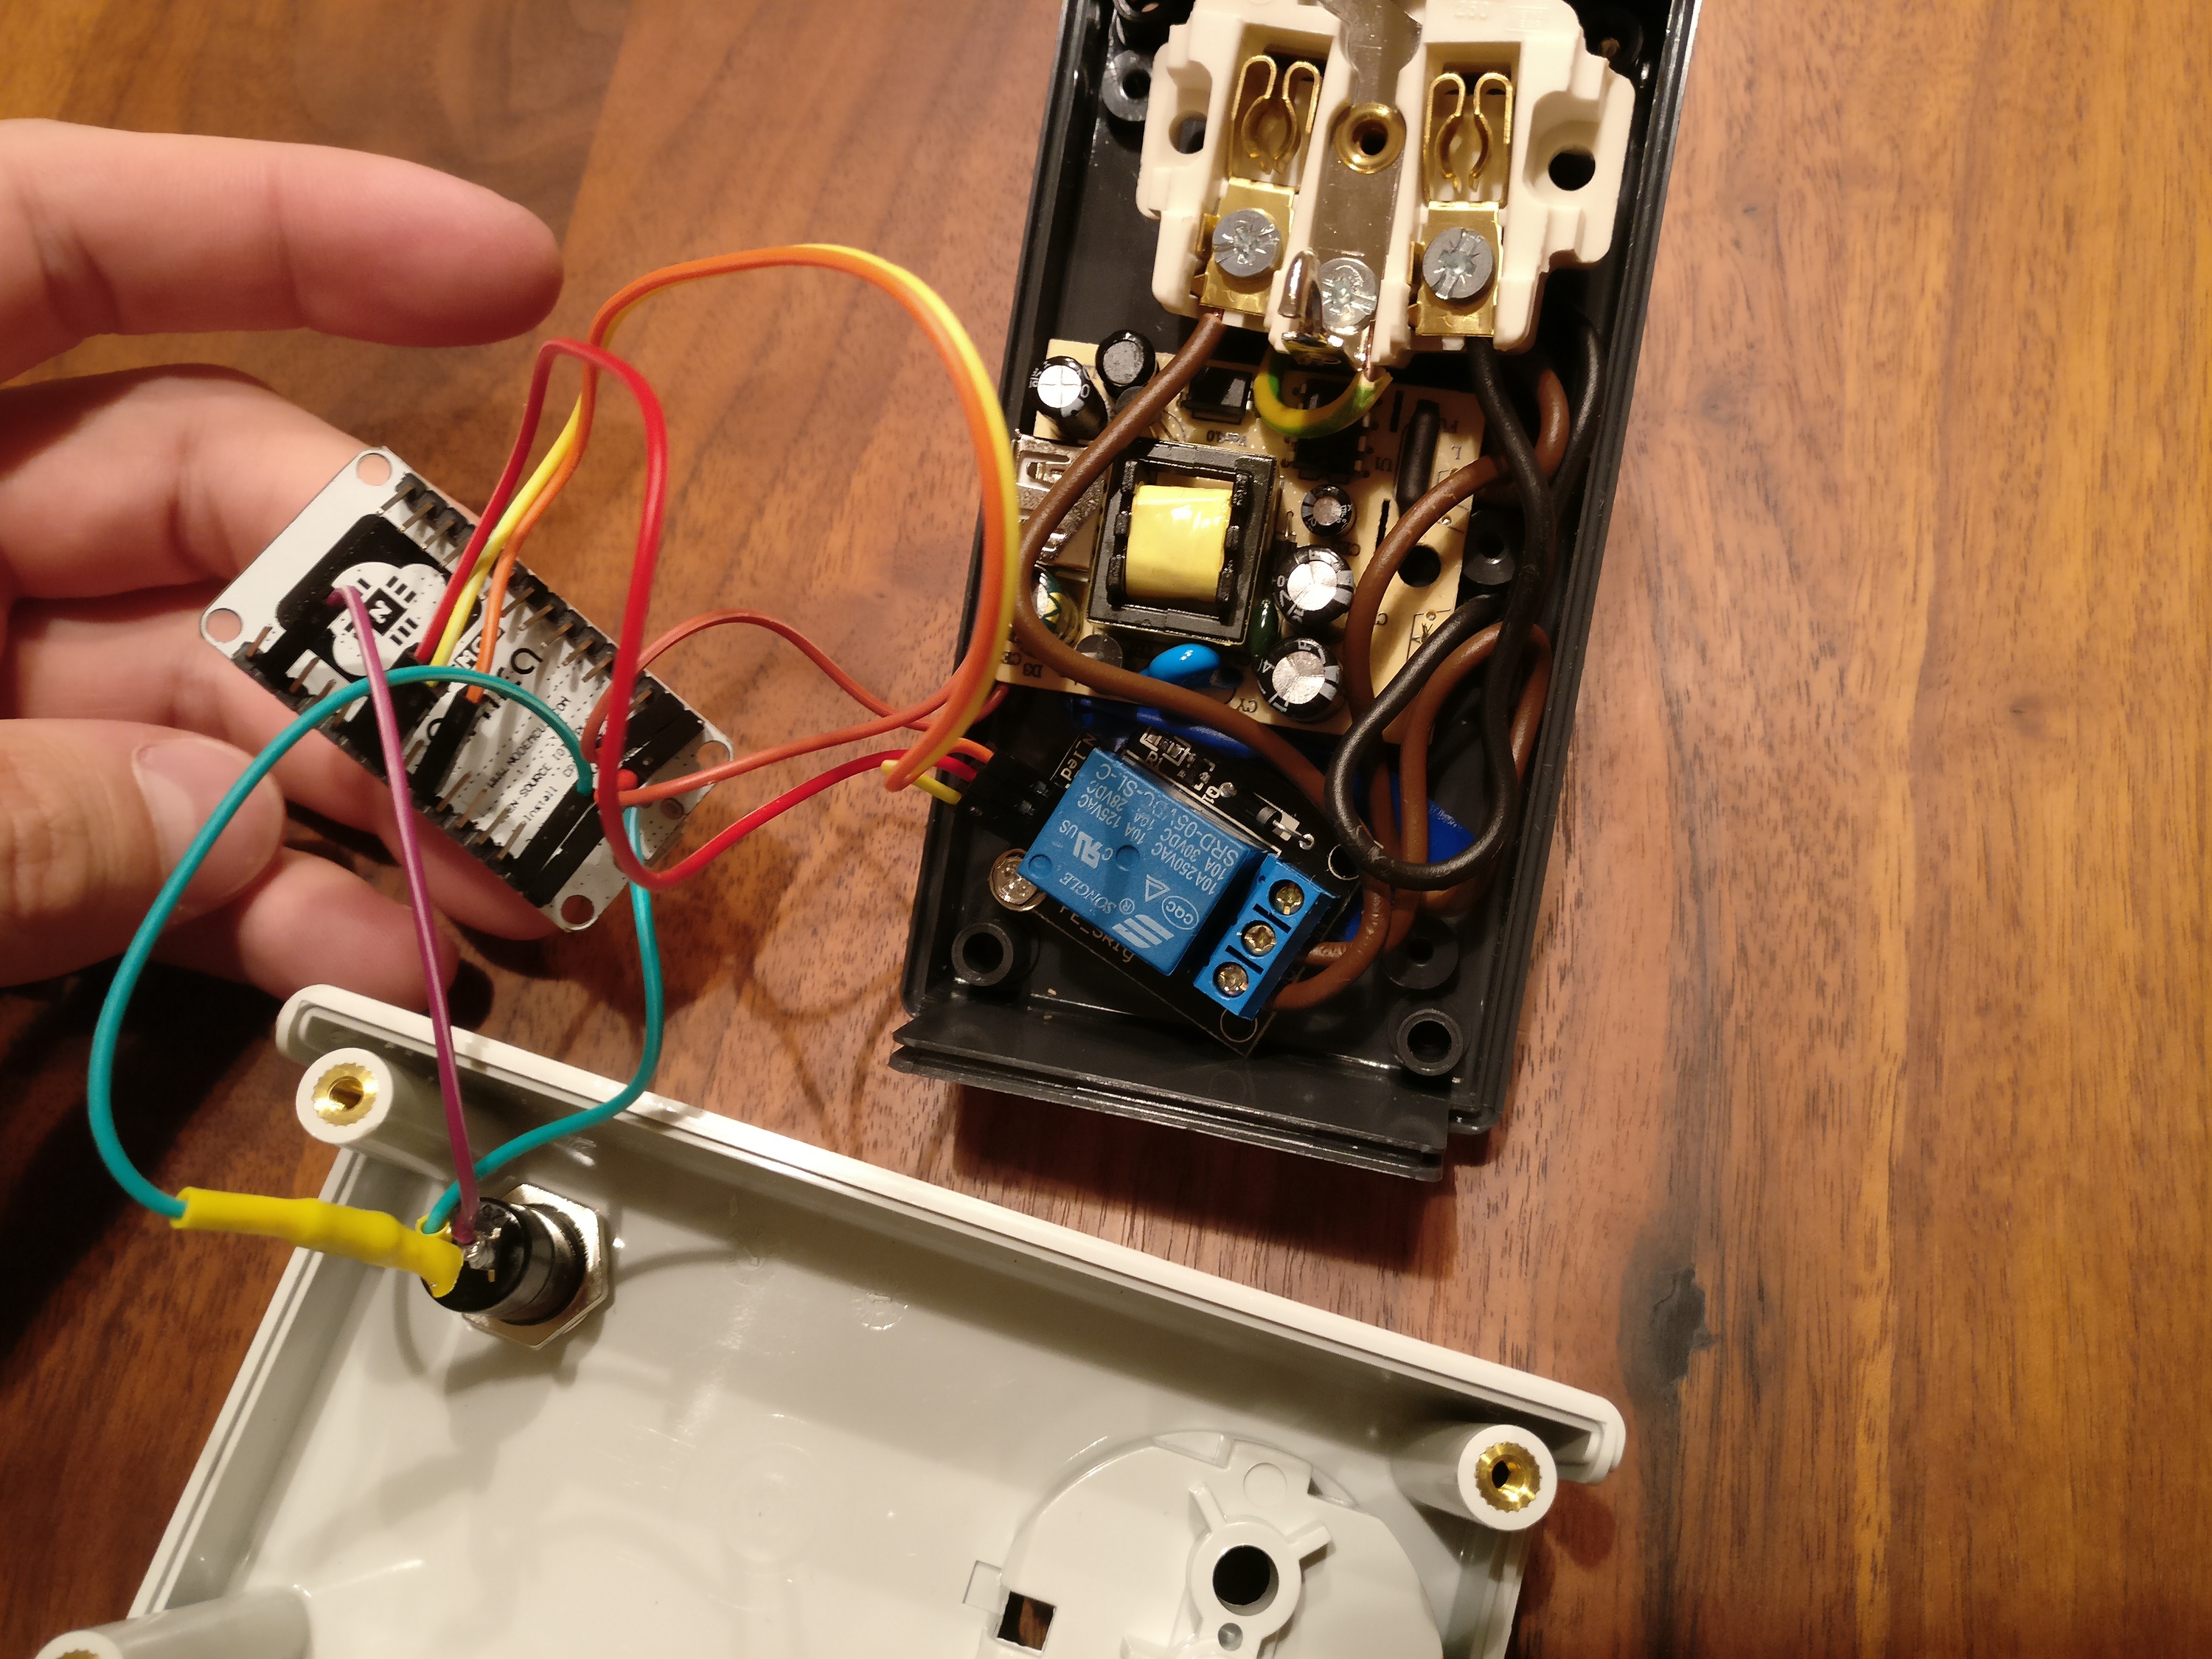
Connect the devices according to this schema (WARNING: Don’t do this if you’re not comfortable handling mains power!). Don’t forget earthing (it’s not on the diagram):
circuit diagram

Flash the MicroPython firmware to the NodeMCU board. Put the ‘relay_mqtt.py‘ file on it as main.py. That way it will be run when the device boots up. Adjust the code to connect to your network and MQTT server first.

You can download the code here.

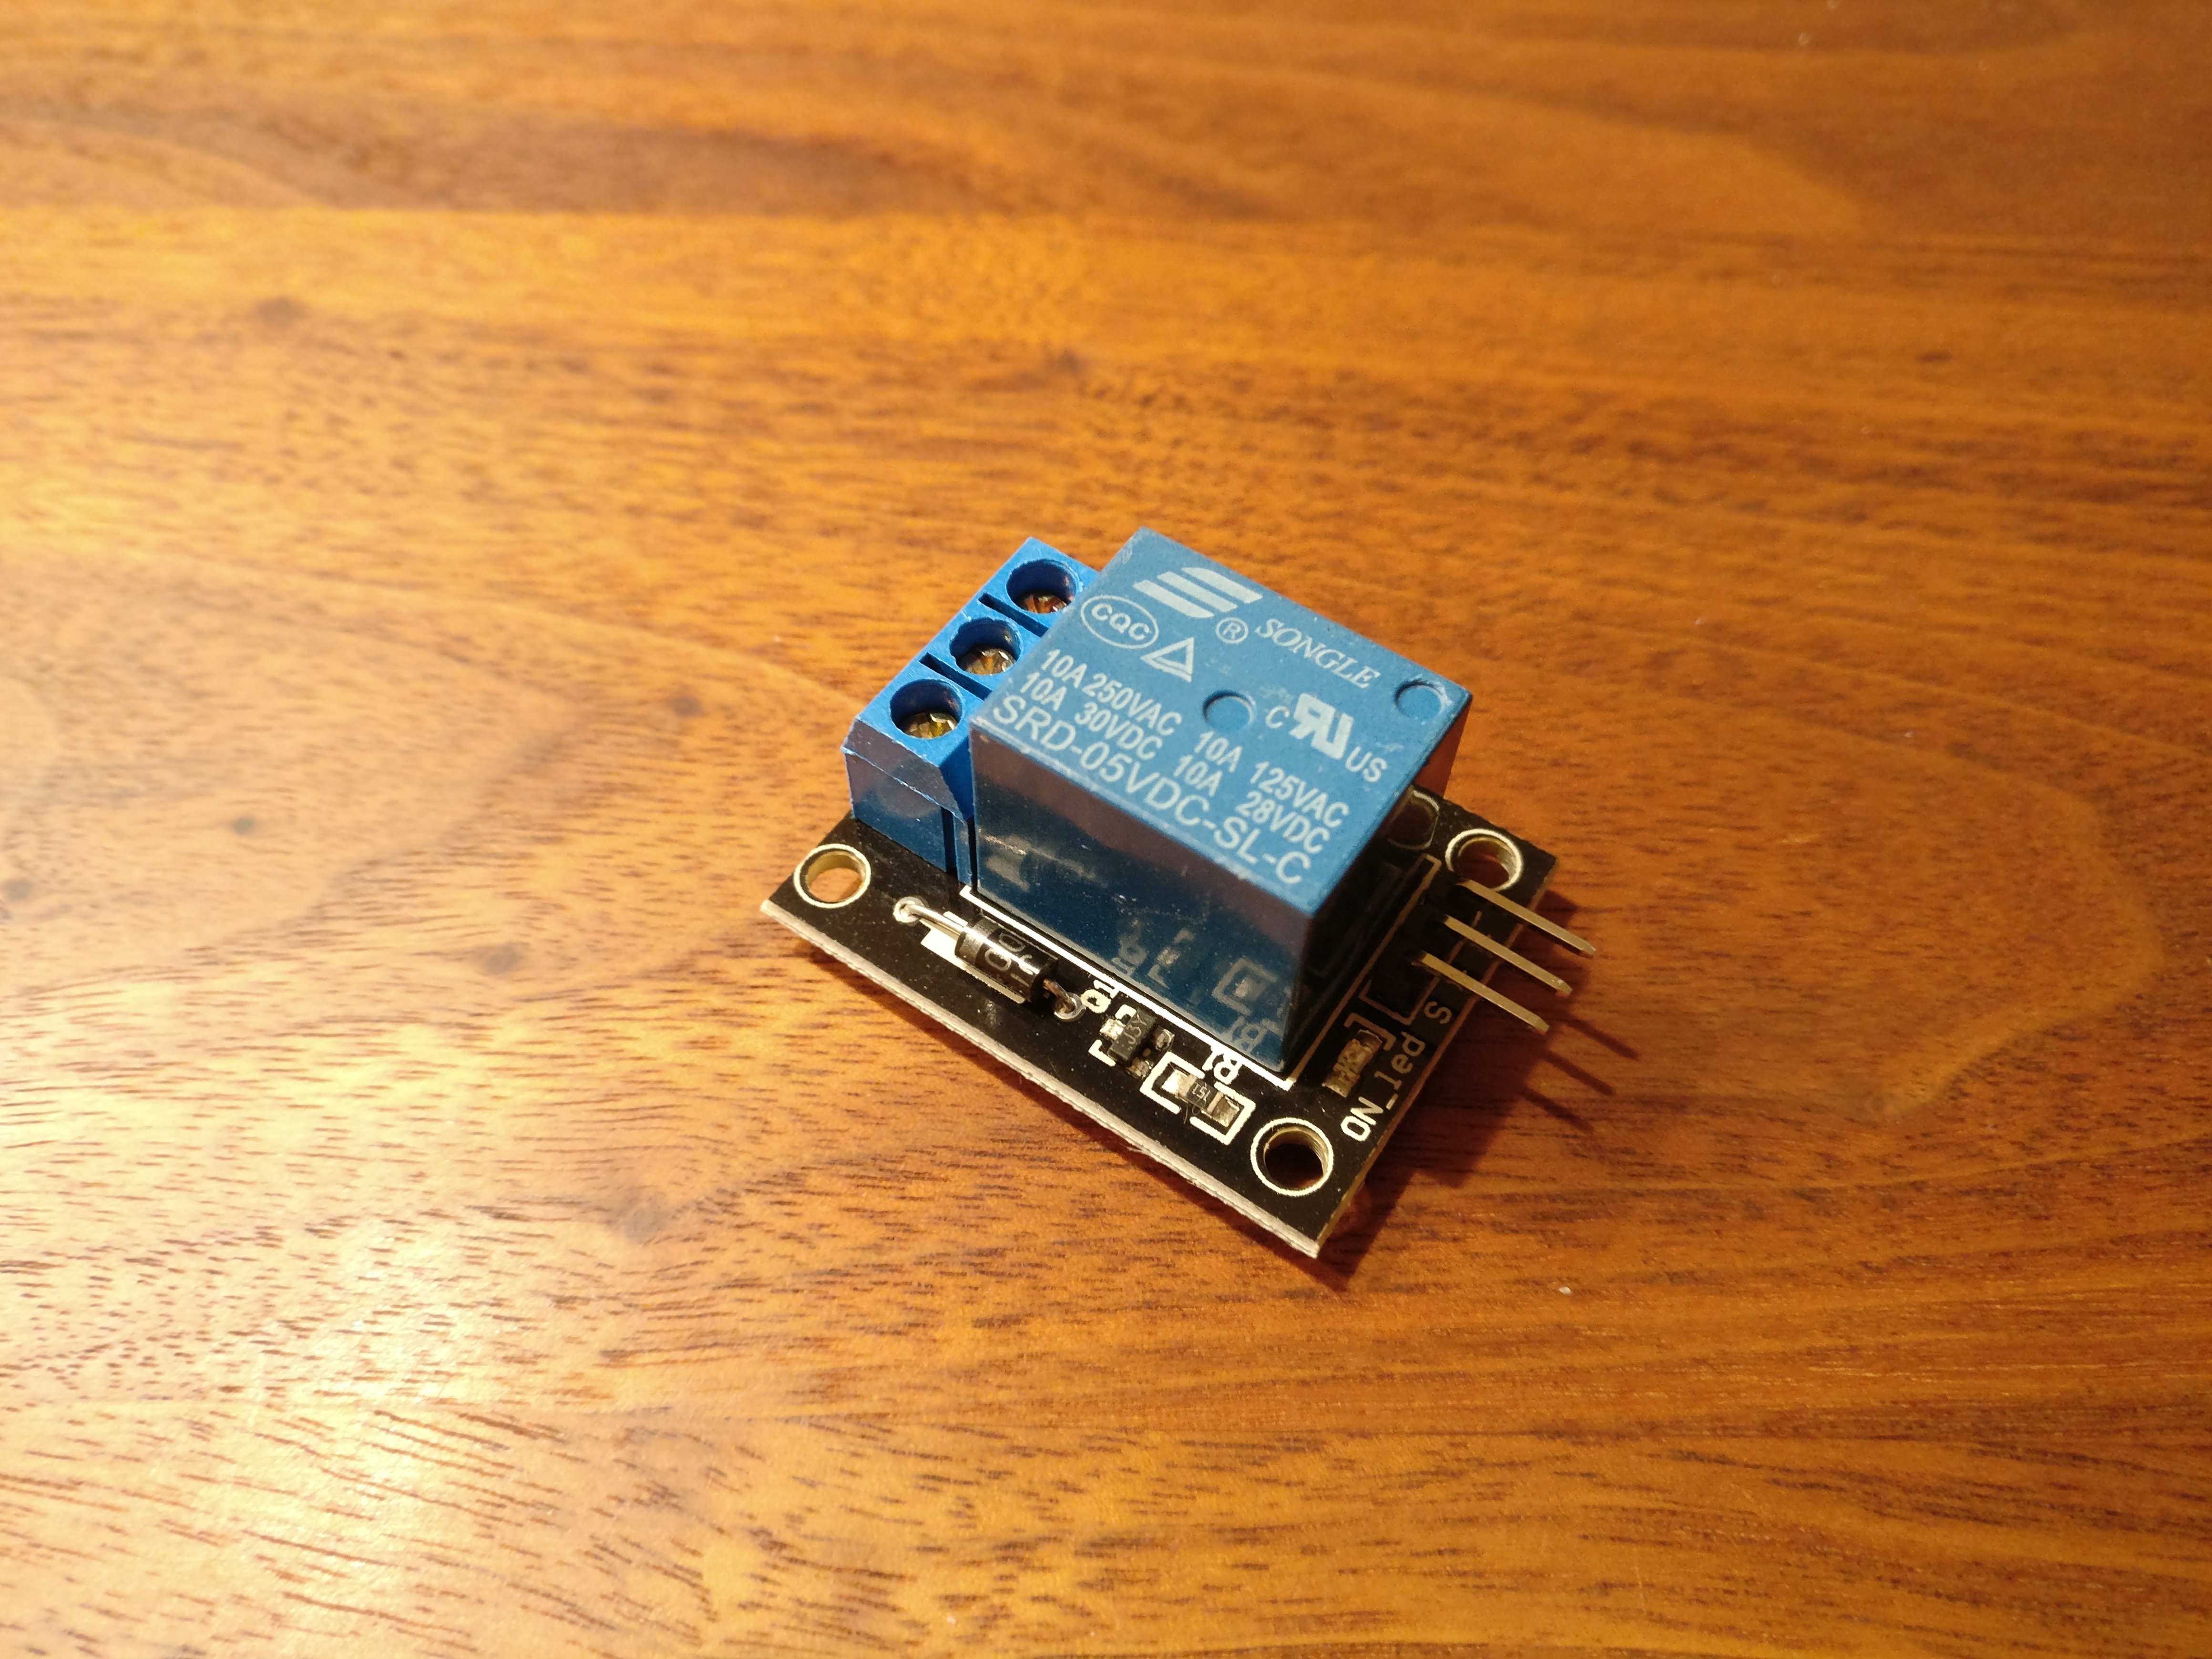
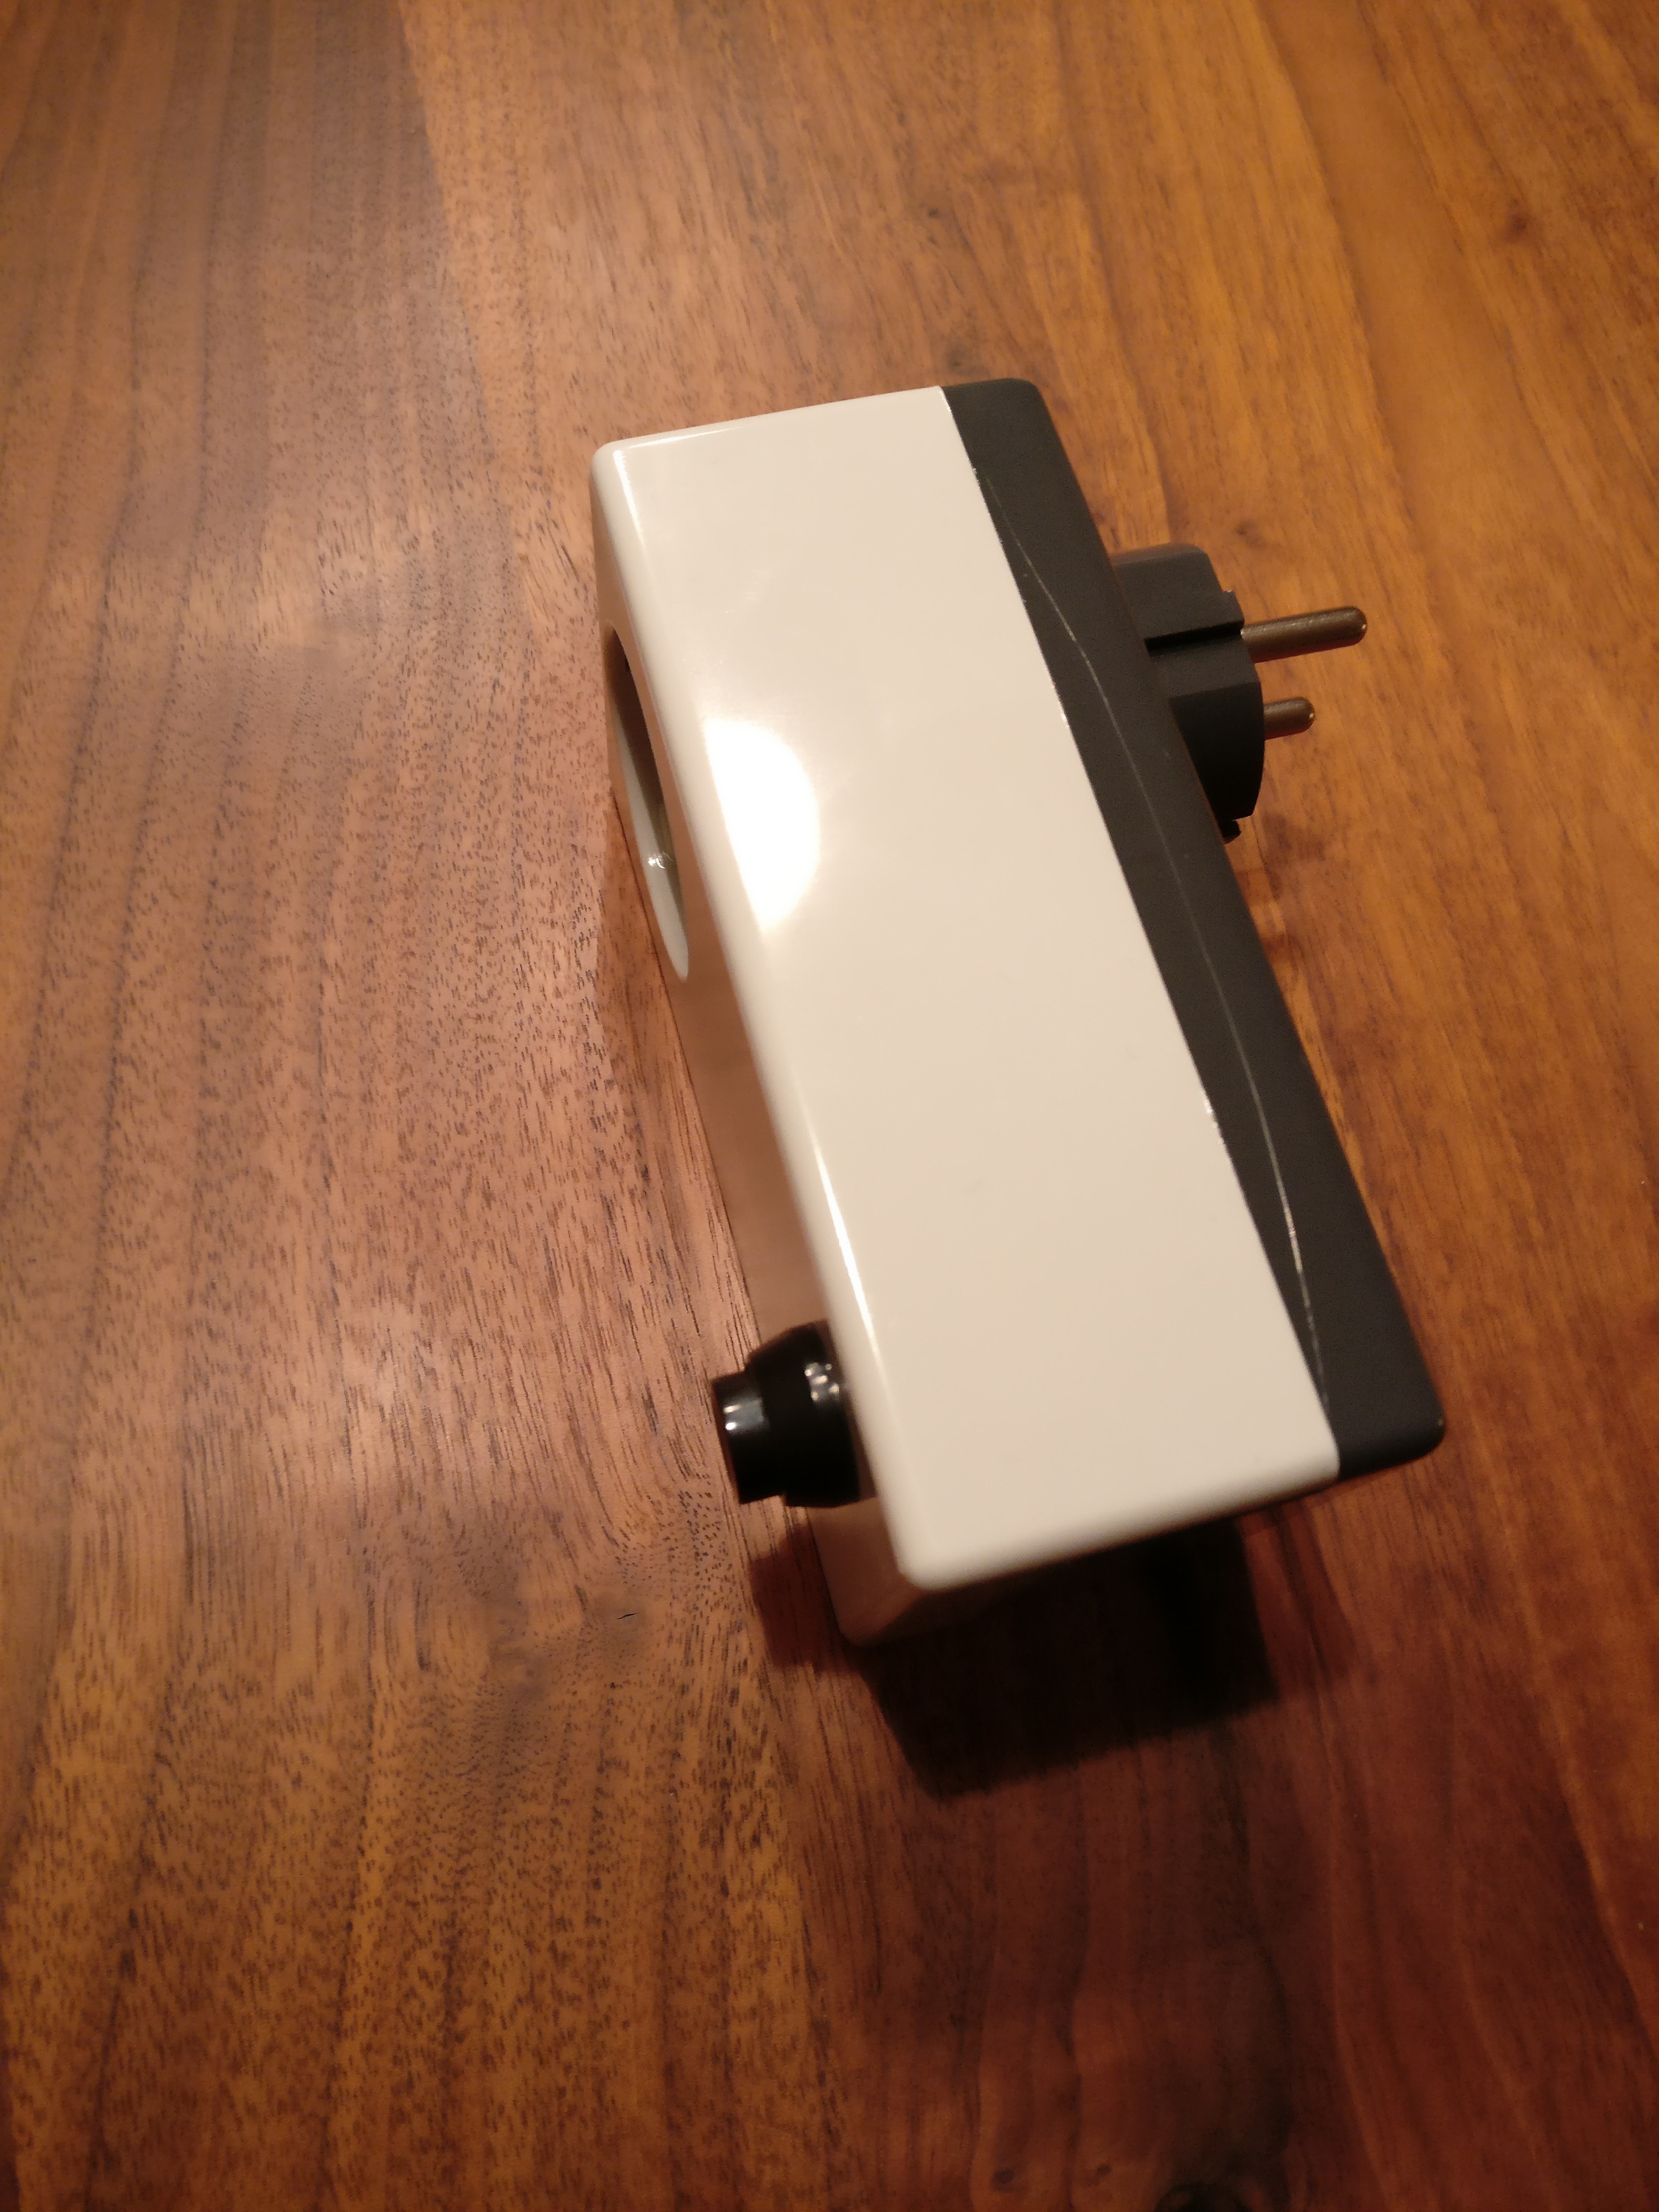
My device looks like this:

See the Home Assistant documentation for how to integrate the MQTT part with Home Assistant.

The nice thing is: you can press the button to switch the device. The status of the device will update via MQTT and Home Assistant gets a correct status update. You can of course switch the device from within Home Assistant as well.

Happy hacking!

Categories
english Howto OnlineLife Net Webapps Software

HOWTO setup your very own Jabber server…

XMPP (aka Jabber) in combination with OTR is a secure way to chat with others. There are some public servers available, but their popularity centralizes the infrastructure and leaves single points of failure. A recent example is Chaos Computer Club’s Jabber server (jabber.ccc.de) which was down for some days between Christmas and New Years 2014/2015, as a consequence of a DOS attack.

I’ve been setting up a Jabber server of my own on my Raspberry Pi. Here is how you can too:

Categories
english Howto

Hetzner Root Server Networking Configuration…

I’ve been setting up a new server at hetzner.de.
I ran into problems when configuring the network. The server is running Debian (wheezy).

hetzner network info
note the last line: “The additional route to the gateway is now no longer necessary.” not only that: it will not work.

The basic configuration looked like this:

1
2
3
4
5
6
7
8
9
10
11
12
13
14
15
16
## /etc/network/interfaces example Hetzner root server
# Loopback-Adapter
auto lo
iface lo inet loopback
#
# LAN interface
auto eth0
iface eth0 inet static
# Main IP address of the server
address 192.168.0.250
# Netmask 255.255.255.255 (/32) independent from the
# real subnet size (e.g. /27)
netmask 255.255.255.255
# explicit host route to the gateway
gateway 192.168.0.1
pointopoint 192.168.0.1

This should work, as mentioned in the Hetzner DokuWiki.

I added DNS servers at the end (use your DNS servers here or pick an open DNS server)

1
dns-nameservers X.X.X.X Y.Y.Y.Y

at the end since I’ve resolvconf installed.
eth0 did not come up correctly.

When trying ‘ifdown eth0; ifup eth0’ I kept getting:

1
2
3
ifdown: interface eth0 not configured
RTNETLINK answers: File exists
Failed to bring up eth0.

This error would show up at boot time or when trying to start eth0 by hand.
The setup would look fine otherwise, IP was correct network seemed to work, but the DNS-servers were not added correctly. Weird!

‘ifdown –force eth0; ifup eth0’ worked. Server went off for a second but came back. with DNS-servers setup correctly. Interesting!

I started to comment out lines from /etc/network/interfaces.
Et voilá!

It turns out: It is deadly to try to configure ‘gateway’ in /etc/network/interfaces!

Finally I used this:

1
2
3
## /etc/network/interfaces working Hetzner root server
auto lo
iface lo inet loopback

auto eth0
iface eth0 inet static
address 192.168.0.250
netmask 255.255.255.255
# next line optional
network 192.168.0.0
## never EVER use the next line! you have been warned!
## gateway 192.168.0.1
pointopoint 192.168.0.1
dns-nameservers X.X.X.X Y.Y.Y.Y

I hope this post will save others some time to fix this issue with their setup.

Categories
english Howto Software

Adding SSL to transmission’s web interface…

If you’re using transmission’s web interface to manage your torrent downloads, and you are doing this remotely (from outside your LAN), you might want to add some privacy.

As previously posted there are ways to use magnet links with transmission’s web interface. This webinterface works well when you are on your local network aka LAN and don’t have to fear prying eyes.
The moment you’re using the transdroid android app or your laptop in a coffee shop the commands and responses of your transmission daemon at home can be read by anyone.

Luckily the transdroid android app offers an SSL option. All you have to do is configure a proxy on your transmission daemon machine.

Here is how:
Install nginx (a lightweight http/https server):

1
apt-get install nginx
Categories
english Howto photography video

miniature time-lapse with fake tilt shift (howto)…

i recently came across some videos that took my breath. tilt shift time-lapse videos. they produce kind of a miniature look combined with a stop motion and time lapse feature that was just nice.

of course i wanted to make one 🙂

here is how:

Categories
english Hardware Gadgets Howto Motoriges video

How to make time-lapse videos on a motorcycle…

a few weeks ago i got my hands on a motorcylce camera stand (thx Patrick). one that was actually made for a motorbike and not a modified tankbag with rubber wraps. please don’t ever use those and please do never put a camera into your helmet as some youtube idiots present.

the camera i used is my canon ixus 750. since the lense on this camera is rather low i had to improve the camera stand. i added some aluminum ducts to make it higher and to make the camera see the street. about 7 centimeters were enough.

since i was not able to get the CHDK timelapse to work i shot video. to generate a timelapse i used ffmpeg to extract images out of the video and to unite them to a timelapse video.
using this tutorial and the man pages i was able to come up with this:

1
2
3
4
5
6
#!/bin/bash
# sample usage: ./timelapsify.sh input.avi output.mp4
mkdir ffmpeg_temp
ffmpeg -i $1 -r 1.4 -f image2 ffmpeg_temp/%05d.png
ffmpeg -i ffmpeg_temp/%05d.png -sameq $2
rm -rf ./ffmpeg_temp

note that it is important for ffmpeg to have the images you use to generate the timelapse video in order and sequenced. if you decide to delete some images you have to rename them and must not leave gaps.
also you may have to vary the rate (i used: 1.4) acording to the speed of your input video and the speed of the output video you want to have.

one step i did between extracting and generating the timelapse was sending it through imagemagick to blend the speedometer. using info from this mailing list:

1
2
3
4
5
6
#!/bin/bash
#usage: pixelate_circle.sh IN.file OUT.file center_x_coord center_y_coord border_x_coord border_y_coord
convert $1 \( -clone 0 -scale 10% -scale 1000% \) \
\( -clone 0 -gamma 0 -fill white \
-draw "circle ${3},${4},${5},${6}"\
\) -composite $2

of course this has to be done for every image 😉

and here is the resulting video: