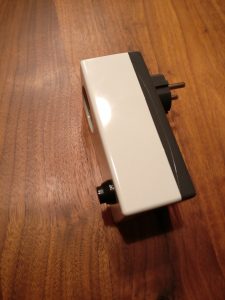
Recently I confirmed that a smoke detector can be useful. I forgot a sauce on the stove and it burnt. I left the flat and luckily heard the smoke alarm from outside!
So, to be safer in the future I wanted to make a network-connected smoke detector that reports to my home-assistant instance. From there it can notify me via SMS or flash lights or sound an alarm.
By chance I found a smoke detector at IKEA. I needed to see if it can be hacked.
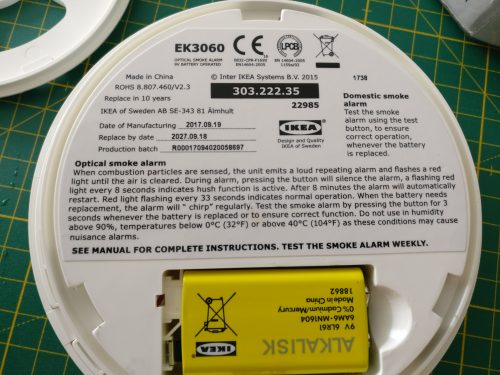
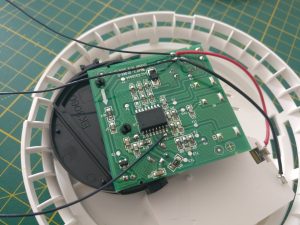
Good news! It can! 🙂
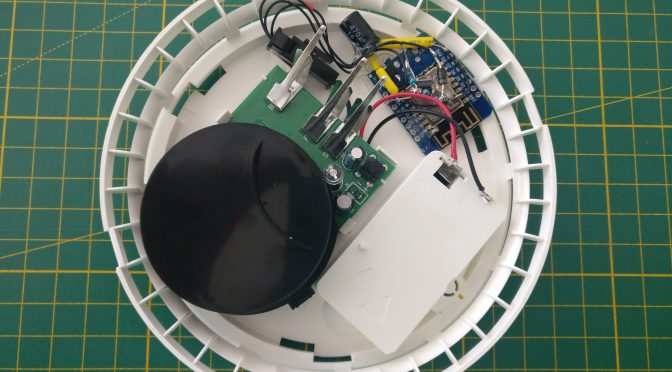
It turns out the micro controller that is used (CS2105G0-S12) offers a nice pin (Pin 7 – I/O) to be used for external electronics. Conveniently the PCB has a test pad (T4) that one can solder to.
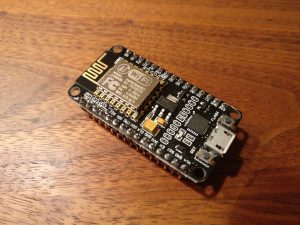
On the interwebs™ I found a design that uses the internal battery of a smoke detector to power an ESP8266. I modified the layout to work for a Wemos D1 mini. Switching the transistor to a Mosfet, allowing more current to pass, was the fix.
The layout shows how the Wemos D1 mini is powered. It runs MicroPython, only when the alarm goes off. An alarm must be active for about 20-30 15 seconds for a message to go through. The wifi module connects to a local wifi network and sends a MQTT message to a pre-defined channel.
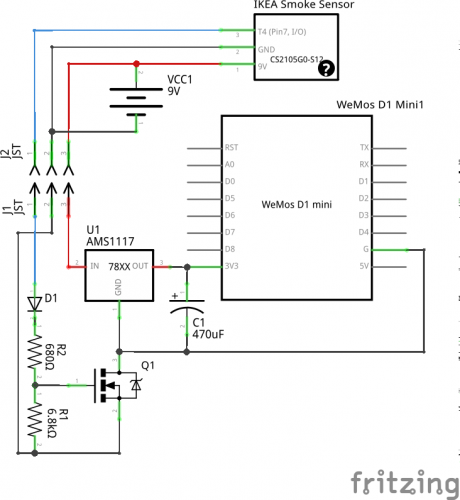
The I/O-Pin 7 of the smoke detector is high at 9V when smoke is detected. The Mosfet will be switched on and the battery now powers the D1 mini as well, allowing notifications via network. The ESP8266 on the board is flashed with MicroPython. The script connects to the local wifi and notifies home-assistant via MQTT that smoke is detected. Home-Assistant does the rest.
The source of the script can be found here on gitlab or on github.
Battery update: Since November last year to beginning of October this year, the battery level dropped from 8.8V to 8.2V. Considering that the level is probably good until a level of about 7 Volts this should give the sensor a run time of a little less than 3 years. I did test the sensor several times in this time span, so this could be another factor for more battery drain.
The battery life time should be one year according to IKEA.
