Categories
Hardware Gadgets

Atreus – Keyboard

I wish we hadn’t used all the keys on the keyboard.

Bill Joy

The Atreus is about a reduced set of keys.

I’ve been using the Atreus keyboard for three years. Three years! Time flies. I want to get around to posting something about this keyboard for a while now; I finally got around to write something.

Back in 2020 I kickstartered the Atreus keyboard. At the beginning of October 2020 I held it in my hands and was able to try it out first time.

The Atreus is a small form factor 40% split keyboard keyboard. The original design by Phil Hagelberg had 42 keys and is open source hardware. The kickstarter project was a collaboration between Phil Hagelberg and keyboard.io which features 44 keys. It is also open source hardware and is freely programmable with open source software. Now the keyboard is offered in the online shop of keyboard.io. Keyboard.io offers great and easy to use configuring software called Chrysalis (also open source). It’s easy to start and configure your keyboard to your needs. Advanced users can even flash their own firmware. Which is needed for advanced concepts like tap dance.
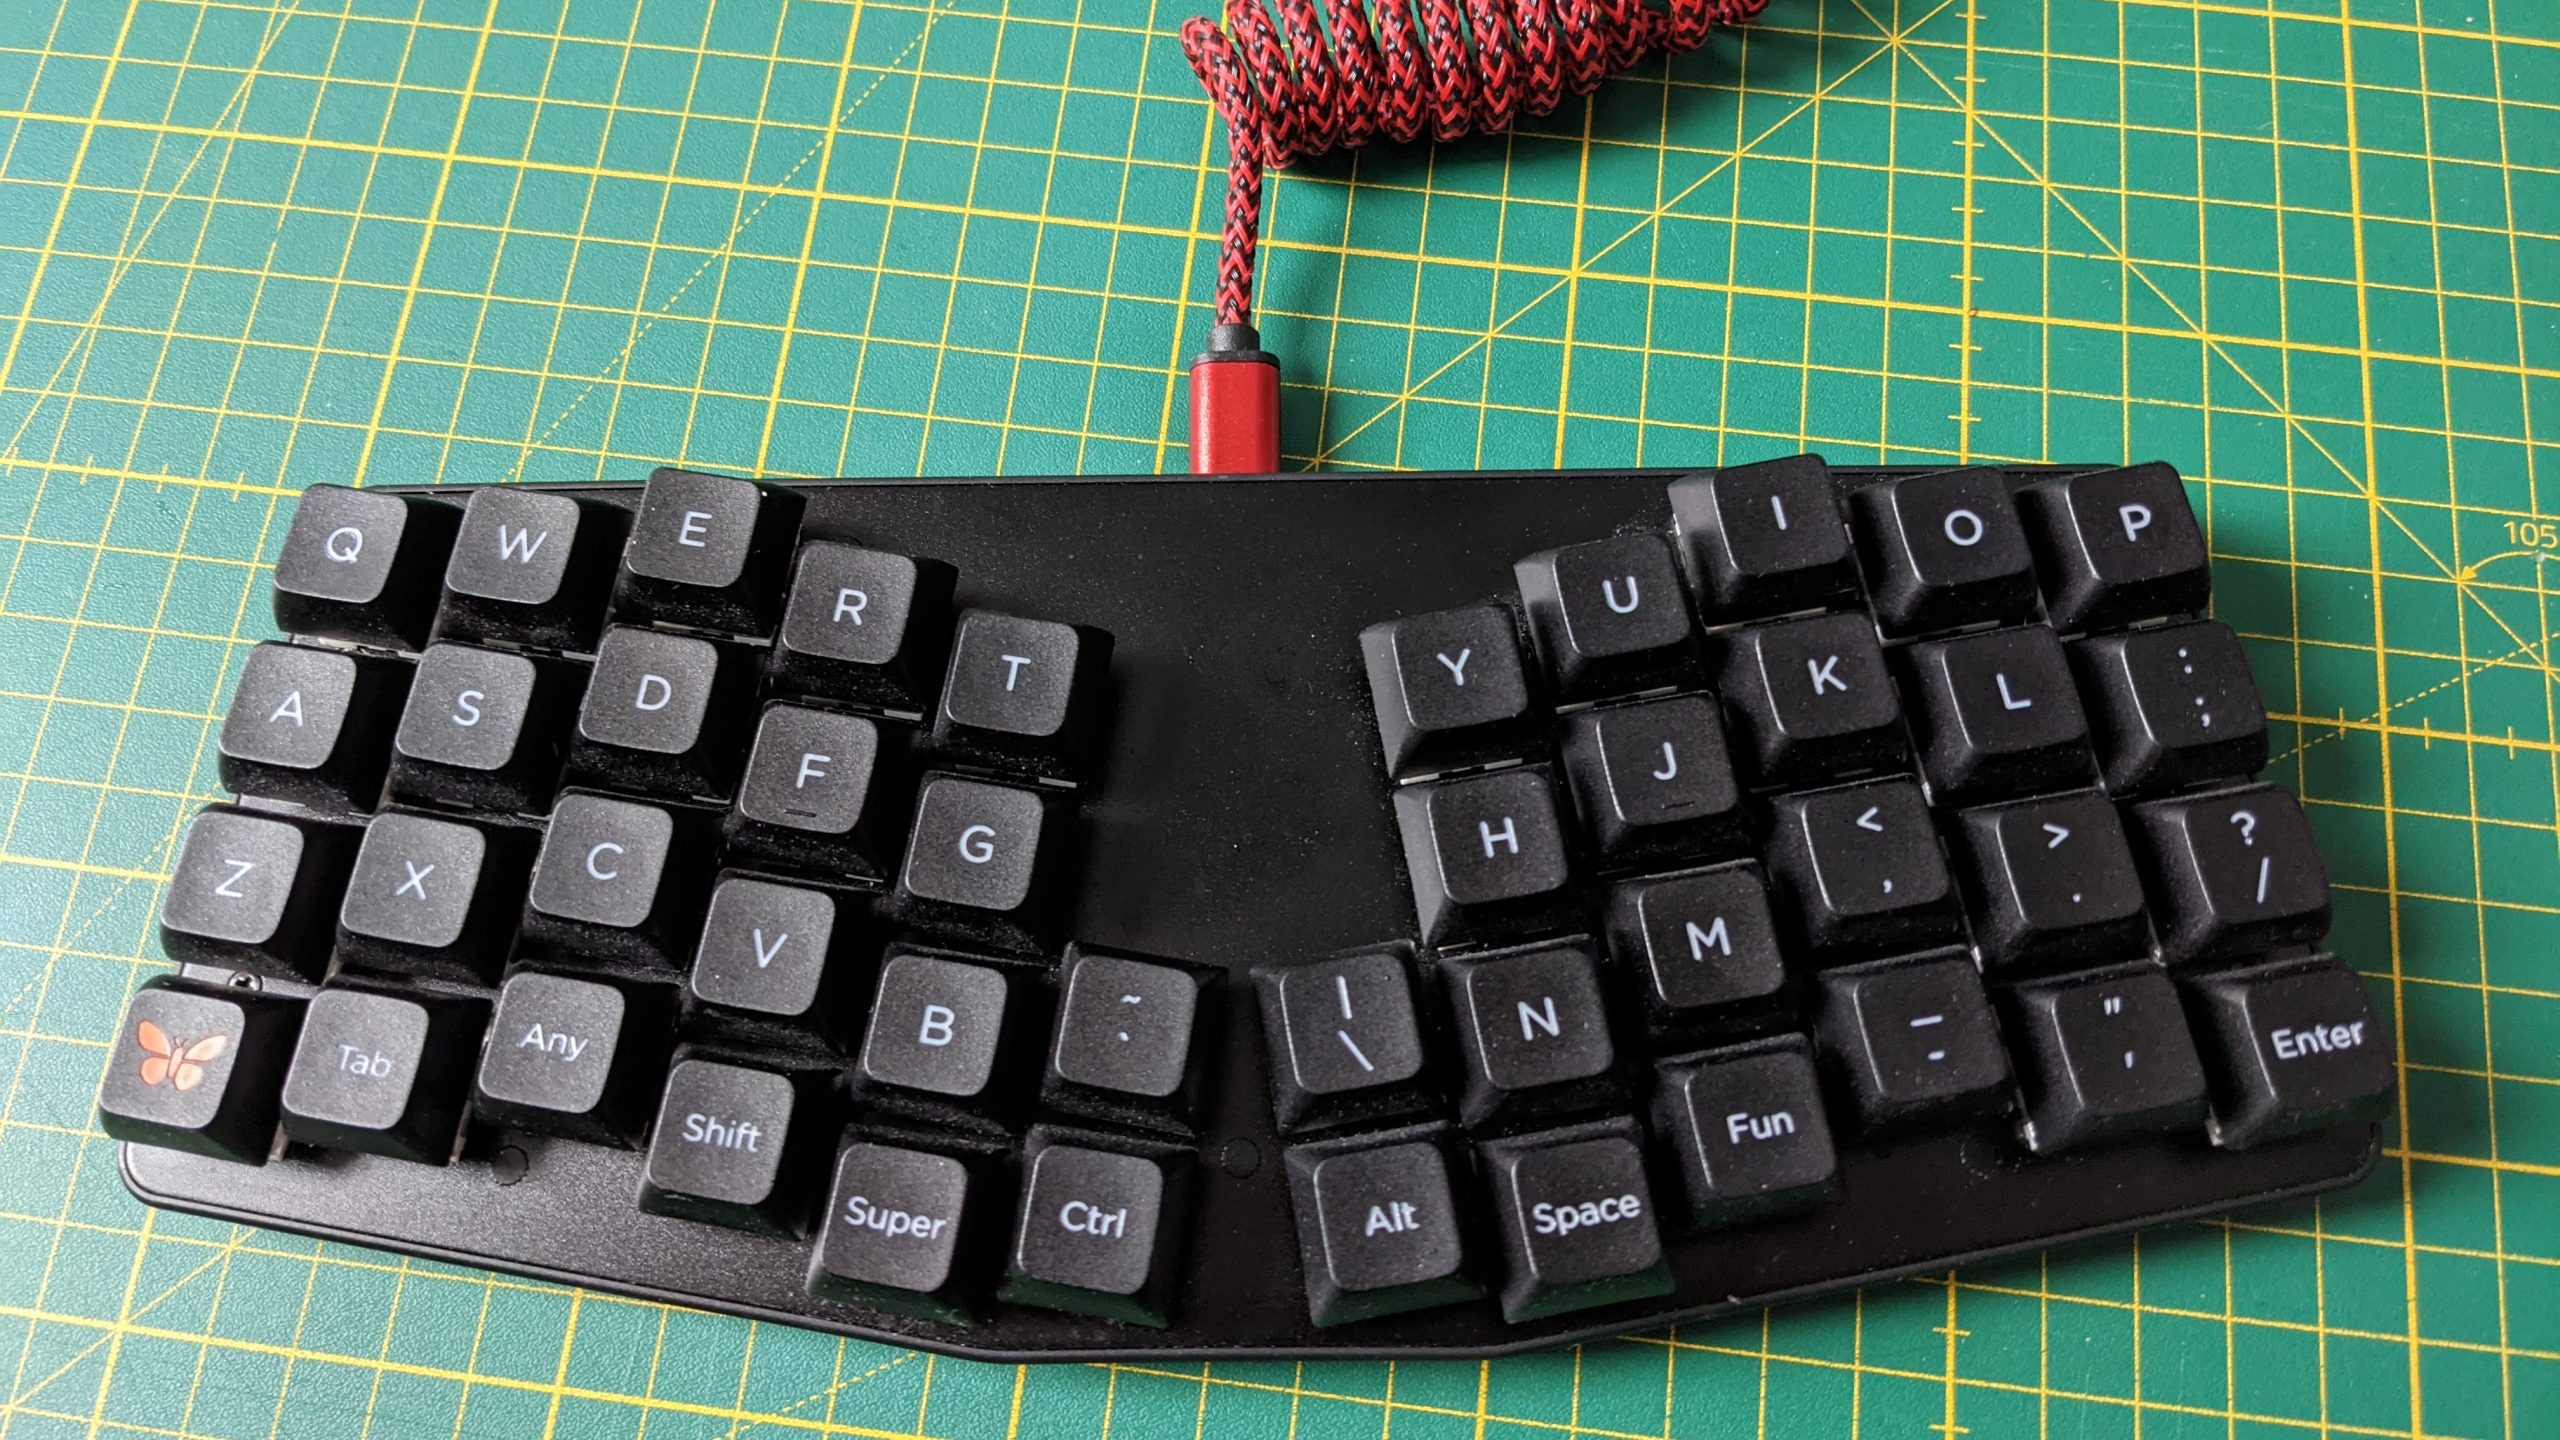
Atreus – keyboard.io version; 44 keys.

I originally was interested in the keyboard because of slight wrist pain, which soon went away after using the Atreus. The slight angle at which the halves of the keyboard are arranged help the wrists to stay straight whilst typing. The fact that it’s Open source, hardware and software was a big bonus. The reduced key set seems like a hindrance at first, but is really an advantage in reducing the movement of your hands while using the keyboard. It is no longer necessary to move your elbows or shoulders when accessing numbers, special characters, or arrow keys. Even multimedia keys are at a fingers reach.

The Atreus offers the user the configuration of multiple layers to access every key a full sized keyboard would offer. The standard configuration it’s great but can easily be changed with the Chrysalis software.

When I recently broke my arm I really came to appreciate the easy configurability of the Atreus. I was able to configure a one hand layout to the right side of the keyboard, which allowed me to access every key of the keyboard and type in a painless fashion. This reconfiguration is the trigger for my writing. I wanted to offer a configuration for people who might have a similar problem.
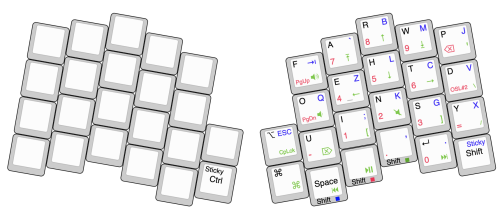
Right-hand layout for Atreus (customize here)

My basic letter layout is inspired by the now discontinued frog pad. The most frequent letters are placed on layer zero, the rest only one. Special characters, modifiers, and multimedia keys placed in a way that allow a convenient control. The num pad is reused from my standard layout. I don’t think I’m done with tweaking the layout, but it’s a great first start. Typing speed is still not where it was with two hands. I’m looking forward to using the Atreus with both hands again.

I really can recommend this nifty little keyboard.
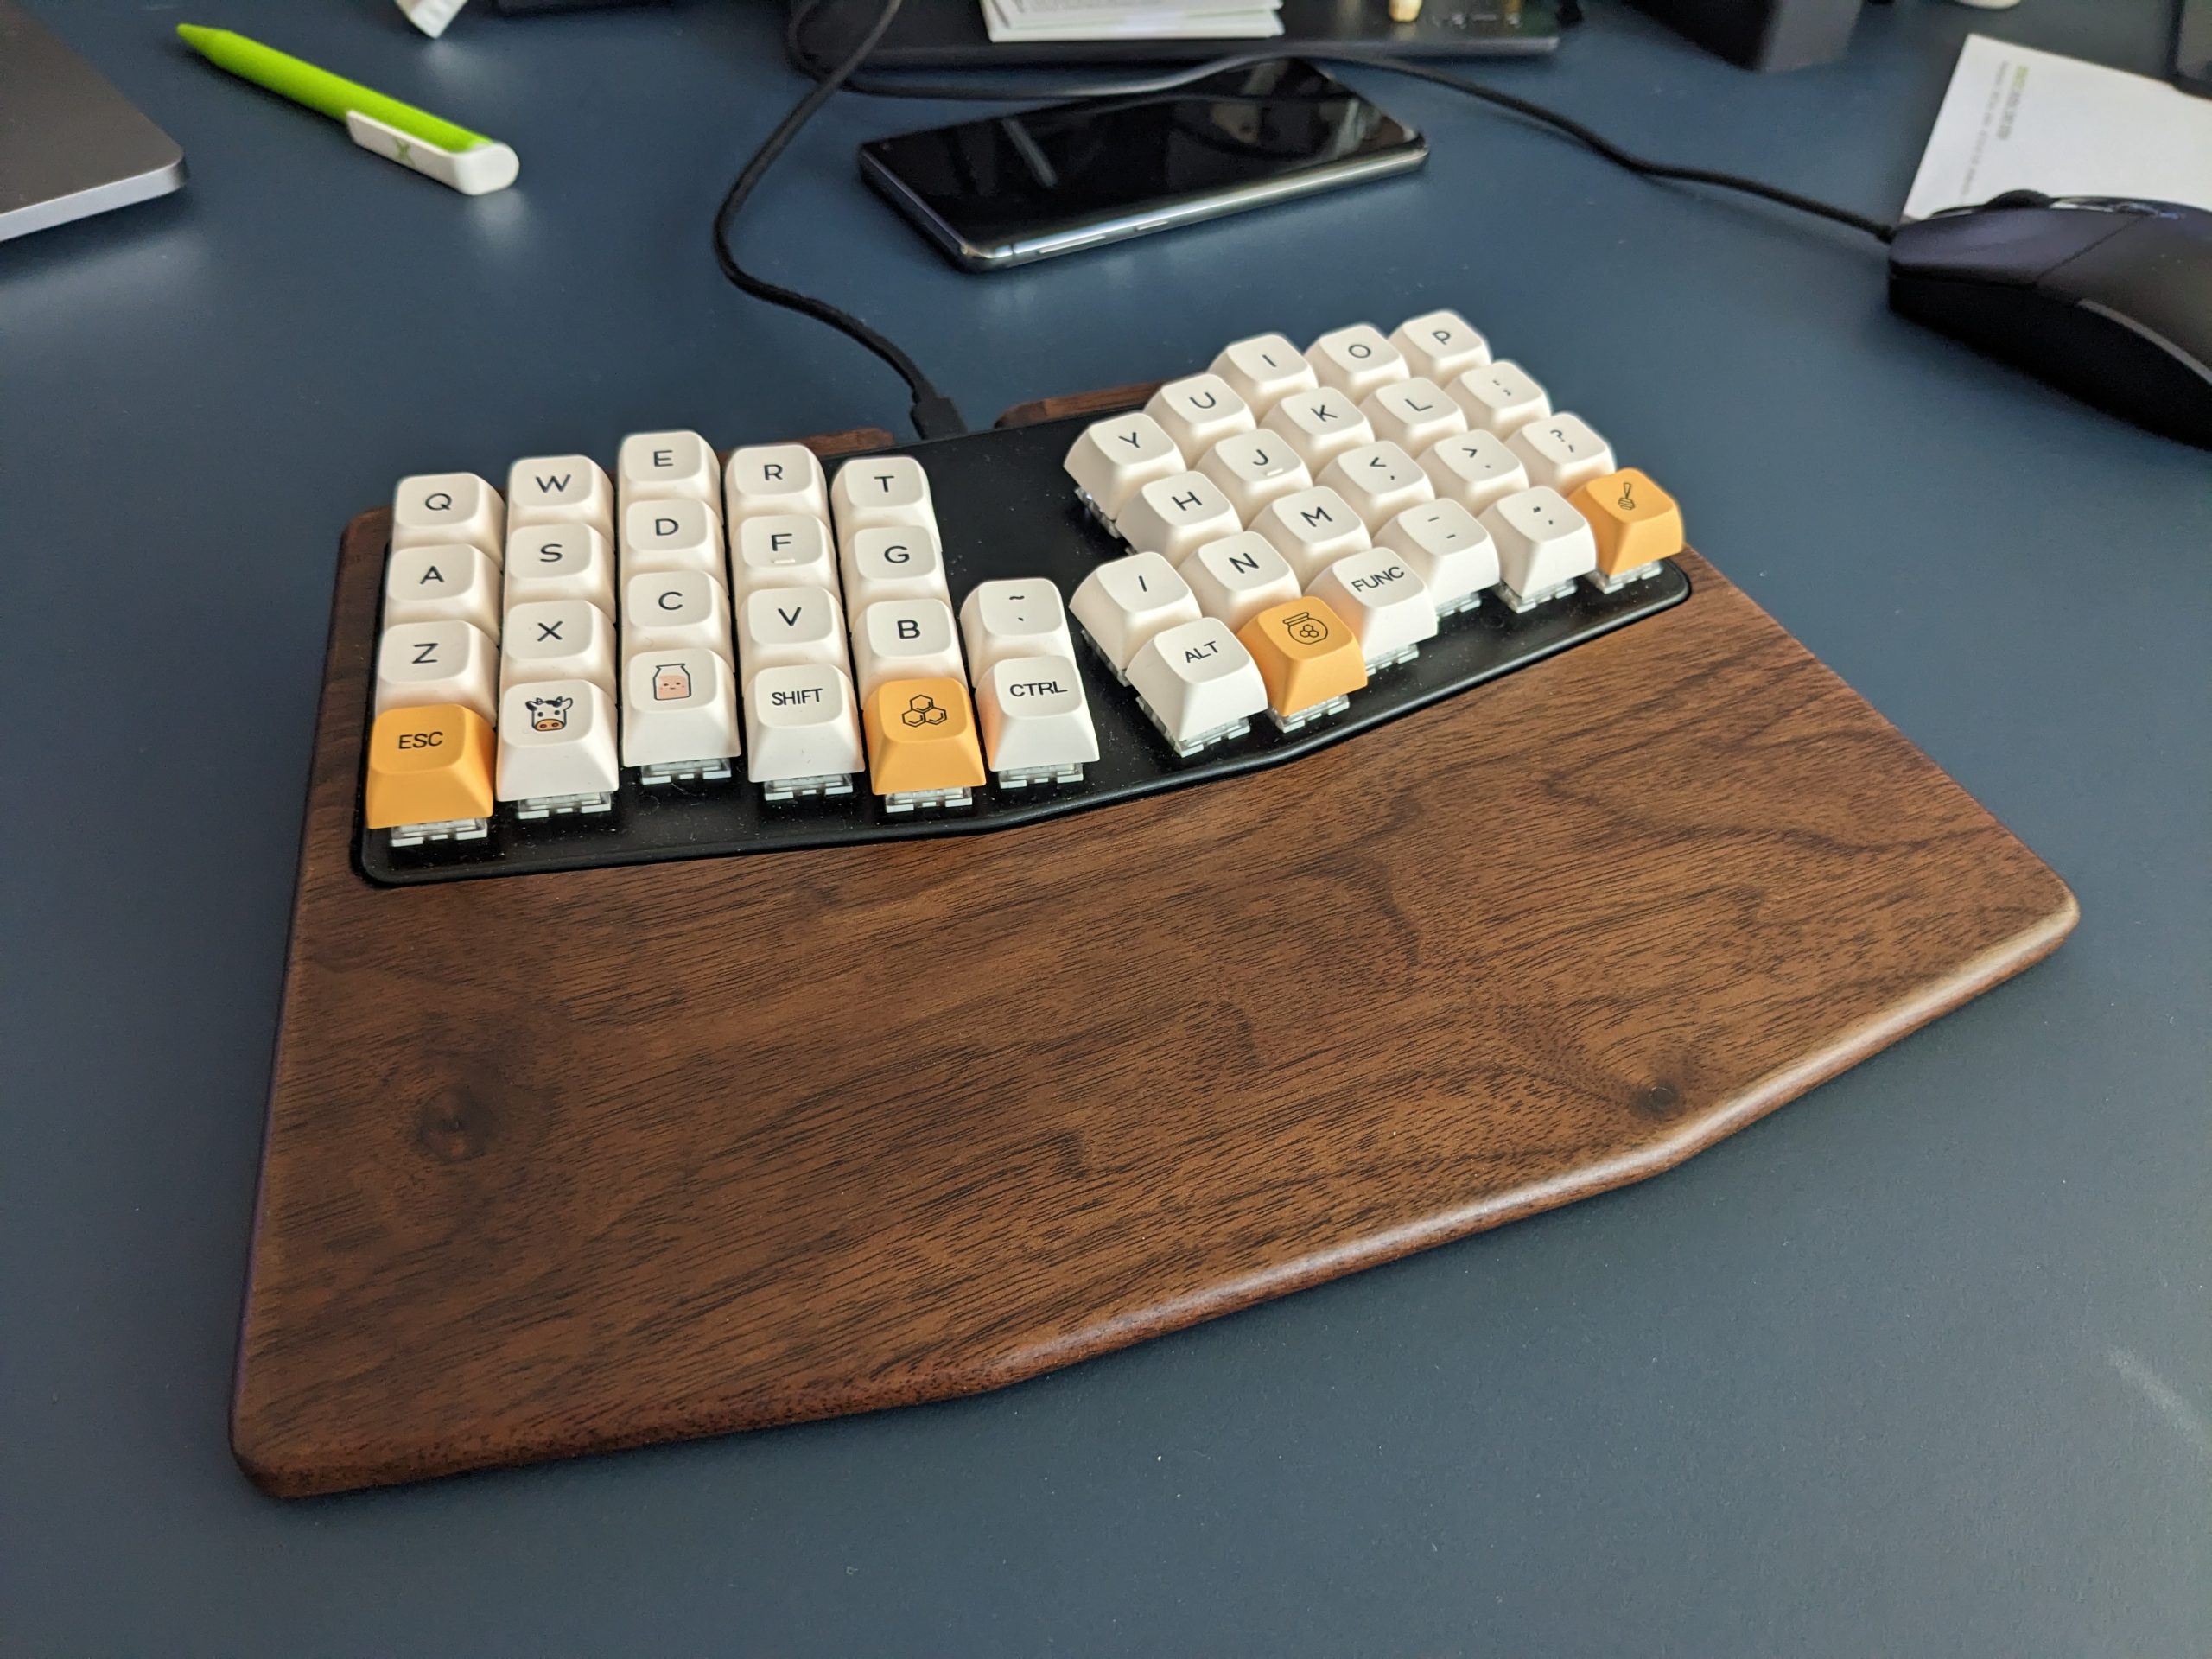
Atreus keyboard with changed key caps, and a walnut palm rest.

You can find my current configuration on Gitlab.
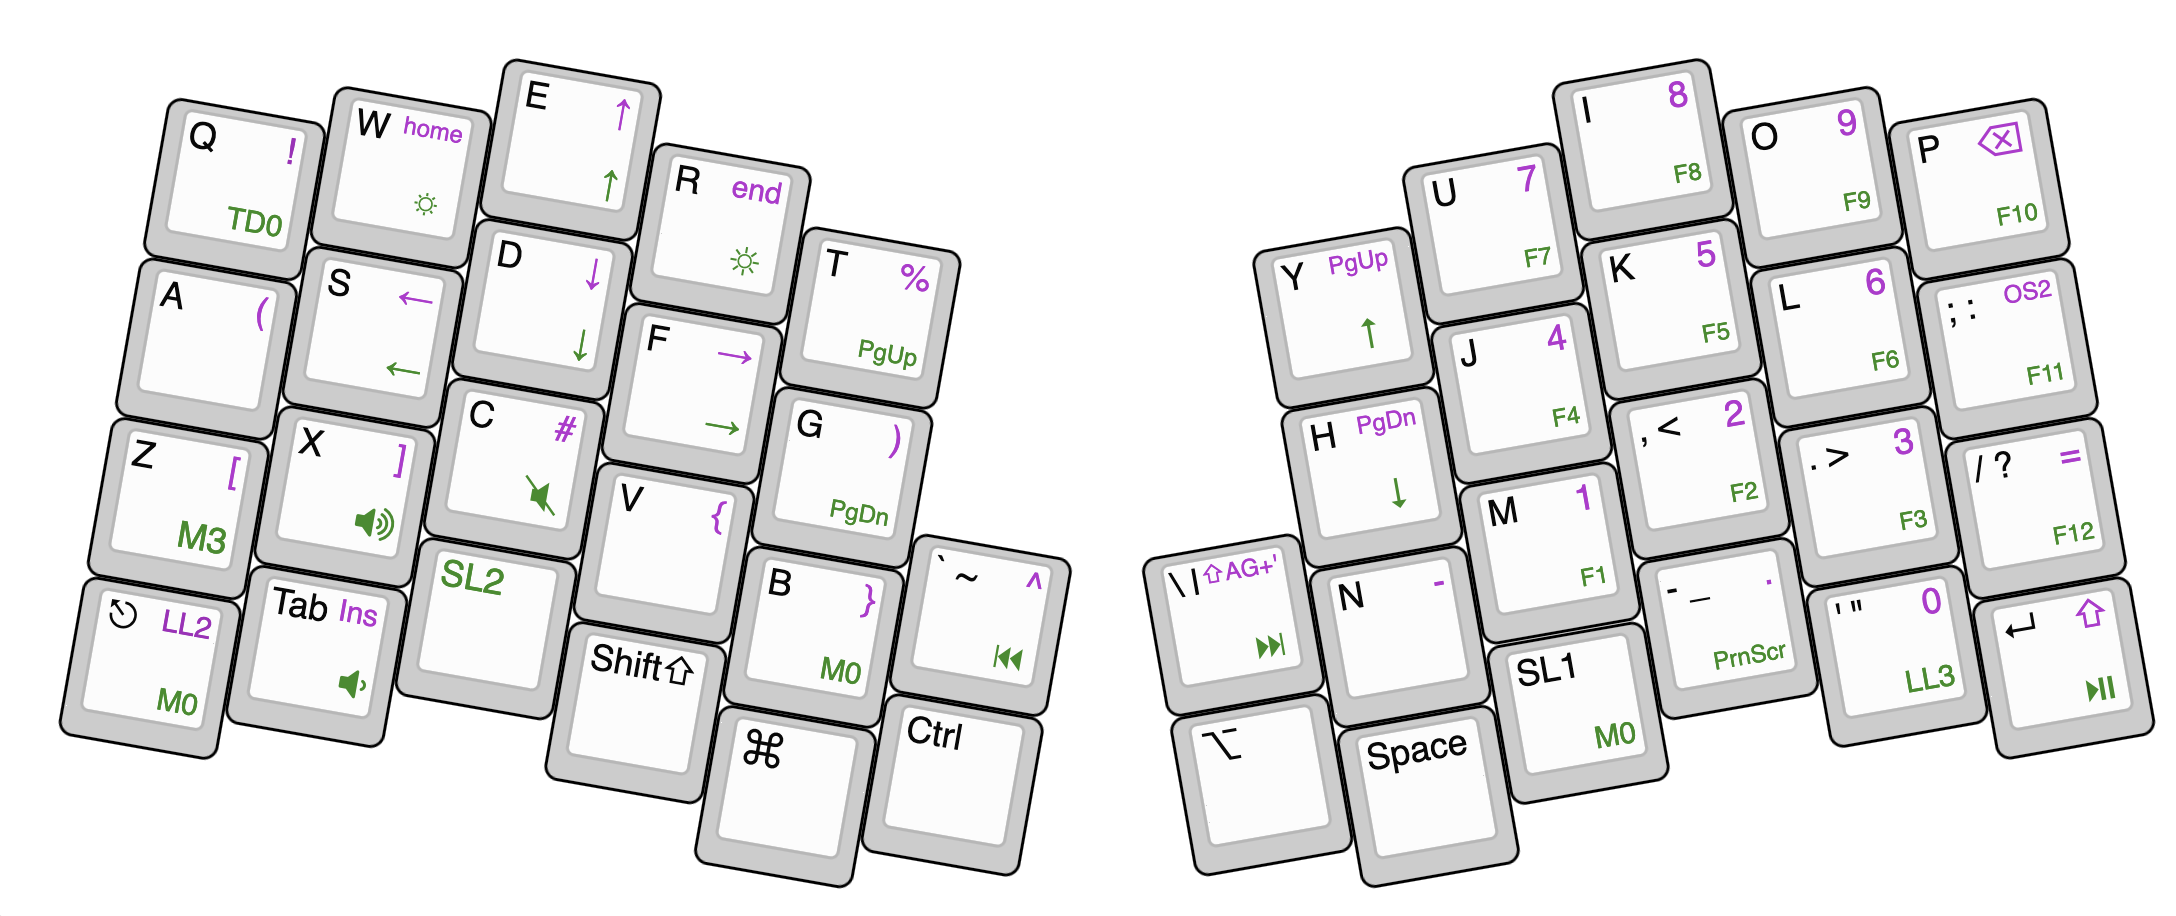
My standard layout (customize here)
Categories
Hacking Hardware Gadgets

Ikea DIY Smart Smoke Detector…

Recently I confirmed that a smoke detector can be useful. I forgot a sauce on the stove and it burnt. I left the flat and luckily heard the smoke alarm from outside!

So, to be safer in the future I wanted to make a network-connected smoke detector that reports to my home-assistant instance. From there it can notify me via SMS or flash lights or sound an alarm.

By chance I found a smoke detector at IKEA. I needed to see if it can be hacked.

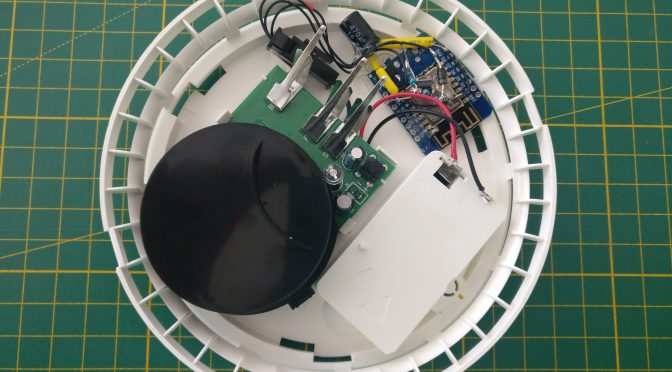
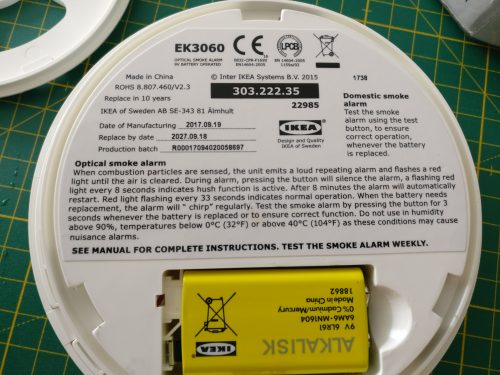
Ikea Smoke Detector

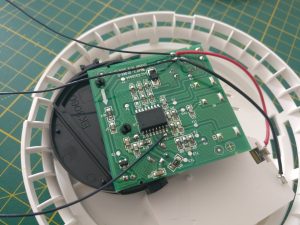
Test pin 4 can be used to solder the trigger to.

Good news! It can! 🙂
It turns out the micro controller that is used (CS2105G0-S12) offers a nice pin (Pin 7 – I/O) to be used for external electronics. Conveniently the PCB has a test pad (T4) that one can solder to.

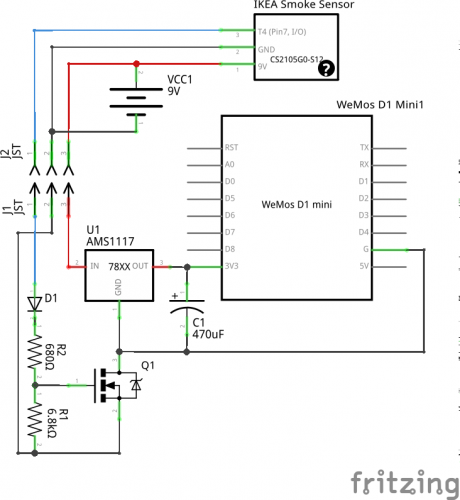
On the interwebs™ I found a design that uses the internal battery of a smoke detector to power an ESP8266. I modified the layout to work for a Wemos D1 mini. Switching the transistor to a Mosfet, allowing more current to pass, was the fix.

The layout shows how the Wemos D1 mini is powered. It runs MicroPython, only when the alarm goes off. An alarm must be active for about 20-30 15 seconds for a message to go through. The wifi module connects to a local wifi network and sends a MQTT message to a pre-defined channel.

circuit design

The I/O-Pin 7 of the smoke detector is high at 9V when smoke is detected. The Mosfet will be switched on and the battery now powers the D1 mini as well, allowing notifications via network. The ESP8266 on the board is flashed with MicroPython. The script connects to the local wifi and notifies home-assistant via MQTT that smoke is detected. Home-Assistant does the rest.

The source of the script can be found here on gitlab or on github.

Battery update: Since November last year to beginning of October this year, the battery level dropped from 8.8V to 8.2V. Considering that the level is probably good until a level of about 7 Volts this should give the sensor a run time of a little less than 3 years. I did test the sensor several times in this time span, so this could be another factor for more battery drain.

The battery life time should be one year according to IKEA.

Categories
Hacking Hardware Gadgets

Home Automation with Python…

I gave a talk at Grazer Linuxtage 2017. It’s about Home Automation and how you can use Python to realize it.

The talk covers a simple example of a DIY sensor that runs MicroPython. Finally I give a short introduction to Home Assistant, a Python Home Automation Hub, that allows you to integrate with hundreds of devices. Home Assistant offers integrations to light switches, smart lights (Hue, TrĂĄdfri, Lightify,…), door sensors, heat control units, and many others.

There is a video of my talk on my Youtube channel:

Categories
Hacking Hardware Gadgets

DIY MQTT smart plug with MicroPython…

I’ve been playing around with MicroPython and Home Assistant. MicroPython is a ‘bare-metal’-Python flavor that you can use to program ICs. Home Assistant is a home automation and home control software written in Python 3. It can be hosted on a Raspberry Pi. It enables you to connect a vast amount of different devices: lights, switches, sensors, locks etc.

This is a raw guide on how to make your own smart plug and connecting it to MQTT which is then connected to Home Assistant.

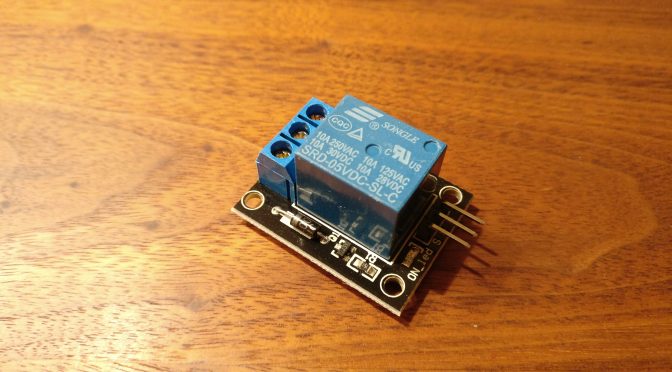
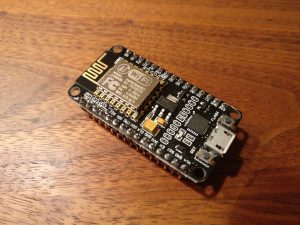
You will need a relay board (single relay), a NodeMCU board, a power adapter for 5V, a case, a button, some wire and a 1k resistor.

Connect the devices according to this schema (WARNING: Don’t do this if you’re not comfortable handling mains power!). Don’t forget earthing (it’s not on the diagram):
circuit diagram

Flash the MicroPython firmware to the NodeMCU board. Put the ‘relay_mqtt.py‘ file on it as main.py. That way it will be run when the device boots up. Adjust the code to connect to your network and MQTT server first.

You can download the code here.

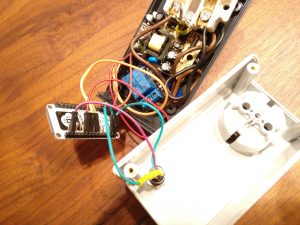
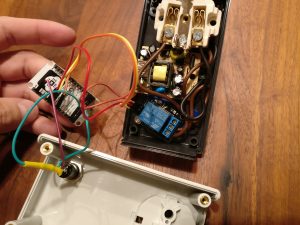
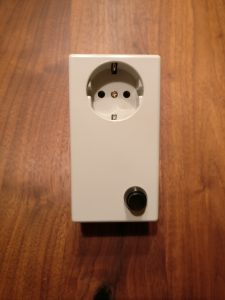
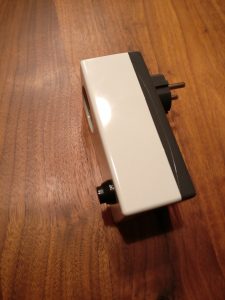
My device looks like this:

See the Home Assistant documentation for how to integrate the MQTT part with Home Assistant.

The nice thing is: you can press the button to switch the device. The status of the device will update via MQTT and Home Assistant gets a correct status update. You can of course switch the device from within Home Assistant as well.

Happy hacking!

Categories
Hacking Hardware Gadgets

Fixing brushes of the iRobot…

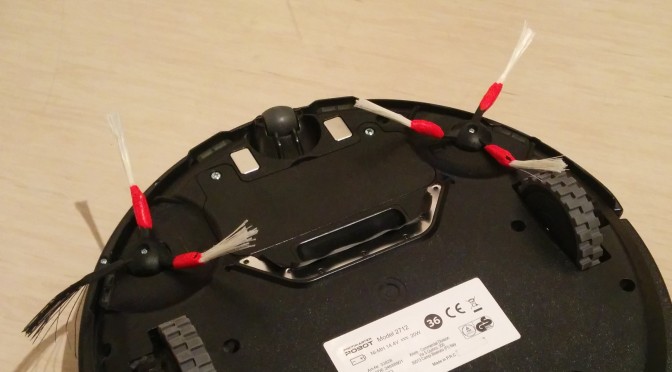
I’ve been using the same old brushes for more than a year now on our “Profimaster Robot Model 2712”. They are a little misdesigned, as the brushes go under the wheels of the robot, which makes them tare.

Categories
english Hardware Gadgets

Lego Lamp

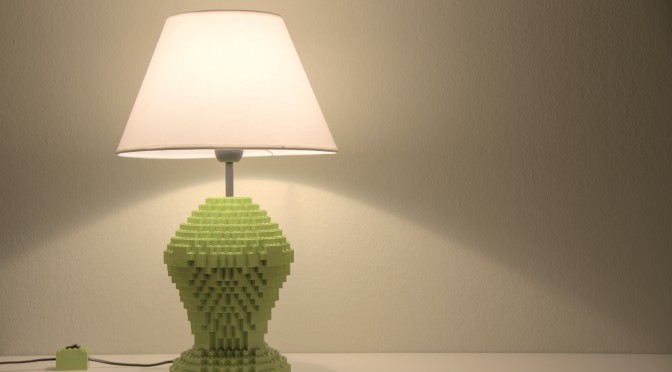
More than a year ago I came across a designer lego lamp. I really liked the idea but the price tag was a little hefty. Back then the lamp cost $800 and now it is at $995. But to be honest there is no designer product like this lego lamp that really says “do it yourself” like that!

So I built one myself. I designed the basic form with Lego Digital Designer. The plan can be found here [1]. The base of the lamp uses about 800 pieces. The final build varies from the my first plan, especially in the base where I first planned to hide the foot of the old Ikea lamp. I finally just used the lamps main rod and electrical wire. The arrangement of the bricks varies to give the lamp more structural integrity and was improvised.

The parts were ordered from three different shops on BrickLink. They offered the green I wanted for the lamp at a fraction of the price of the original Lego™ store. The total price for all parts was about 60€. The lamp I had laying around was ‘free’ and the new lamp shade was about 30€. Total of about 100€ – well below the price point of the original.

[1] 2014-11-22, 18:30:

I was asked by the designer Sean Kenney, to remove the LDD plans for the lamp. He argued that the plans would hinder his ability to sell these lamps online.

Although I do not agree with Sean’s argument, that his sales might be influenced by a simple Lego™ scetch for a similar lamp, I’ve respect for the work that went into the lamps Sean designed and did take the plans down for now.

Categories
english Hacking Hardware Gadgets

Bitcoin Paper Wallet Treasure Chest…

The Bitcoin Paper Wallet Treasure Chest
One of the challenges with bitcoin is to store them securely. There have been several well known incidents where Bitcoins have been stolen. It is no mystery. Bitcoin IS money! It’s the same with Euros or Dollars, when you have it lying around it will eventually be missing.

There is a twist with bitcoin to regular money. With Bitcoin one single piece of information is enough for the thief to steal your Bitcoins: Your private key. With Bitcoin it’s about keeping this piece of information secret.